
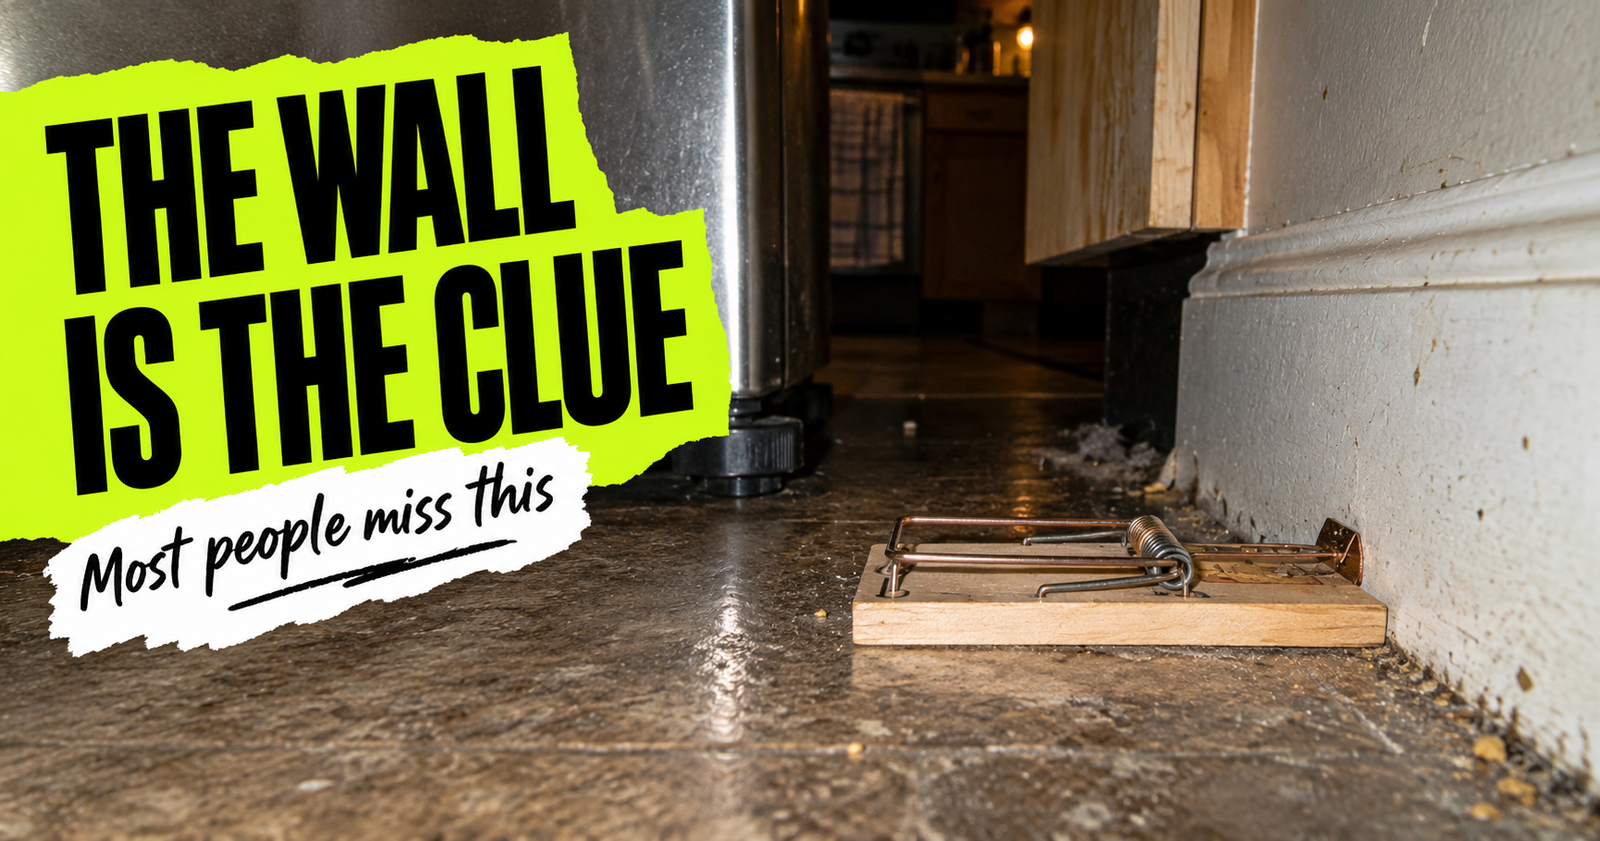
Buying a good mouse trap is the easy part.
Putting it where a mouse will actually encounter it is what catches mice.
I’ve seen plenty of mouse-control advice obsess over the perfect bait while barely mentioning placement. I think that’s backwards.
You can smear peanut butter on the greatest mouse trap ever made, but if it’s sitting in the middle of a room that mice don’t cross, you’ve basically opened a tiny restaurant with no customers.
Mice tend to travel close to walls, objects, and protected edges. That’s why CDC recommends putting traps against walls and concentrating them where you’ve actually found evidence such as droppings, gnawing, damaged food, nesting material, or sightings.
So before worrying about fancy bait tricks, let’s put those traps where the mice are.
The Best Mouse Trap Placement in One Sentence
If you only remember one thing from this guide, make it this:
Put mouse traps directly along active mouse travel routes, especially against walls near droppings, gnawing, food damage, hiding places, or entry points.
Not randomly.
Not evenly throughout every room.
Not wherever they’re easiest for you to check.
Follow the evidence.
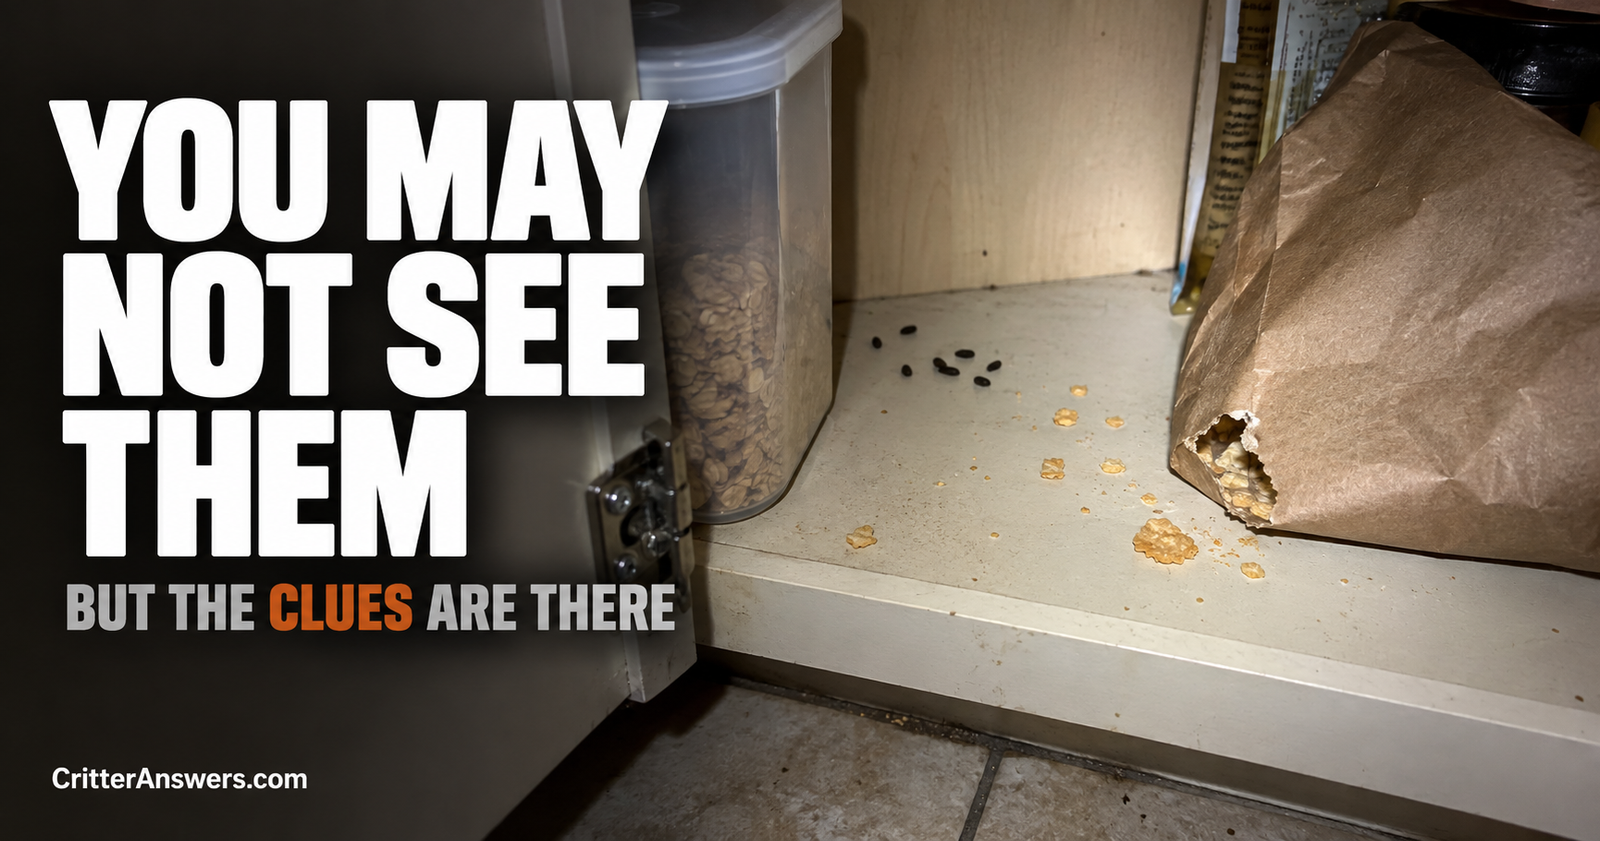
If you aren’t sure whether you’re dealing with mice yet, start with our guide on how to know if you have mice in your house.
Once you’re confident mice are present, placement becomes much easier.
Which Way Should a Mouse Trap Face?
This little detail can make a big difference.
For a traditional snap trap, CDC recommends placing the trap on the floor against the wall with the baited end next to the wall, creating a T shape with the wall.
Why?
Because mice commonly run alongside walls rather than charging across wide-open spaces.
Putting the trigger where that mouse is already traveling increases the chance that it encounters the business end of the trap.
Think:
Wall → trigger/bait end → rest of trap extending outward.
That’s the basic setup I’d start with.


Should Mouse Traps Touch the Wall?
For traditional snap traps, I want them right along the mouse’s travel route.
Usually that means directly against the wall.
MU Extension recommends traps close to walls, behind objects, in dark corners, and anywhere evidence of mouse activity is present.
A trap sitting 18 inches away from a baseboard may look close enough to us.
To a mouse hugging the edge of the room, it may as well be on another highway.
1. Behind the Refrigerator
This is one of my favorite places to investigate in a kitchen.
Behind a refrigerator you can have:
Shelter.
Warmth.
Crumbs.
Water or condensation.
A wall edge.
Very little human disturbance.
CDC specifically includes behind refrigerators among the areas where rodent traps can be placed.
Pull the refrigerator out only if you can do it safely.
Look for droppings along the wall and floor.
If you find them, that’s much better evidence than simply deciding every refrigerator needs a mouse trap.
Put the trap along the actual travel edge.

2. Behind the Stove
Another classic mouse location.
Food gets underneath and behind stoves surprisingly easily.
It’s also a protected area people rarely disturb.
CDC specifically recommends considering traps behind stoves when mouse evidence points there.
If you’ve found droppings beneath the stove or along the wall behind it, I’d absolutely consider that an active trapping location.
Just make sure the trap remains accessible enough that you can check it.
3. Under the Kitchen Sink
Open the cabinet and look at the plumbing.
Mice can exploit oversized openings around pipes and utility penetrations to move between wall cavities and cabinets.
Look for:
Droppings.
Gnawing.
Shredded material.
Food debris.
Holes around plumbing.
If there’s mouse evidence under the sink, place a trap along the cabinet edge or travel route rather than randomly in the center.
And don’t stop at catching the mouse.
That opening may be telling you how mice are moving through the house.

Our mouse entry-point guide shows where to continue the inspection.
4. Inside Lower Cabinets
Cabinets can create excellent protected mouse routes.
Especially cabinets containing:
Food.
Pet treats.
Paper products.
Trash.
Rarely used kitchen items.
If you find droppings in a lower cabinet, that is exactly the type of physical evidence I use to decide where a trap belongs.
CDC recommends trapping in areas where droppings, urine, nesting materials, gnawed food, or other rodent evidence has been found.
Put the trap against an edge the mouse is likely following.
Obviously, don’t place exposed traps where children or pets can reach them.
5. Along Pantry Walls
A pantry gives mice a pretty compelling reason to visit.
Food.
And often plenty of it.
Check the floor edges and lowest shelves.
Look behind stored items.
Inspect bags and boxes for gnawing.
Look for droppings.
If one side of the pantry clearly shows more activity, concentrate traps there instead of spacing them aesthetically around the room.
We’re catching mice, not decorating.


6. Beside Known Mouse Holes
If you’ve actually found a mouse-sized opening and evidence suggests mice are using it, you’ve found a potentially excellent interception point.
That might be:
Beside a pipe.
At a cabinet void.
Along a baseboard.
Behind an appliance.
At the garage-to-house wall.
Near a utility penetration.
Put traps along the accessible travel route outside the opening.
One warning, though:
An interior mouse hole isn’t necessarily the original entrance into your house.
The mouse may already be inside the structure and simply be using that opening to move between a wall cavity and the room.
You still need to find the exterior entry point.
7. Along Garage Walls
Garages are easy mouse territory.
They often have:
Overhead-door gaps.
Exterior doors.
Cardboard boxes.
Bird seed.
Pet food.
Grass seed.
Livestock or chicken feed.
Stored materials.
And plenty of dark edges.
If you’re finding mouse evidence in an attached garage, I especially want to inspect the wall shared with the house.
A garage can be the first stop before mice move deeper indoors.
Put traps along active wall edges and behind stored objects where you can still retrieve them.
8. Basement Walls
Basements give mice another protected environment.
Check foundation walls.
Sill areas.
Utility penetrations.
Furnace and water-heater areas.
Storage rooms.
Stairs.
Floor-to-wall junctions.
If droppings repeatedly appear along one basement wall, that is far more valuable than putting one trap in each corner just because there are four corners.
Follow the mouse.
9. Attic Travel Routes
Mouse traps don’t have to live on the first floor.
Mice are excellent climbers, and MU Extension notes that house mice can climb rough vertical surfaces and travel along wires and cables.
If you’ve confirmed mouse activity in an attic, traps can be placed along accessible routes where droppings or other signs appear.
Be careful walking in attics.
Don’t step between joists onto unsupported ceiling material, and don’t bury traps somewhere in insulation where you’ll never find them again.
You need to be able to check every trap you set.
10. Near Wall Activity and Mouse Hiding Areas
Sometimes the best trap location isn’t a room.
It’s a route.
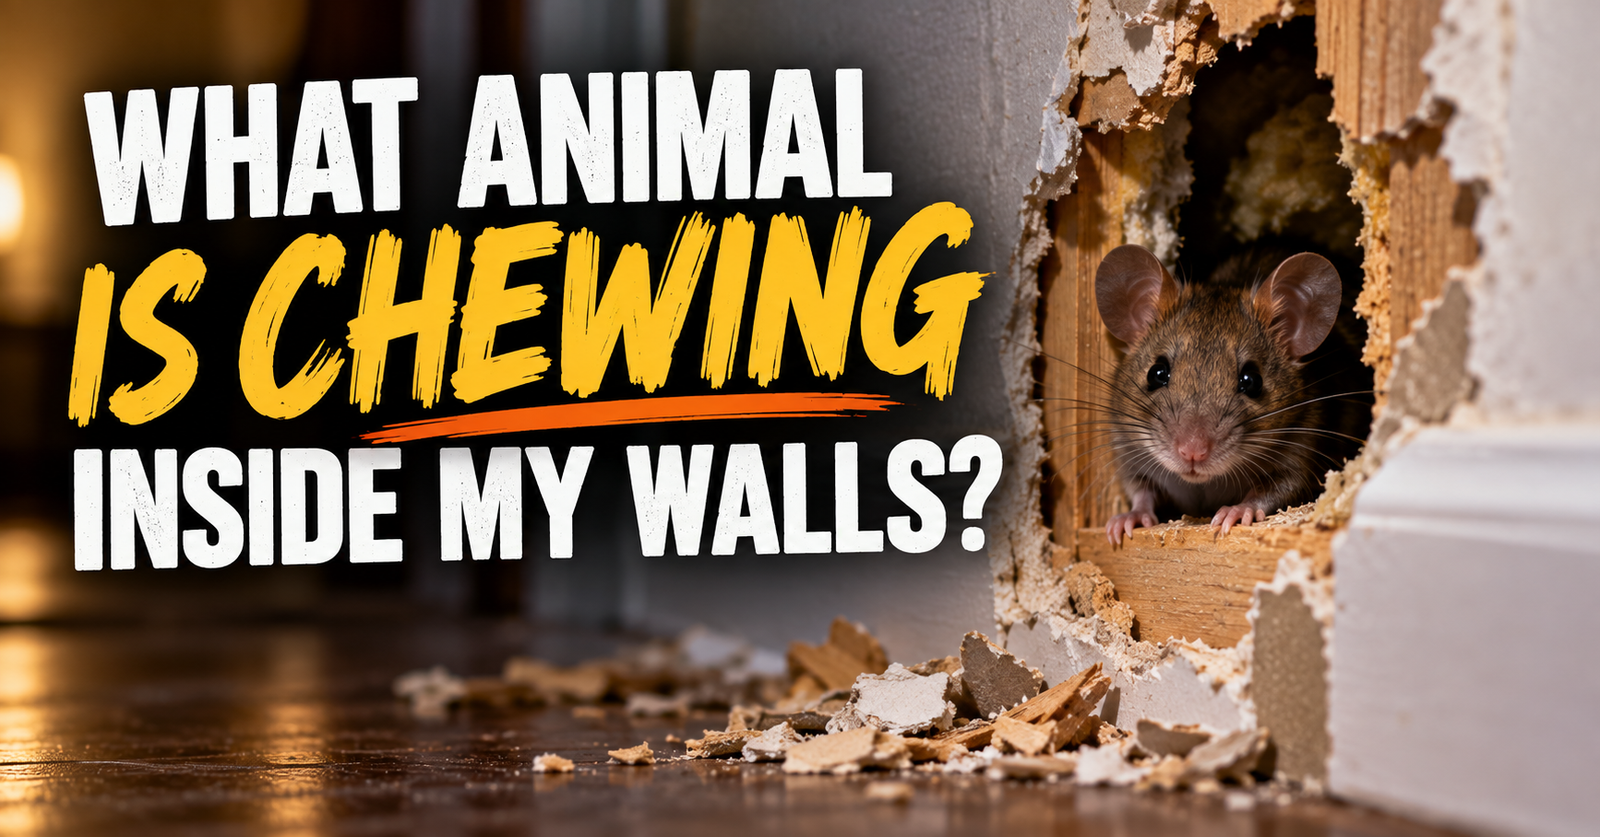
Maybe you’ve been hearing scratching in one particular wall every night.
Then you find droppings beneath the nearby sink.
Now you have a connection.
Rather than opening the wall, I’d look for where mice emerge into accessible areas and intercept them there.
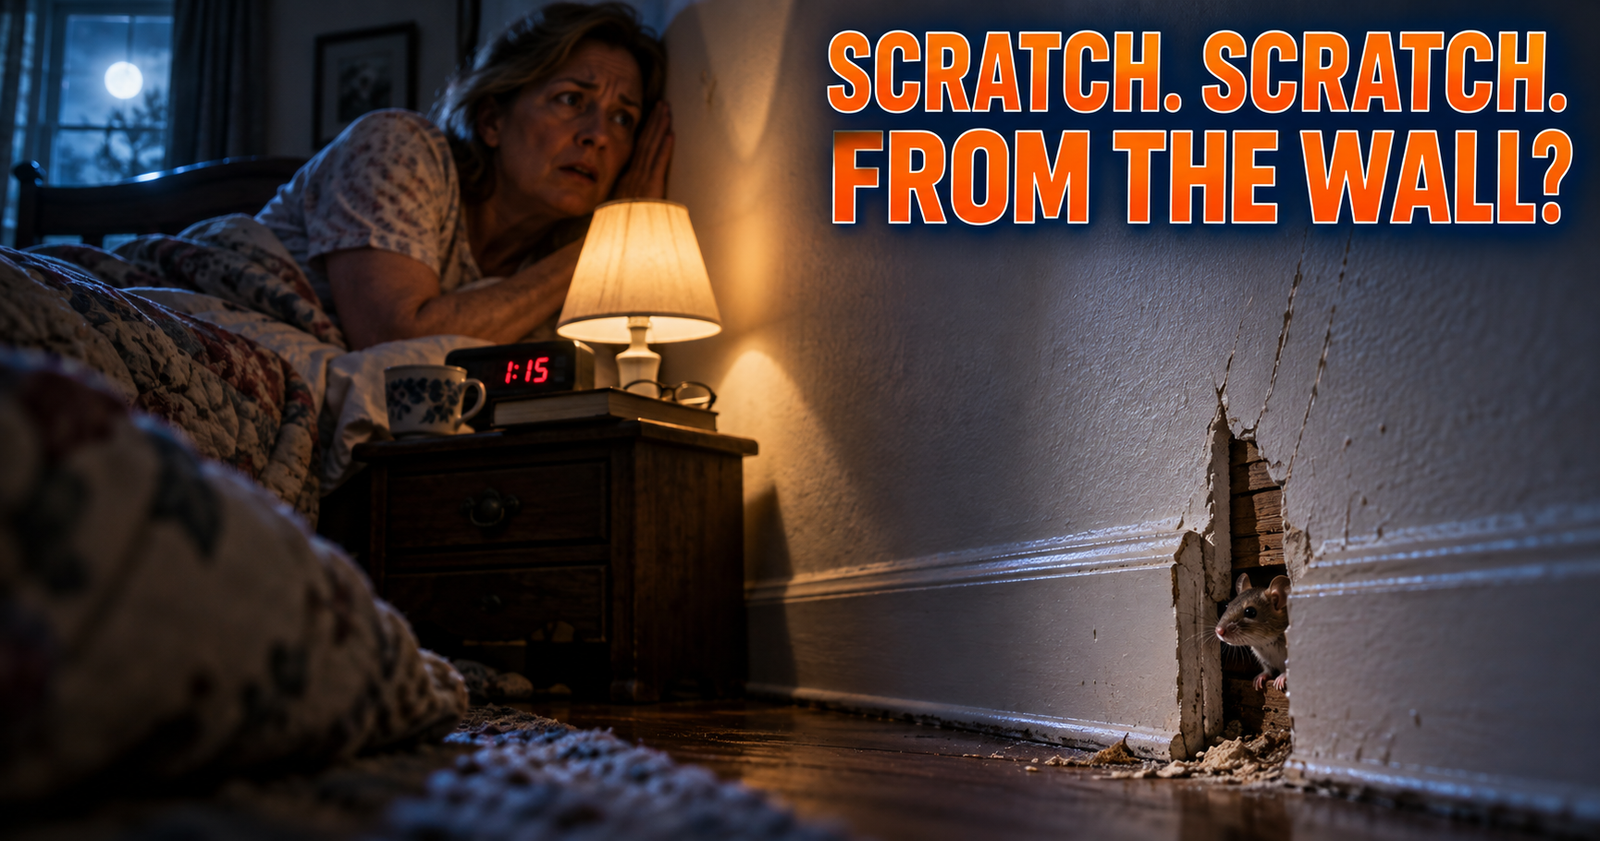
Our guide on mice scratching inside walls at night explains how to trace that activity without immediately tearing into drywall.
Likewise, if you haven’t found the active route yet, these 12 common mouse hiding places are worth inspecting.
How Many Mouse Traps Should You Put Out?
Usually more than one.
This is where homeowners often underestimate the job.
They buy one trap.
Put it beneath the kitchen sink.
Nothing happens for two nights.
Then conclude:
“The mice are too smart for traps.”
Maybe.
But more often, you simply haven’t covered enough active routes.
MU Extension recommends using enough traps to make the trapping effort short and decisive and says traps generally shouldn’t be spaced more than about 10 feet apart in areas where mice are active.
That doesn’t mean putting a trap every 10 feet throughout your entire house.
It means concentrating multiple traps where evidence shows mice are actually active.
This Is Why I Like Having a Multipack
For a real mouse problem, I would rather have several basic traps available than one trap I keep moving around the house.
The Victor Metal Pedal Mouse Traps 12-Pack makes sense for exactly this reason.

Check the Victor Metal Pedal Mouse Traps 12-Pack on Amazon
You don’t necessarily need to deploy all twelve.
But having a multipack lets you cover the kitchen, pantry, garage, basement, or several routes at the same time when the evidence warrants it.
That’s a much better test of where mice are moving.
Can You Put Two Mouse Traps Together?
Yes, and there are situations where paired traps can make sense.
The main goal is to cover the travel route effectively.
MU Extension’s rodent-trapping guidance illustrates paired trap arrangements along walls as a way of increasing the chance of interception.
I especially like concentrating traps where evidence is heavy rather than spreading every trap thinly across a huge building.
If one wall is covered with fresh mouse evidence and another room has none, guess which one deserves more traps?
Should You Put Mouse Traps in the Middle of a Room?
Usually not as my first choice.
Mice generally prefer traveling alongside walls and objects.
An open floor gives them less cover.
That’s why both CDC and MU Extension emphasize wall placement.
There can always be unusual situations where you’ve actually observed a mouse crossing an open route.
Evidence wins.
But absent that evidence, I’m starting along edges.
Should You Put Traps Where You Saw the Mouse?
That’s a good starting point, but don’t take the sighting too literally.
Suppose a mouse shoots across the middle of your kitchen at 11 p.m.
You saw it in the center of the floor.
Where did it come from?
Where was it going?
Maybe it ran:
From beneath the refrigerator.
Toward the pantry.
Along the cabinet toe kick.
Into an opening beneath the sink.
Those endpoints may be much better trap locations than the exact tile where you happened to see it.
Should You Put Traps Where You Find Droppings?
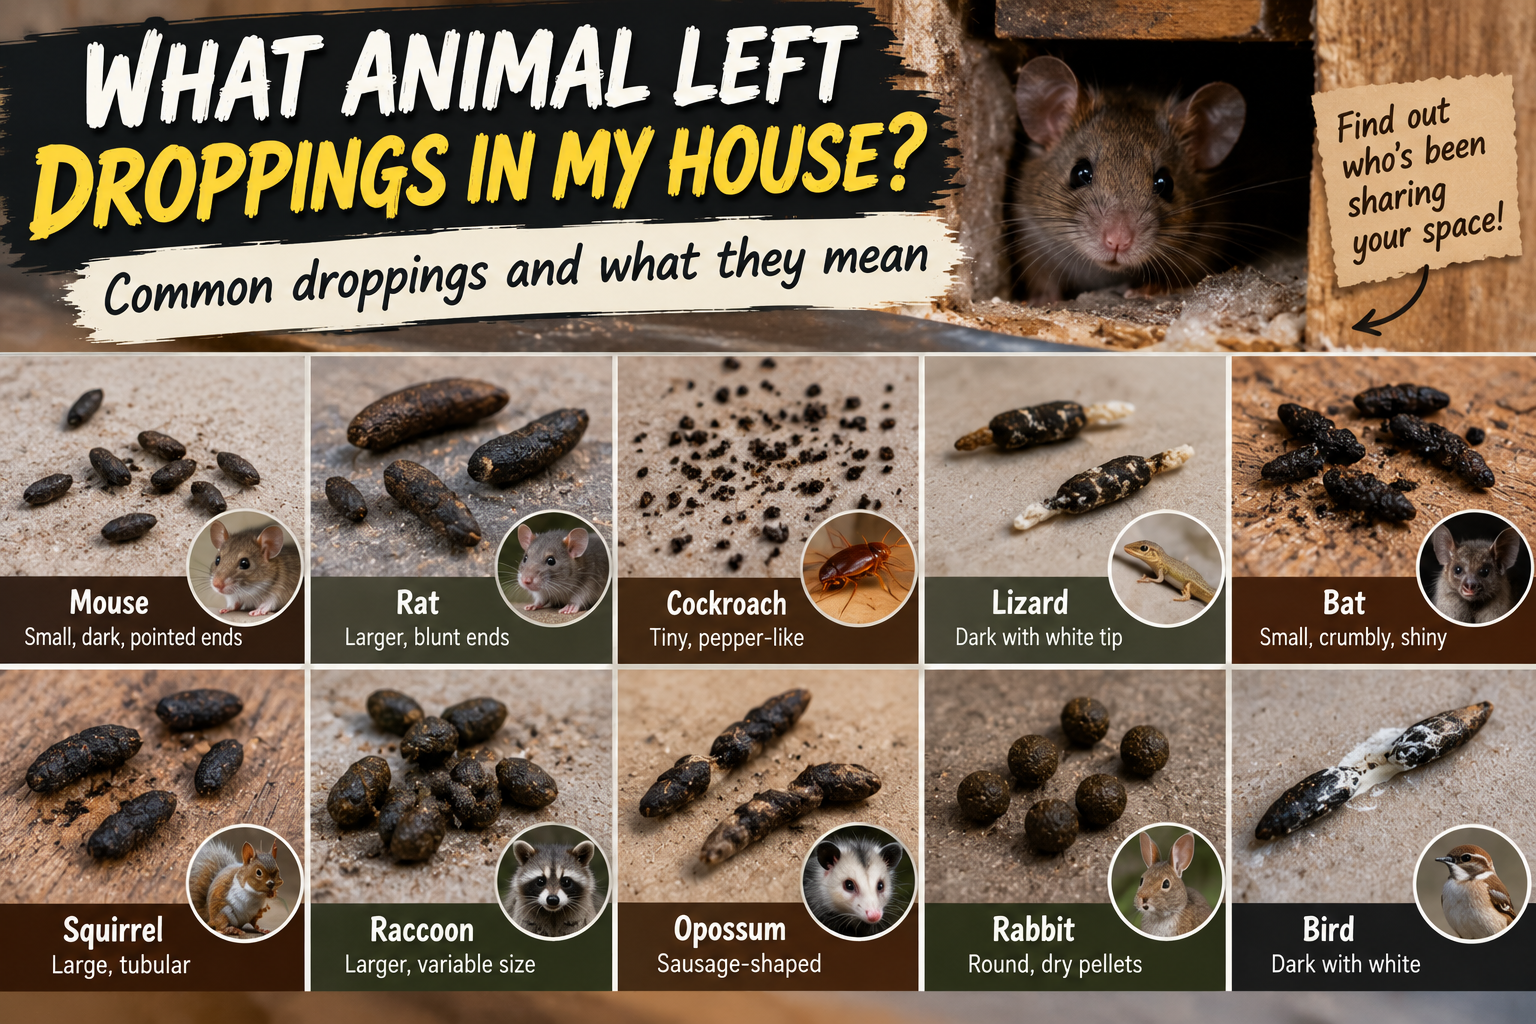
Yes, droppings are one of the strongest clues for trap placement.
CDC specifically recommends trapping in areas where rodent droppings and other evidence are found.
But don’t assume every pile of droppings represents a nest.
Mice poop along travel and feeding routes too.
Use droppings as a map.
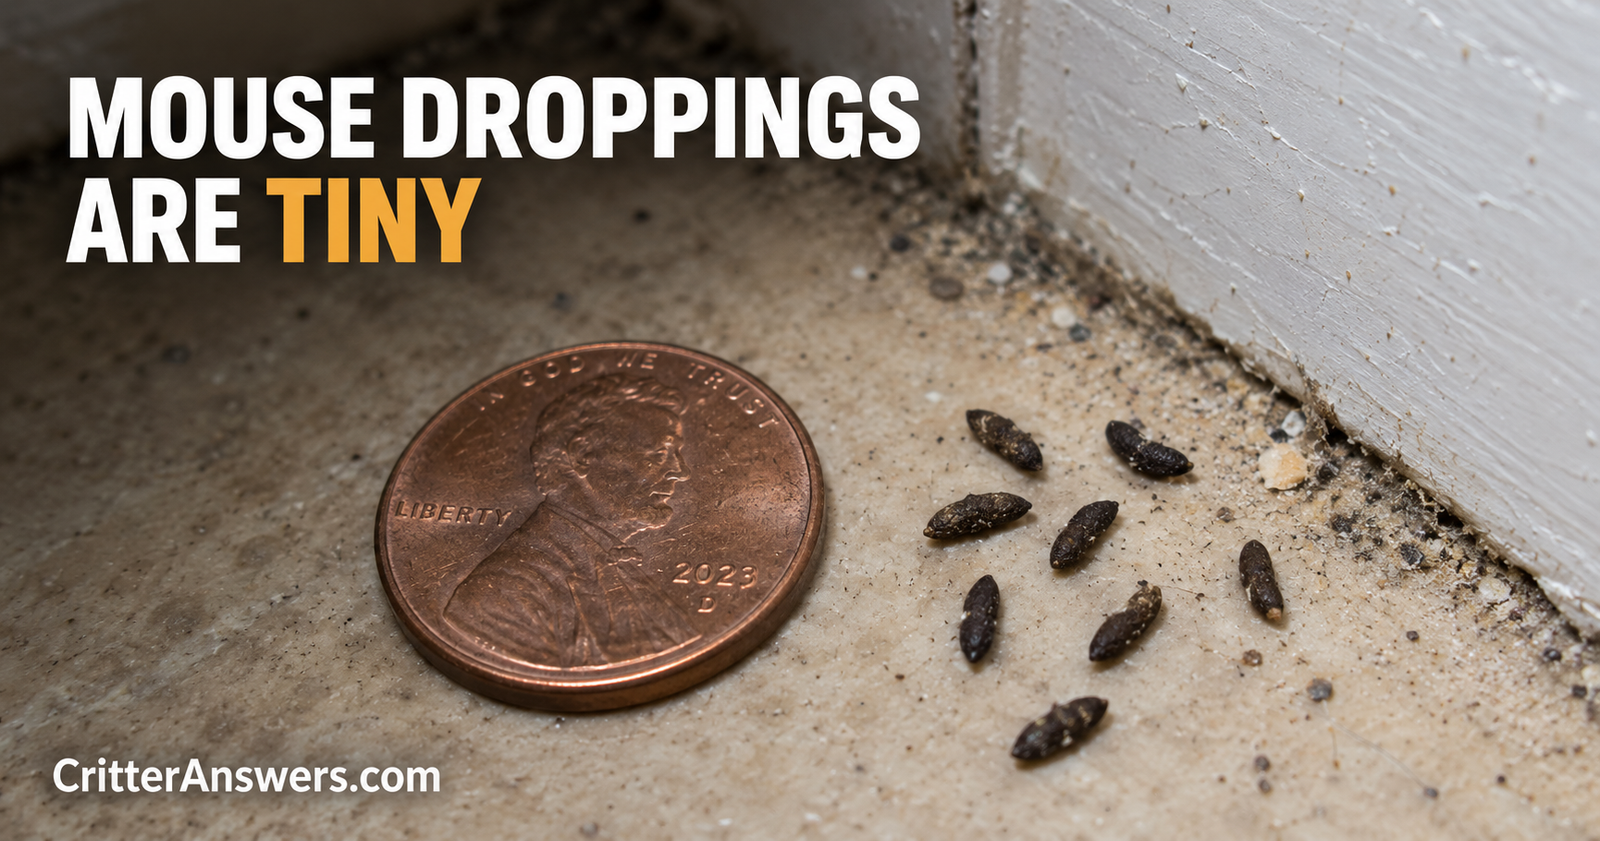
If you’re not positive they’re from mice, compare them with our mouse-dropping identification guide before building your trapping plan around them.
Should I Put Mouse Traps Near Food?
If mouse evidence shows they’re feeding there, yes.
But there’s another issue.
Competing food can make your bait much less interesting.
A dab of peanut butter isn’t nearly as exciting when the mouse can chew into a 20-pound bag of dog food six inches away.
Secure accessible food while trapping.
That includes:
Pet food.
Bird seed.
Livestock feed.
Cereal.
Grains.
Snacks.
Garbage.
Spilled food.
You’re trying to make the trap one of the more interesting opportunities along the mouse’s normal route.
How Much Bait Should You Use?
Not much.
CDC recommends a small amount of bait on a snap trap and specifically mentions chunky peanut butter as an option.
MU Extension likewise recommends a light amount of peanut butter and lists cheese and fruit as alternatives.
More bait isn’t automatically better.
You don’t need to frost the entire trap like a cupcake.
A small amount positioned correctly on the trigger is enough.
We’ll cover bait much more deeply in the dedicated mouse-bait article.
What If Mice Steal the Bait Without Triggering the Trap?
First, check your setup.
Too much bait can give a mouse more opportunity to nibble without properly interacting with the trigger.
Also check:
Trap sensitivity.
Bait position.
Trap orientation.
Whether you’re actually using a mouse-sized trap.
Whether the trap is sitting firmly.
If bait keeps disappearing, that’s frustrating—but it’s also evidence.
Something is visiting the trap.
Now improve the setup.
Should You Move Mouse Traps Every Night?
Not automatically.
If a trap is sitting directly beside fresh droppings on an active mouse route, I wouldn’t move it simply because it didn’t catch something on night one.
Give a sensible placement a chance.
But if several nights pass and:
Nothing is caught.
Nothing touches the bait.
No fresh evidence appears.
And another location clearly has activity.
Then yes, reconsider the placement.
Don’t become emotionally attached to a trap location.
What If the Mouse Avoids the Trap?
Mice can sometimes avoid poorly positioned traps, but don’t immediately assume you’ve encountered a genius mouse.
Check the basics first.
Is the trap actually on the travel route?
Is it against the wall?
Is the trigger oriented correctly?
Are there too few traps?
Is competing food everywhere?
Has mouse activity moved?
Are you even dealing with mice?
Those questions solve a lot of supposedly “trap-shy mouse” mysteries.
Should You Wear Gloves When Setting Mouse Traps?
I care more about safe handling and cleanliness than elaborate attempts to hide every trace of human scent.
Follow the manufacturer’s instructions, keep your hands away from the firing mechanism, and wash your hands afterward.
If you’re handling areas contaminated with rodent urine or droppings, that’s a separate issue and proper rodent-cleanup precautions become important.
Don’t handle rodent waste casually while you’re setting traps.
Where Should You NOT Put Mouse Traps?
There are several places I don’t like.
Where children can reach them.
Where pets can trigger them.
Where you can’t retrieve them.
Where they’ll be forgotten.
Where water or conditions can damage a trap not designed for that environment.
In completely random areas with no mouse evidence when better locations are available.
CDC specifically says traps and bait should be kept out of reach of children and pets and that traps should be checked daily.
Accessibility matters.
Don’t Drop Traps Into Wall Cavities
If mice are inside a wall, putting a trap somewhere you can’t retrieve it creates another problem.
You need to check traps.
You need to remove dead mice.
Instead, identify where mice emerge from the wall cavity.
Maybe that’s:
Under the sink.
Behind a cabinet.
Behind the stove.
At a basement penetration.
In the attic.
Trap those accessible routes.
What About Electric Mouse Traps?
An enclosed electric trap can be useful when you prefer something other than an exposed traditional snap trap.
Our saved OWLTRA OW-2 Indoor Electric Mouse Trap 2-Pack is one indoor option.

Check the OWLTRA OW-2 Electric Mouse Trap 2-Pack on Amazon
But the same rule applies:
An expensive trap in the wrong location is still in the wrong location.
Put an electric trap where mice are actually traveling, and follow the manufacturer’s placement and operating instructions.
Mouse Traps vs. Poison
For an ordinary indoor mouse problem, I generally prefer starting with traps.
You can see what you’ve caught.
You can remove the carcass.
You can track captures.
And you don’t have a poisoned mouse wandering somewhere inaccessible before it dies.
Poison does have legitimate uses, especially with persistent infestations and appropriate bait-station setups.
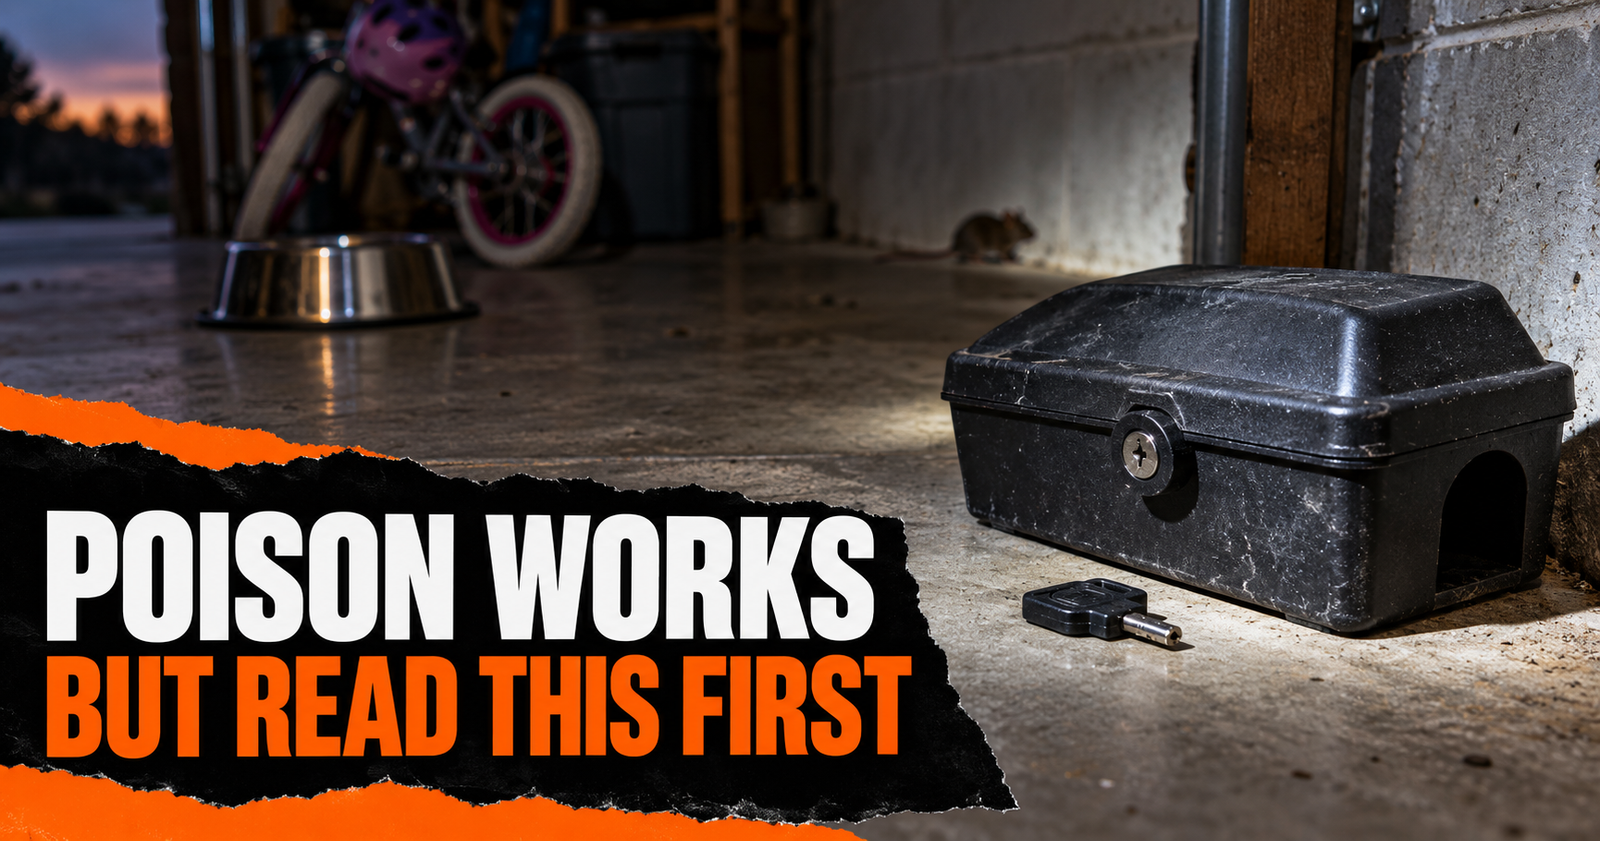
That’s why we put together an honest breakdown of the pros and cons of using mouse poison rather than pretending either method is perfect.
Keep Track of Where Each Mouse Is Caught
This is an underrated trick.
If you’re running several traps, make a mental note—or literally write down—which ones catch mice.
Imagine this pattern:
Trap behind refrigerator: 3 mice
Trap under sink: 2 mice
Trap pantry: 1 mouse
Trap opposite side of kitchen: 0
Trap garage: 0
Now you’re learning something.
The catches help reveal the most active routes.
That can also help you search for the nearby entry or hiding area.
Don’t Stop After Catching One Mouse
This is especially important if you’ve already found substantial evidence.
Catching one mouse proves you caught one mouse.
It doesn’t prove the house is clear.

If you’ve wondered how much activity might be behind a single sighting, read what seeing one mouse can really tell you about how many are hiding.
CDC recommends continuing to trap until rodent activity has stopped and using the absence of new signs along with no captures as evidence that control has succeeded.
Check Every Trap Daily
Don’t set 12 traps and forget where you put six of them.
CDC recommends checking traps daily and promptly disposing of dead rodents.
I like making a quick trap map if there are many traps:
Kitchen refrigerator.
Kitchen stove.
Pantry.
Sink.
Garage wall.
Basement utility line.
That prevents forgotten traps and also lets you track which locations are producing catches.
Catching Mice Isn’t Enough
This is where trap placement becomes part of a bigger strategy.
You could become incredibly good at catching mice.
But if new mice keep entering through the same hole, you’ll keep catching them forever.
Effective mouse control combines population reduction with sanitation and mouse-proofing. MU Extension describes those as the three main components of house-mouse control.
So while the traps are working, inspect the building.
Mice can squeeze through openings only about 1/4 inch wide. CDC recommends checking around cabinets, appliances, pipes, vents, utility lines, attics, basements, crawl spaces, doors, windows and exterior openings.
My Simple Mouse Trap Placement Plan
If I were dealing with mice in a house tonight, I wouldn’t scatter traps everywhere.
I’d do this:
Find the evidence.
Droppings, sightings, gnawing, damaged food, wall sounds, or nesting material.
Identify the routes.
Look along walls, behind appliances, inside lower cabinets, near utilities, and around likely hiding areas.
Put multiple traps on the strongest routes.
Not one lonely trap for the entire house.
Face traditional snap traps correctly.
Trigger/bait end toward the wall.
Secure competing food.
Make the trap more interesting.
Check every trap daily.
Track which locations produce catches.
Keep trapping after the first mouse.
Make sure activity has actually stopped.
Find the entry points.
Otherwise more mice can replace the ones you catch.
That’s a much more reliable approach than buying a trap, tossing it under the kitchen table, and declaring traps useless two days later.
Placement Beats Fancy Bait More Often Than People Realize
There’s a reason I keep coming back to placement.
Mice don’t search every square foot of your house hoping to find your trap.
They use protected routes between shelter and resources.
Your job is to put the trap on that route.
Behind the refrigerator.
Along the pantry wall.
Under the sink.
Beside the active opening.
Along the garage wall.
Wherever the evidence takes you.
If you need enough traps to cover several active areas, the Victor Metal Pedal Mouse Traps 12-Pack on Amazon is the traditional multipack I’d consider.
If you’d rather use an enclosed electronic design indoors, the OWLTRA OW-2 Electric Mouse Trap 2-Pack on Amazongives you that alternative.
You don’t need both.
You need the right trap in the right place.
Then keep going until the captures stop, fresh signs disappear, and you’ve closed the openings that allowed the mice inside.
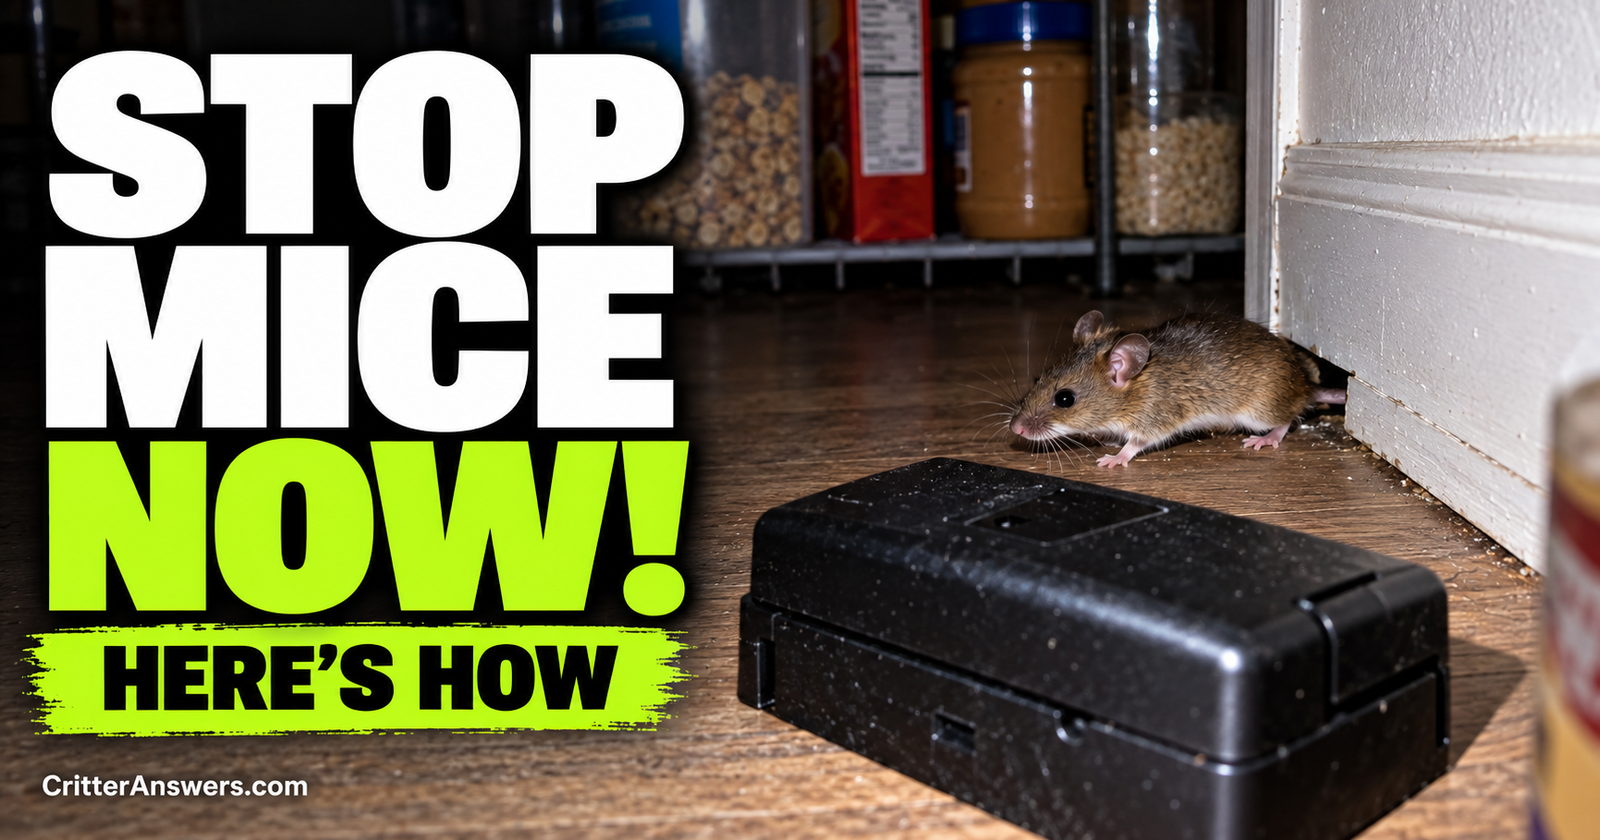
For the entire process from identification through exclusion, use our complete guide to getting rid of mice in your house for good.
Catching today’s mice is good.
Making sure there aren’t new ones next month is better.
About the author: Caleb Rourke researches how mice and other rodents get into homes, where they hide, and the practical steps homeowners can use to identify and prevent them. He writes straightforward rodent-control guides for Critter Answers.