
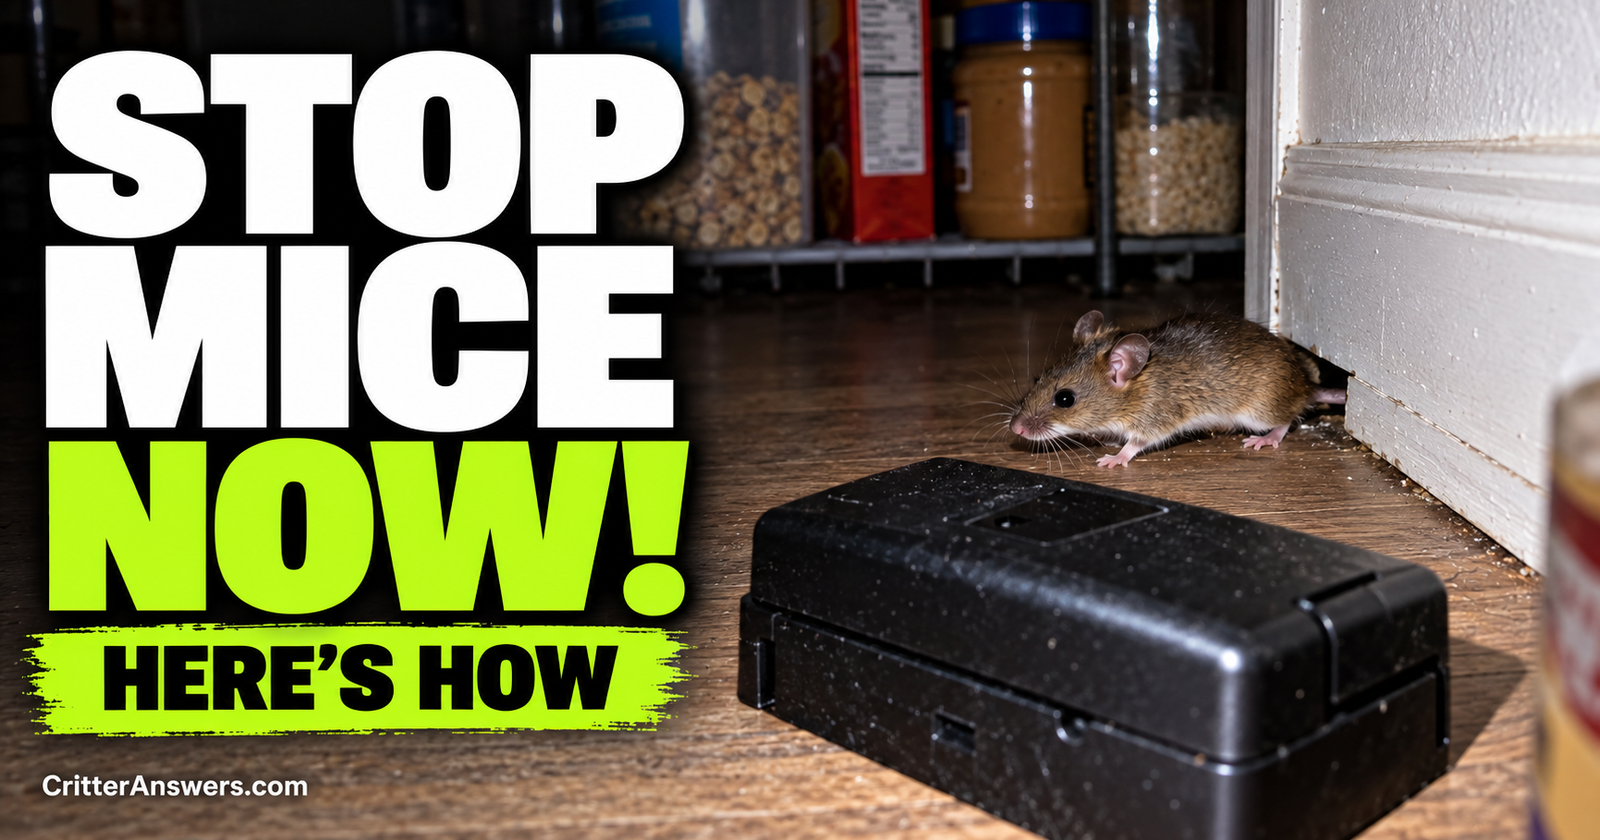
If you have mice in your house, catching one mouse isn’t really the goal.
The goal is to get rid of the mice that are already inside and stop more mice from getting in.
That’s the part I see people miss.
A trap can catch a mouse.
It can’t repair the little gap beside a pipe that mice are using as a doorway.
Cleaning the kitchen removes crumbs.
It doesn’t remove a mouse that’s already nesting behind the refrigerator.
Sealing holes keeps new mice out.
But it doesn’t automatically catch the ones already running around inside.
So I approach a mouse problem as three jobs:
- Remove the mice currently inside.
- Find and close the openings they’re using.
- Remove the food, water, and shelter helping them stay.
Do all three and you have a real mouse-control plan.
Skip one, and you may find yourself catching mice over and over without ever actually solving the problem.
First, Make Sure You Really Have Mice
You don’t necessarily have to see a mouse.
Many homeowners notice the evidence long before they see the animal.
Common signs include:
- Small dark droppings
- Gnawed food packaging
- Scratching or scurrying after dark
- Shredded paper or other nesting material
- Fresh gnaw marks
- A musky odor
- Tracks in dusty areas
- Food mysteriously being disturbed
- An actual mouse sighting
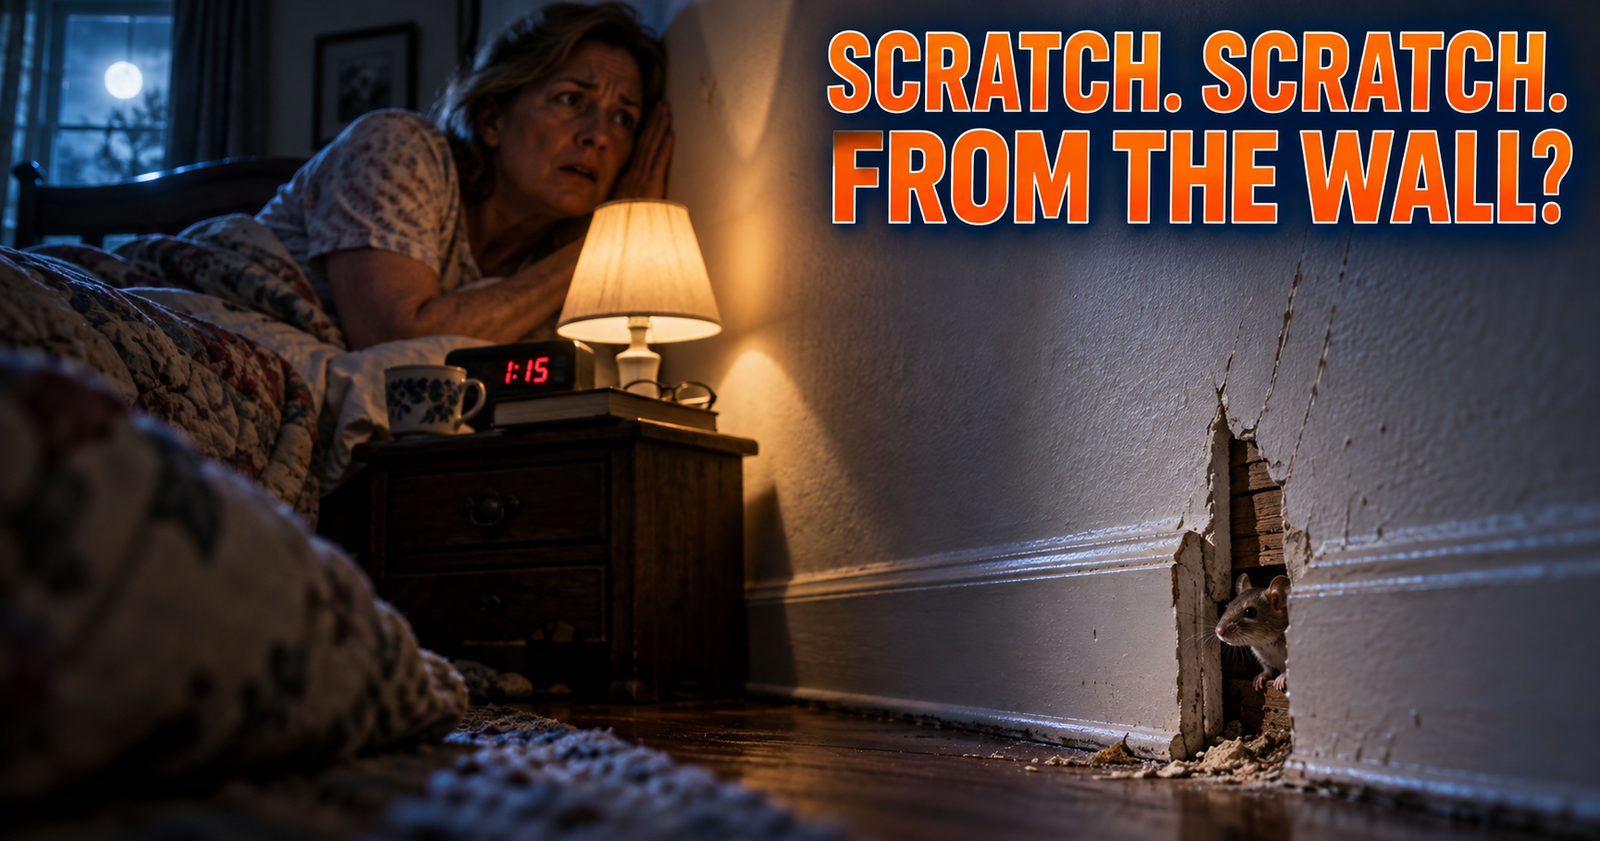
House mice are primarily active at night, so that little scratching noise that starts after everyone goes to bed is worth investigating.
Don’t automatically assume every tiny nighttime noise is a mouse, though.
We already have a broader guide to identifying what animal is scratching in your walls at night if you haven’t confirmed the culprit yet.
Once you find mouse droppings, mouse-sized gnawing, nesting material, or an actual mouse, you can move from identification to removal. If you're still determining whether those clues really indicate mice, signs that point to mice can help you assess the evidence before taking removal steps.
Mouse Droppings Are Often the First Obvious Clue
Droppings tend to appear along the places mice travel, feed, or hide.
Look:
Behind the refrigerator.
Behind the stove.
Inside lower cabinets.
Under the kitchen sink.
Along basement walls.
In drawers.
Inside the pantry.
Around stored pet food.
In the garage.
In the attic or crawl space.
Don’t immediately grab the vacuum cleaner when you find them. There is a safer way to clean rodent droppings, which I’ll cover below.
For now, pay attention to where the droppings are concentrated.
That’s evidence.
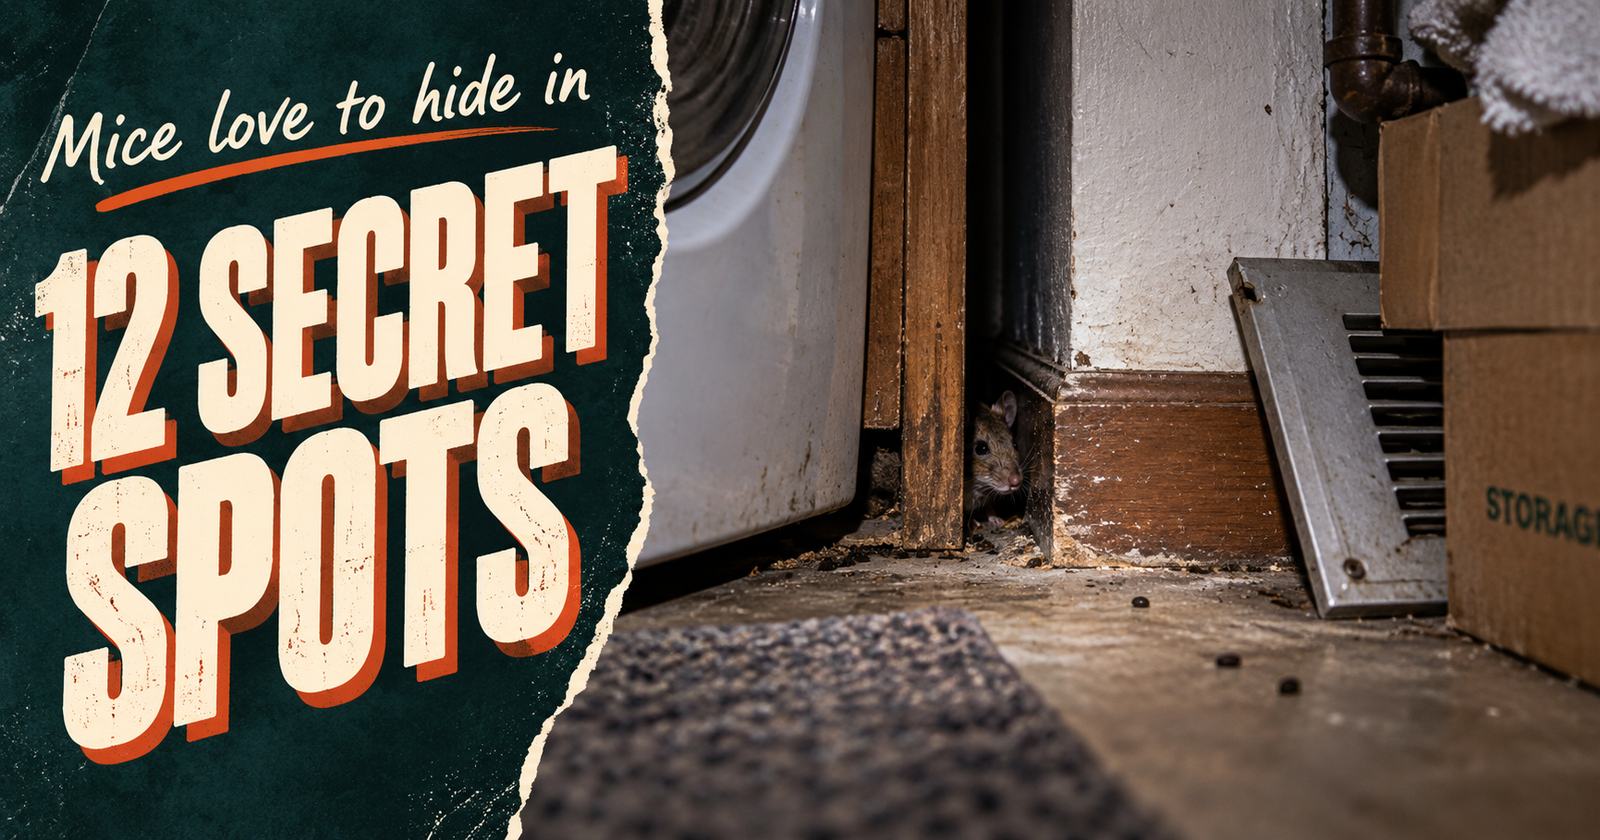
If most of the fresh droppings are behind your stove and refrigerator, that’s probably a much better place for traps than the middle of the living room. Before placing traps, you can use this guide to identify other likely mouse hiding spots.



Seeing One Mouse Doesn’t Tell You How Many You Have
I don’t like the old claims that seeing one mouse automatically means you have five, ten, or twenty.
You don’t know that.
Seeing one mouse proves you have at least one mouse.
That’s all.
What matters more is how much evidence you’re finding.
A few droppings in one location is different from fresh droppings appearing in the kitchen, basement, pantry, and garage.
Likewise, catching several mice over a few nights tells you more than one mouse running across the floor once.
Look at:
- Number of sightings
- New droppings
- Amount of gnawing
- Number of areas affected
- Nighttime sounds
- Trap catches
- New nesting material
We’ll have an entire supporting article answering how many mice may be in your house if you see one, because that question deserves more than an invented multiplier.
Step 1: Find Where the Mice Are Spending Their Time
Before putting traps everywhere, do a little detective work.
Look especially carefully:
- Behind appliances
- Beneath kitchen cabinets
- Under sinks
- Around pantry shelves
- Along basement walls
- Around pet food
- Inside garages
- Near stored bird seed or animal feed
- In utility rooms
- In attics
- In crawl spaces
- Near suspected entry points
You’re looking for concentrations of evidence.
Droppings behind the refrigerator?
That’s a good trapping location.
Chewed cereal boxes on one pantry shelf?
Pay attention there.
Scratching every night behind the same kitchen wall?
Investigate both sides of that wall.
The mice are already showing you where they’re active.

Mice Usually Travel Along Edges
This is one of the simplest things you can use to your advantage.
Mice tend to travel along walls and beside objects rather than strolling straight across a big exposed room.
That’s why trap placement matters so much.
If you’re using traditional snap traps, place them where mice are actually traveling. A common setup is perpendicular to the wall with the baited trigger end facing the wall.
Think of it as making the trap intercept the mouse’s normal route.
Don’t make the mouse hunt for your trap.
Put the trap where the mouse already goes.
Step 2: Start Trapping the Mice Already Inside
For a straightforward indoor mouse problem, trapping is where I’d start.
Traditional mouse snap traps remain one of the simplest and most effective options.
They’re inexpensive.
You can use several at once.
You know when you’ve caught the mouse.
And you can remove the carcass instead of wondering whether a poisoned mouse died somewhere inaccessible inside the house.
But traditional snap traps aren’t the only option.
The Indoor Mouse Trap I’d Consider If You Don’t Want an Exposed Snap Trap
Some people simply don’t like exposed snap traps.
I understand that.
If you want something more enclosed, one option that fits this job well is the OWLTRA OW-2 Indoor Electric Mouse Trap.

It’s an enclosed electronic trap specifically designed for indoor mouse control. OWLTRA says the OW-2 uses two sensors to detect a mouse inside before activating its electric killing system. It also has an LED indicator to tell you when a mouse has been caught and a removable top for disposal without having to directly handle the mouse.
I especially like that this particular package contains two traps.
If I have mouse activity behind the refrigerator and in the pantry, I’d much rather be able to cover both areas than depend on one trap for the entire house.
Check the OWLTRA OW-2 Indoor Electric Mouse Trap 2-Pack on Amazon
I would still treat it like any other trap: put it where the mice are actually active and follow the manufacturer’s instructions carefully.
And despite marketing language about its safety features, I would still keep an energized electric trap where children and pets cannot access it.
Most importantly, remember what this trap does and doesn’t do.
It can kill a mouse that’s inside your house.
It cannot close the hole that allowed the mouse inside.
That’s why trapping is only one part of this process.
Traditional Snap Traps Are Still a Great Option
You absolutely do not need an electronic trap to solve a mouse problem.
A simple mouse-sized snap trap can work very well.
The important pieces are:
Correct location.
Enough traps.
Correct setup.
A sensitive working trigger.
Continued trapping until activity stops.

A $2 trap in exactly the right place can outperform an expensive trap sitting in the wrong room.
Don’t Try to Cover an Entire Infestation With One Trap
One trap behind the refrigerator isn’t much of a trapping program if mice are active throughout the kitchen, pantry, garage, and basement.
I prefer concentrating several traps in the areas with the strongest evidence.
That might mean several traps around one kitchen rather than one trap in five unrelated rooms.
House mice generally don’t need to travel enormous distances when food and shelter are nearby.
Make your trapping effort concentrated and decisive.
Put Traps Where the Mouse Has to Encounter Them
Good places can include:
- Along walls with droppings
- Behind refrigerators
- Behind stoves
- Inside inaccessible cabinet areas
- Near pantry activity
- Along basement walls
- Near suspected mouse entry points
- Near nesting evidence
- In quiet areas where gnawing is occurring
Keep all traps inaccessible to children and pets.
With a traditional snap trap, positioning the trigger end toward the wall can intercept a mouse following the edge.
With an enclosed electronic trap, follow the manufacturer’s placement instructions while still using the same basic principle:
Put it on the mouse’s route.
What Should You Bait a Mouse Trap With?
Peanut butter is popular for a reason.
A small amount is enough.
Other foods can work too, but I wouldn’t spend three days trying to invent the ultimate secret mouse recipe.
Trap placement is usually more important.
If the mouse isn’t traveling near your trap, the world’s greatest bait doesn’t matter much.
You also don’t want to pile so much bait onto a trap that the mouse can nibble without properly interacting with the trigger.
Use enough to attract attention.
Not enough to cater dinner.
We’ll have a separate article devoted to the best bait for mouse traps later in this cluster.
What If the Mouse Won’t Go Near the Trap?
Don’t immediately decide you have the smartest mouse in North America.
Check the simple stuff first.
Is the trap actually on a mouse travel route?
Do you have enough traps?
Is there competing food everywhere?
Is the bait disappearing without triggering the trap?
Is the trap working correctly?
Did you place it near fresh evidence?
Are you certain the animal is a mouse?
Sometimes moving a trap a few feet to the correct wall does more than changing the bait five times.
This is common enough that we’ll have a separate guide to why mice aren’t going into your traps.
Step 3: Keep Trapping After You Catch the First Mouse
This is where people celebrate too early.
Got him!
Great.
Now reset the trap.
One captured mouse doesn’t prove the house is clear.
Continue monitoring for:
- Fresh droppings
- New gnawing
- New noises
- Food damage
- Additional catches
Current CDC guidance says that if a week passes without another capture and there are no new signs of rodent activity, the infestation has likely been eliminated.
That’s a much better stopping point than assuming the first mouse was the only one.
Don’t Forget to Check the Traps
Check your traps regularly.
I don’t like setting traps and forgetting about them.
If you’re using the OWLTRA electric traps, the LED indicator is useful because it tells you when a mouse has been caught.
If you’re using traditional snap traps, visually inspect them.
Remove dead mice promptly using appropriate precautions.
Reset traps while there is still evidence of activity.
Step 4: Figure Out How the Mice Got Into Your House
Now we’re getting to the part that actually keeps them gone.
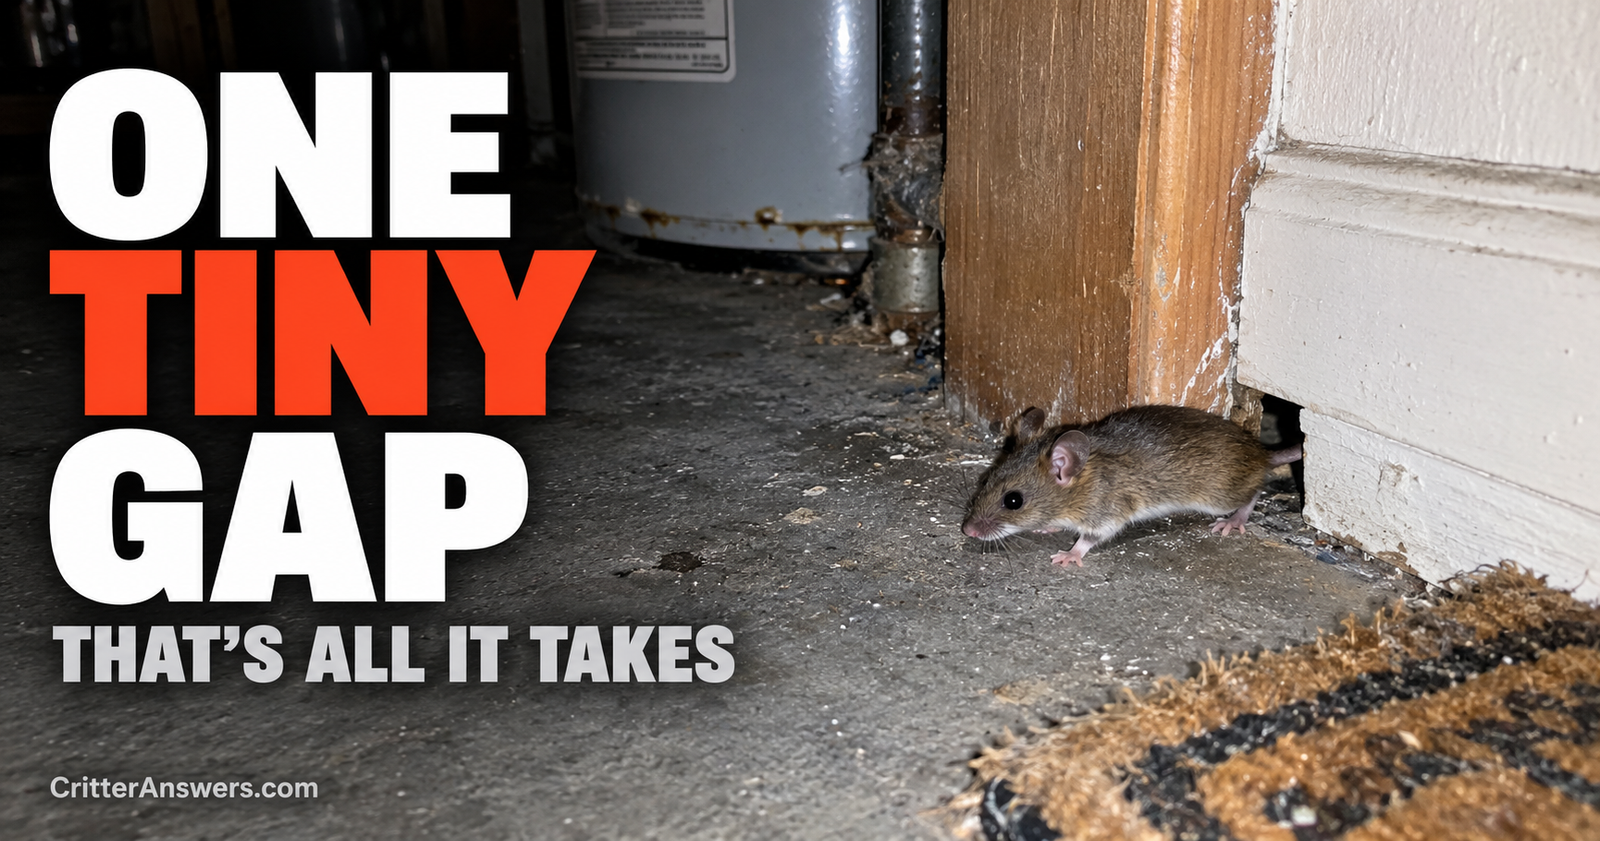
A house mouse can squeeze through an opening only about 1/4 inch wide.
Think roughly pencil-width.
So when someone tells me:
“I walked around the house and didn’t see any big holes,”
that doesn’t tell me much.
We’re not looking for a hole big enough for a raccoon.
We’re looking for tiny gaps.
Start Around the Foundation
Walk slowly around the outside of the house.
Look where different building materials meet.
Check:
- Foundation cracks and gaps
- Siding edges
- Utility penetrations
- Pipes
- Cable lines
- Electrical service
- Gas lines
- Crawl-space vents
- Doors
- Garage doors
- Steps
- Corners
- Dryer vents
Don’t just stand upright and glance at the house.
Get down where you can actually see the lower edge of the building.
A tiny gap looks much different when you’re six inches away from it.
Check Under the Kitchen Sink
This is one of my favorite indoor inspection points.
Look where the plumbing passes through the back or bottom of the cabinet.
Builders need holes to run pipes.
Sometimes the hole around the pipe is substantially larger than the pipe itself.
A mouse traveling inside a wall can exploit that gap and suddenly appear beneath the kitchen sink.
Do the same around plumbing for:
- Washing machines
- Water heaters
- Furnaces
- Bathroom sinks
- Dishwashers
Also inspect electrical, gas, and other utility penetrations.
Check Behind Appliances
Pull appliances out only when you can do so safely.
Behind a refrigerator or stove you may find:
Droppings.
Gnawing.
Food.
Nesting material.
A gap around a utility line.
Or an actual opening into a wall.
These areas are attractive because they’re dark, protected, relatively undisturbed, and often close to food.
It’s exactly the kind of place I’d expect mouse evidence to accumulate.
Check the Garage
Garages can be mouse heaven.
They’re often quieter than the house.
They’re filled with stored material.
They may contain pet food, bird seed, grass seed, garbage, livestock feed, or cardboard.
And the garage door may have gaps along the bottom or corners.
Inspect the weather stripping carefully.
Then inspect the wall separating an attached garage from the house.
If mice are comfortably living in the garage, I don’t want to give them an easy route into the kitchen.
Look Up Too
Mice are good climbers.
Don’t make the mistake of inspecting only the bottom foot of the house.
They can climb rough surfaces and use pipes, wires, and other structural features.
If mouse evidence is concentrated in an attic or upper story, inspect:
- Eaves
- Soffits
- Gables
- Roof intersections
- Attic vents
- Upper utility penetrations

Our existing guide to finding where an animal is getting into your house gives you a broader inspection method.
Later in this mouse cluster we’ll build a much more specific article devoted entirely to how mice get into houses.
Step 5: Seal Every Mouse-Sized Opening You Can Find
Once you’ve identified openings, repair them properly.
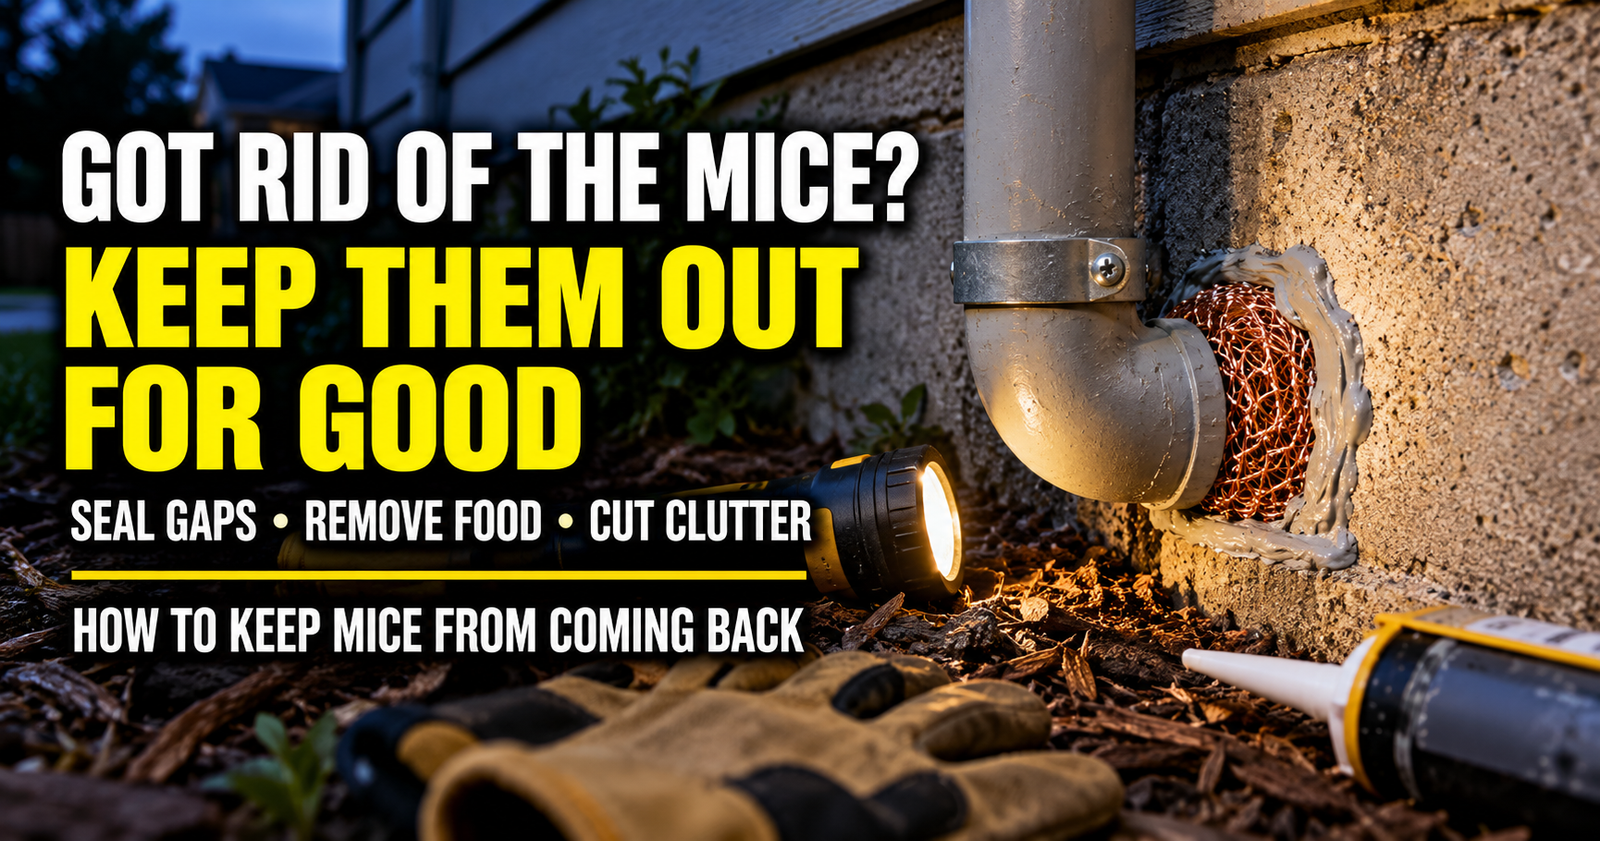
For small holes, CDC recommends steel wool held in place with caulk or spray foam. Before sealing them, inspect where mice enter through small holes so you do not overlook the route mice are using.
Larger openings may require materials such as:
- Hardware cloth
- Metal sheeting
- Lath screen
- Cement
- Other durable building materials
The repair depends on what you’re sealing.
A plumbing penetration is different from a garage-door gap.
A foundation opening is different from a damaged soffit.
The common theme is durability.
Don’t Depend on Something a Mouse Can Easily Chew
Mice are rodents.
Gnawing is what they do.
That’s why I don’t love the idea of filling every mouse hole with nothing but a soft, chewable material and assuming the problem is solved permanently.
Missouri Extension specifically recommends metal or concrete for mouse-proof construction and warns against relying on gnawable materials such as wood, rubber, and plastic for plugging mouse openings.
Use the appropriate material for the structure.
You’re not trying to make the hole invisible.
You’re trying to make it mouse-proof.
What About Expanding Foam?
Foam can be useful as part of some repairs.
But I don’t treat a blob of ordinary foam as an unbeatable mouse barrier.
If a gap is an established rodent entry point, I’d rather incorporate a durable material that mice can’t simply chew through.
For a small penetration, for example, metal material combined with an appropriate sealant can make far more sense than filling a large rodent-used void with soft foam alone.
Step 6: Remove the Food Helping Mice Stay
A dirty house doesn’t magically create mice.
A spotless house can get mice too.
If they can enter and find shelter, they may move in.
But food availability absolutely makes the house more attractive and helps mice remain established.
So tighten up food storage while you’re trapping and sealing.
Store dry food in sturdy containers with secure lids.
Clean spills.
Clean crumbs.
Don’t leave food residue sitting overnight.
Secure garbage.
And pay particular attention to food you don’t normally think about.
Pet Food Is Mouse Food
Dog food isn’t only dog food.
Cat food isn’t only cat food.
A bowl of kibble left on the floor overnight can feed a mouse just fine.
Put pet food away after feeding when practical.
Also look at the bag.
A paper dog-food bag sitting in the garage is not what I’d consider rodent-proof storage.
Transfer bulk pet food into a sturdy container with a tight lid.
Bird Seed Can Feed a Lot of Mice
This is especially relevant in garages, sheds, and rural homes.
Bird seed.
Chicken feed.
Livestock grain.
Grass seed.
Wildlife feed.
All of it can become mouse food.
Store feed in durable containers.
Clean spills.
And look beneath storage bins.
Sometimes the container itself is secure but months of spilled grain beneath it have created a mouse buffet.
Clean Behind the Stove and Refrigerator
Your kitchen can look immaculate from five feet above the floor.
Then you pull the stove out.
That’s where the real archaeological expedition begins.
Crumbs.
Grease.
A piece of dog food.
Dry pasta.
Cereal.
Food that fell six months ago and disappeared from human civilization.
Clean it out.
You’re already checking these areas for mouse activity and setting traps.
Take away the reward while you’re there.
Step 7: Reduce Mouse Hiding Places
Mice don’t only need food.
They need shelter and nesting material.
Clutter can provide both.
Pay attention to:
- Cardboard boxes
- Paper
- Fabric
- Undisturbed storage
- Bags
- Insulation
- Piles of miscellaneous material
You don’t need to throw away everything you own.
But I prefer sturdy storage containers over endless cardboard boxes sitting untouched against basement walls.
Make the Walls Easier to Inspect
Where practical, don’t pack every storage item tightly against the wall.
Remember, mice like traveling along edges.
If the entire basement perimeter is hidden behind boxes, you may have no idea what’s happening there.
Creating a little inspection access lets you see:
Droppings.
Gnawing.
Nesting material.
And trap activity.
That makes an ongoing mouse problem much easier to detect.
Step 8: Clean Mouse Droppings the Safe Way
This part is important.
Don’t sweep or vacuum dry mouse droppings.
CDC warns against vacuuming or sweeping rodent urine, droppings, or nesting material before disinfection because contaminated particles can become airborne.
Instead, for ordinary household cleanup, CDC currently recommends wearing rubber or plastic gloves and thoroughly wetting the droppings and contaminated area with an appropriate disinfectant.
Let it remain wet for the contact time on the label; CDC’s general procedure specifies five minutes when applicable.
Then wipe everything up with paper towels and dispose of it in a covered garbage container.
Clean the surrounding hard surface afterward.
Wash your gloved hands before removing the gloves, then wash your bare hands with soap and warm water.
Don’t Forget Mouse Nests
If you find shredded nesting material, don’t grab it with your bare hands or shake it around.
Treat rodent nesting material as potentially contaminated too.
Wet and disinfect according to appropriate cleanup guidance before removal.
If the nest is buried inside heavily contaminated insulation or a difficult-to-access space, the cleanup may be bigger than a simple kitchen-cabinet job.
Heavy Mouse Infestations Are Different
There’s a huge difference between:
six droppings under the sink
and
an attic full of droppings, nests, contaminated insulation, and dead rodents.
CDC provides additional precautions for heavily infested spaces.
That’s a situation where professional cleanup may make sense, especially if contamination is extensive or in an area you can’t safely access.
Don’t treat a heavily contaminated attic like you’re wiping crumbs off a countertop.
Step 9: Be Careful With Mouse Poison
Rodent poison can kill mice.
But I don’t make it my first recommendation for an ordinary indoor mouse problem.
One reason is simple.
A poisoned mouse doesn’t necessarily die somewhere convenient.
It may die:
Inside a wall.
Above a ceiling.
Under a cabinet.
Inside insulation.
Then you have a mouse problem followed by a dead-animal odor problem.
There are also legitimate safety concerns involving children, pets, and non-target wildlife.
Current CDC guidance recommends traditional snap traps around the home and says poison or bait stations should generally be considered for infestations that persist.
If a rodenticide is used, use an EPA-registered product exactly according to its label and in a way that prevents access by children and pets.
I Wouldn’t Use Glue Traps
CDC’s current household rodent guidance recommends against glue traps and live traps, in part because frightened rodents can urinate and increase potential exposure to rodent-borne pathogens.
For indoor mouse removal, I’d rather use an effective kill trap positioned correctly.
That’s another reason the enclosed electric trap is interesting for homeowners who don’t want an exposed snap trap.
The OWLTRA OW-2 two-pack gives you two enclosed indoor trapping locations without introducing poison into the house.
Again, keep electric traps inaccessible to children and pets and follow the manufacturer’s directions.
What About Ultrasonic Mouse Repellers?
I wouldn’t build my mouse-control plan around plugging in a little box and hoping the mice move out.
Even if a device temporarily changes animal behavior, it doesn’t address the things I care about most:
Where are the mice entering?
Which mice are already inside?
Where is the food?
Where are they nesting?
Have the openings been sealed?
I would spend my effort on exclusion and trapping before relying on an ultrasonic device as the answer.
What About Peppermint Oil?
Same idea.
Your house can smell like a candy cane and still have a structural opening large enough for a mouse.
I don’t want a mouse-control plan dependent on continually making the house smell unpleasant to a mouse.
I want the mouse physically unable to get inside.
If you like peppermint, fine.
I just wouldn’t confuse scent with exclusion.
Mothballs Aren’t a Mouse-Control Shortcut Either
Don’t start putting mothballs around the house as a homemade wildlife repellent.
Mothballs are pesticides intended for specific labeled uses.
They aren’t something I’d scatter around living spaces, attics, crawl spaces, or the yard trying to create an improvised mouse barrier.
Follow pesticide labels.
For mice, stick with the much less exciting but much more sensible approach:
Trap.
Seal.
Clean.
Remove food.
Monitor.
Step 10: Check Outside the House Too
Your indoor mouse problem doesn’t exist in isolation.
Look around the exterior.
Are weeds and vegetation dense against the house?
Is firewood stacked directly beside the foundation?
Is bird seed constantly scattered beneath a feeder next to the building?
Is livestock feed spilling beside the garage?
Are garbage containers accessible?
Is clutter providing protected hiding areas?
You aren’t going to eliminate every wild mouse from the property.
That’s not the goal.
You want to make the immediate area around your house less attractive while making the building itself much harder to enter.
Rural Homes Need a Realistic Mouse Strategy
If you live around fields, barns, livestock, chicken feed, gardens, or grain, expecting the entire property to contain zero mice isn’t realistic.
But the house can still be protected.
This is where exclusion becomes especially important.
You may have mice living outdoors forever.
That’s fine.
They can live outdoors.
The problem begins when the house offers a quarter-inch doorway, warm insulation, dog food, and a pantry.
A good rural mouse-control plan doesn’t depend on eradicating mice from the countryside.
It depends on making the house a lousy place for them to enter and live.
When Should You Call Pest Control?
There are plenty of mouse problems homeowners can tackle.
But professional help makes sense when:
- You can’t find the entry points
- Trapping isn’t reducing activity
- Mice keep returning after exclusion
- The infestation is extensive
- Contamination is severe
- Rodents are in inaccessible spaces
- You’re dealing with a commercial or complicated structure
- You aren’t comfortable handling the cleanup
- You suspect a different rodent than you originally thought
A good professional shouldn’t simply scatter bait and disappear.
I’d want to know what they’re doing about entry points and long-term prevention too.
Because killing the current mice without fixing the building leaves the door open for the next ones.
How Long Does It Take to Get Rid of Mice?
There’s no honest universal answer.
One mouse entering through an obvious garage-door gap is different from a breeding population established throughout a large house.
What I care about is whether the evidence is trending toward zero.
Are catches stopping?
Have new droppings stopped appearing?
Has the nighttime scratching stopped?
Is food no longer being damaged?
Have the known entry points been sealed?
CDC says a week without captures and without new rodent evidence is a useful indication that the infestation has been eliminated.
Keep monitoring beyond that, especially around previously active areas.
What If the Mice Come Back?
If mice return after you thought the problem was solved, don’t automatically blame the traps.
Ask a better question:
What did we miss?
Maybe there’s another entry point.
Maybe the garage door still has a gap.
Maybe a utility penetration wasn’t sealed.
Maybe mice are entering at the roofline.
Maybe the food source remains.
Maybe the original population was larger than expected.
A returning mouse is information.
Use it.
My Mouse-Control Checklist
If I were tackling mice in a house today, this is the order I’d follow:
- Confirm the signs are actually from mice.
- Identify the rooms and routes with the most activity.
- Put multiple mouse traps along those routes.
- Check and reset traps regularly.
- Inspect the entire house for mouse-sized entry points.
- Seal openings with appropriate durable materials.
- Store human food, pet food, bird seed, and animal feed securely.
- Clean crumbs and spills, especially behind appliances.
- Reduce clutter and nesting opportunities.
- Clean droppings and nests using safe rodent-cleanup procedures.
- Continue monitoring until there are no catches or fresh signs.
- Reinspect if activity returns.
Notice that only a couple of those steps involve actually killing mice.
That’s because long-term mouse control is mostly about making the house stop working for mice.
Catching Mice Is Only Half the Job
This is the point I want you to remember.
If you catch six mice but leave their entry hole open, you haven’t solved the problem.
If you seal every hole but ignore the mice already living inside, you haven’t solved the problem.
If you trap and seal but leave open bags of feed and piles of nesting material everywhere, you’re making the job harder than it needs to be.
The strongest mouse-control plan combines all of it.
Trap the mice already inside.
Seal the ways they’re getting in.
Remove easy food and shelter.
Clean contaminated areas safely.
Keep watching for fresh evidence.
You don’t need a house full of gimmicks.
You need to make your house difficult to enter and unrewarding once a mouse gets there.
That’s how you go from catching a mouse every few weeks to actually getting the mouse problem under control.
About the author: Caleb Rourke researches how mice and other rodents get into homes, where they hide, and the practical steps homeowners can use to identify and prevent them. He writes straightforward rodent-control guides for Critter Answers.