
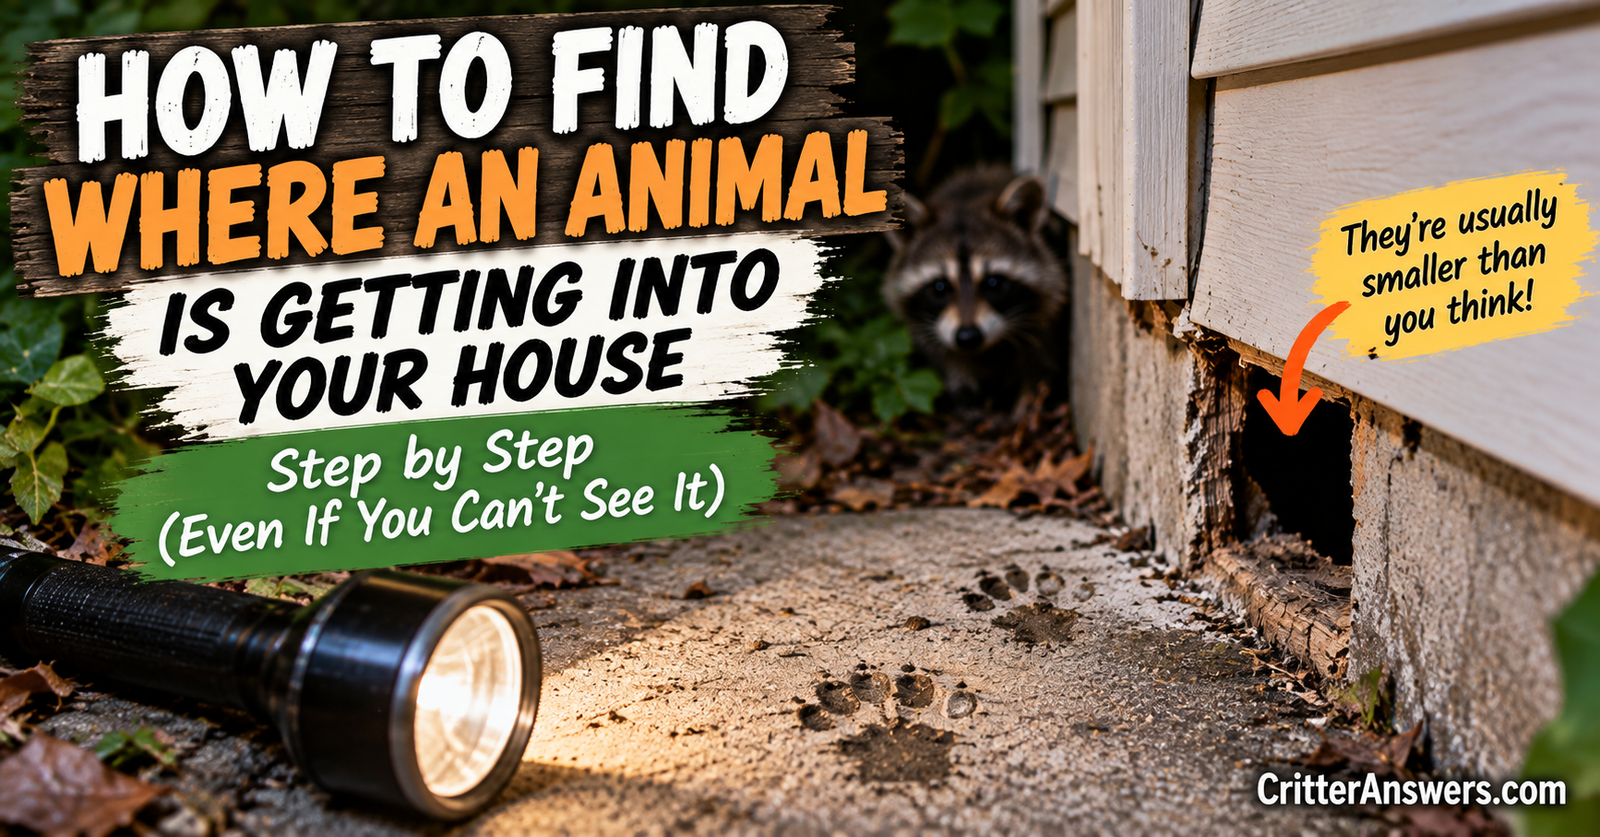
Finding an animal inside your house is frustrating. Finding the hole it used to get there can be even harder.
The opening may not be anywhere near the room where you’re hearing the animal. A mouse can enter near the foundation and travel through hidden spaces. A squirrel may come through the roofline and move into a wall. Other wildlife can use attics, crawl spaces, vents, chimneys, and damaged portions of the exterior. The same inspection logic applies to smaller invaders too, and common fly entry points can help you check overlooked openings around the house.
The best way I’ve found to approach the problem is to stop searching randomly and work around the house systematically.
Start low. Work your way up. Look for openings, but also look for the evidence animals leave around openings: droppings, gnawing, staining, tracks, hair, disturbed insulation, and repeated travel patterns.
And don’t permanently seal the first suspicious hole you find until you know whether an animal is still inside.
Start With the Area Where You’re Hearing Activity
The noise won’t necessarily reveal the entrance, but it gives you somewhere to begin.
Write down where activity seems strongest.
Is it:
- Inside a kitchen wall?
- Above a bedroom?
- Near the attic?
- Beside a chimney?
- Under the floor?
- Near an exterior wall?
- Around the garage?
- Close to a bathroom or plumbing wall?
Then think about how the sound moves.
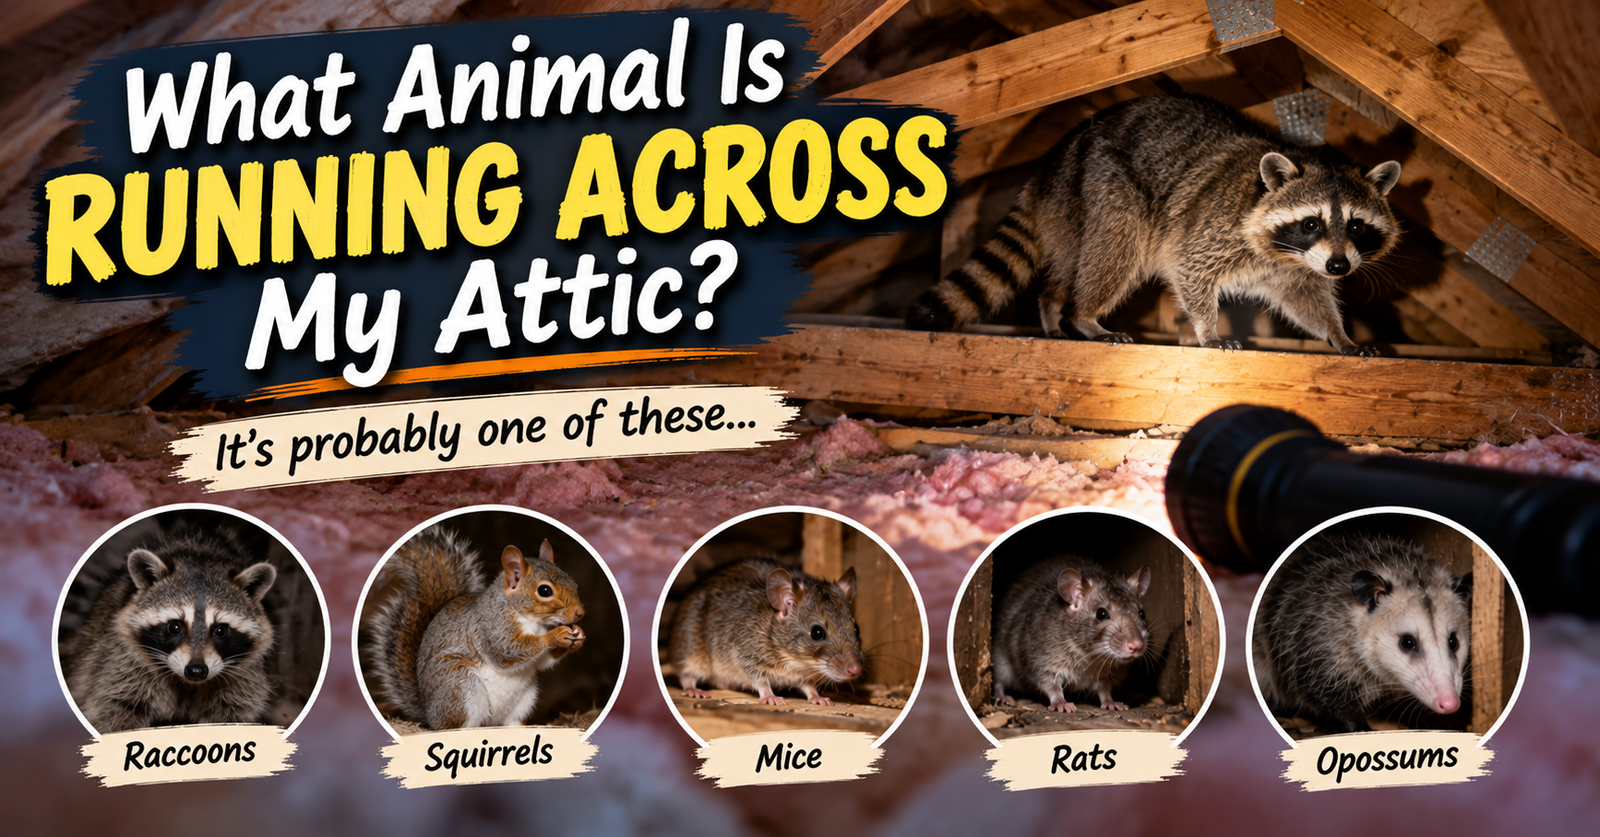
An animal that begins in the attic and later scratches inside an upstairs wall may be traveling through connected structural spaces.
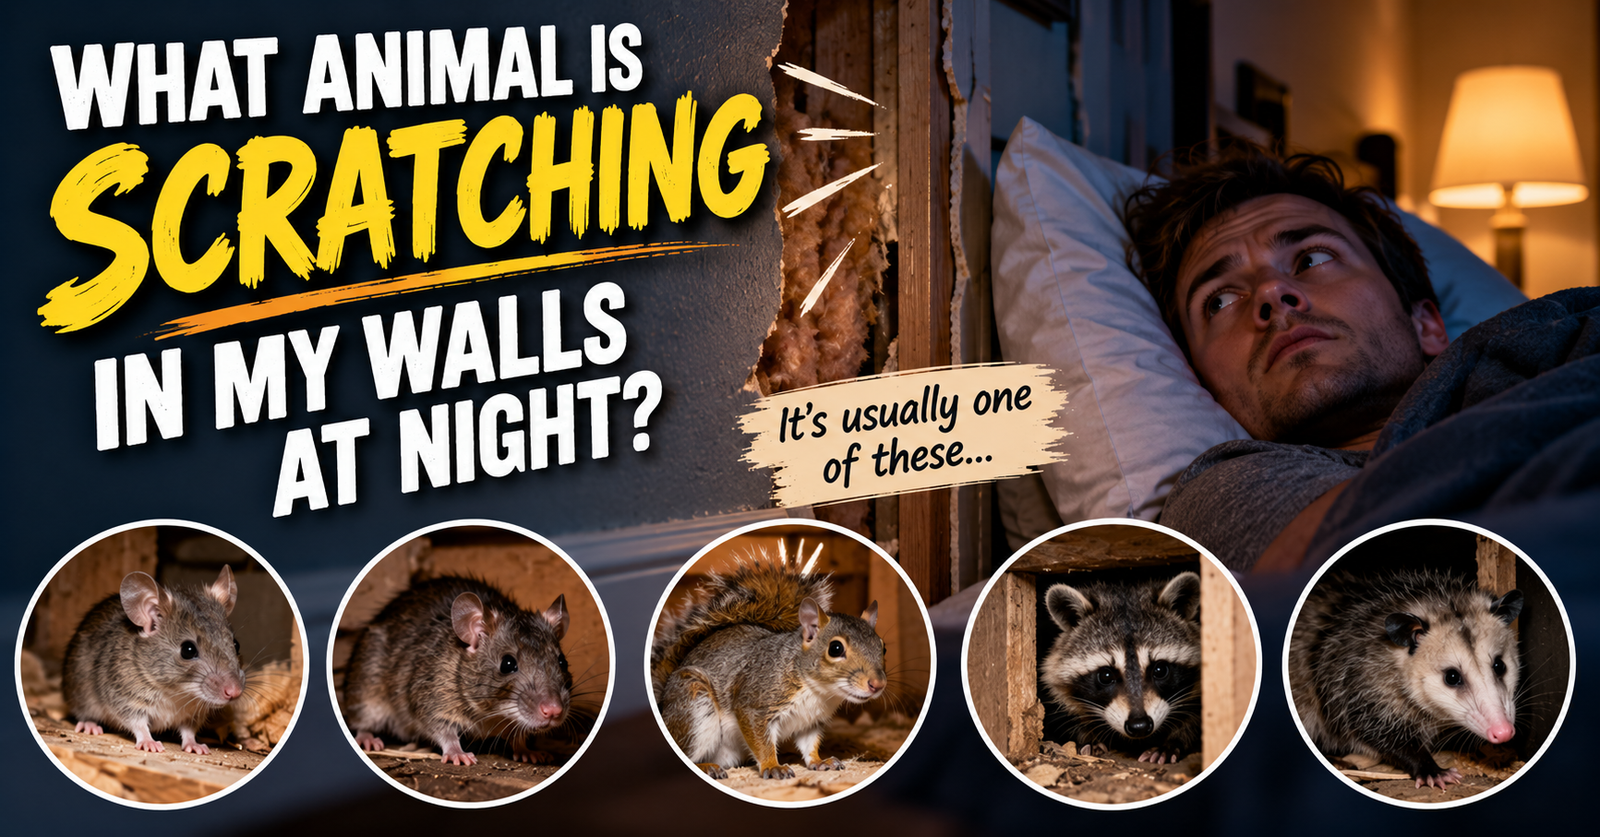
If you’re still trying to determine what the animal actually is, my guide to identifying an unknown critter inside your house can help you combine sounds, droppings, smells, damage, and activity times before you start planning exclusion.
Knowing the likely animal makes finding its entrance much easier.
Don’t Assume the Entrance Is Beside the Noise
This is one of the easiest mistakes to make.
You hear scratching behind the bedroom wall, so you inspect the siding directly outside that bedroom.
Nothing.
That doesn’t mean there’s no animal.
Wall cavities, attic spaces, floor systems, plumbing chases, and other hidden parts of a house can act like little highways.
The animal may have entered on another side of the structure.
That’s why I eventually inspect the entire exterior, even when the noises seem concentrated in one room.
Start at Ground Level
I like beginning at the foundation and working upward.
It keeps the inspection organized and makes it less likely that you’ll overlook something obvious.
Walk slowly around the entire house during daylight.
Look where the foundation meets:
- Siding
- Brick
- Stone
- Doors
- Garage framing
- Utility lines
- Crawl-space vents
- Steps
- Porches
- Decks
You’re looking for gaps that shouldn’t be there.
Some will be obvious.
Others may be surprisingly small.
Mice Can Use Tiny Openings
This is why rodent entry points are so easy to miss.
Mice can fit through an opening roughly 1/4 inch wide, about the width of a pencil.
That means you aren’t necessarily looking for a dramatic hole.
A little gap around a pipe can be enough.
A separation where two materials meet can matter.
An opening beneath siding can matter.
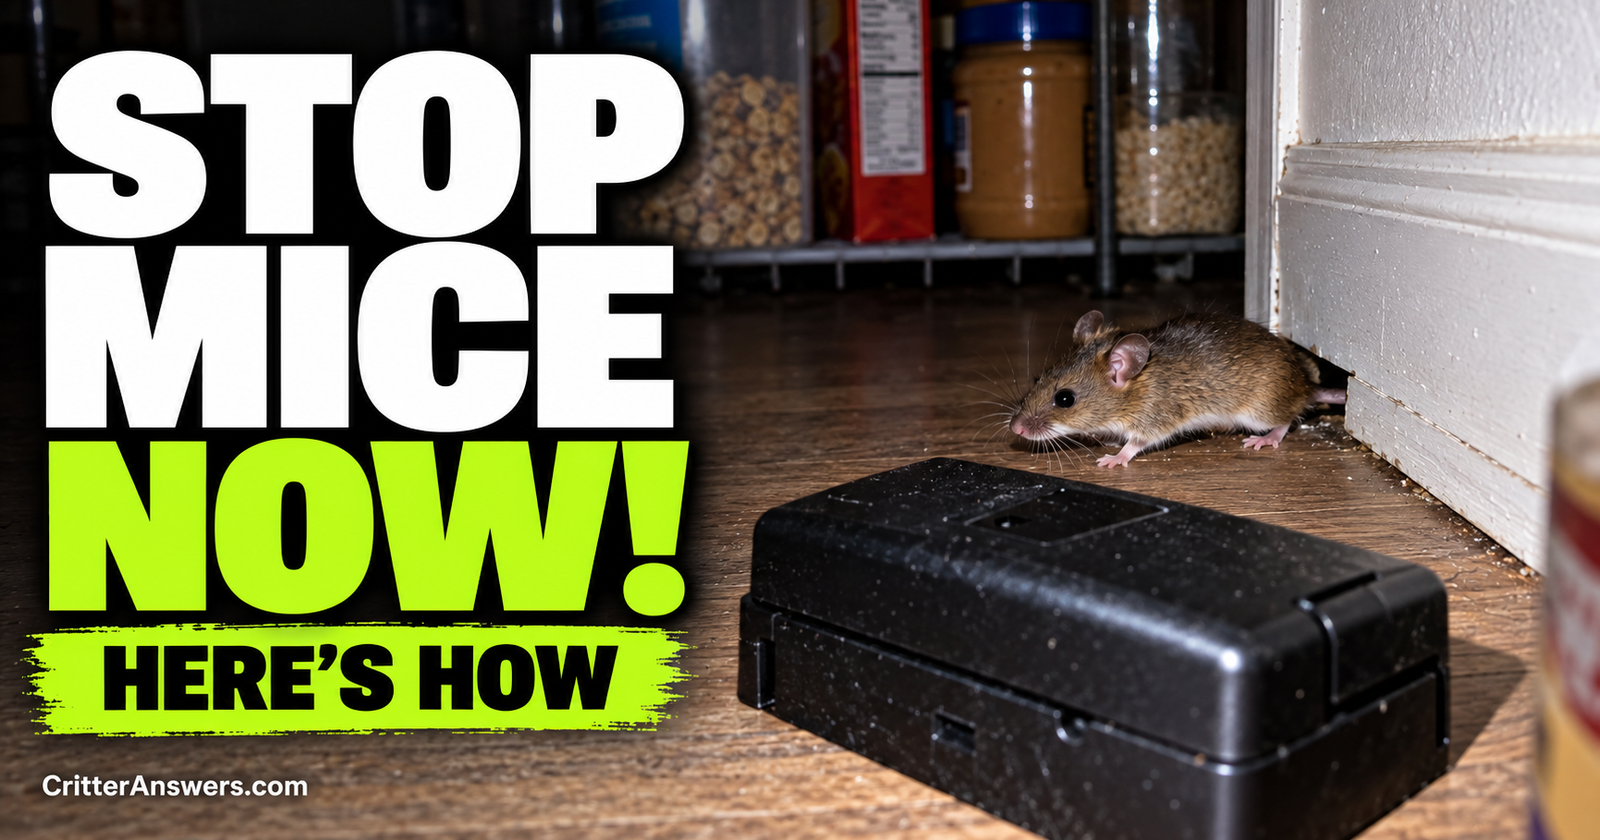
When mice are suspected, I pay close attention to every small penetration around the lower part of the house. Once you've found those entry points, getting rid of mice in your house also requires dealing with the mice already inside.
Check Every Utility Penetration
Houses have lots of intentional holes in them. Those same openings can also provide entry points for stink bugs, especially around windows, pipes, and vents; see stink bug entry points for insect-specific examples.
Plumbing enters.
Electrical service enters.
Cable and internet lines enter.
HVAC components pass through walls.
Gas lines may enter.
Dryer vents exit.
The problem isn’t necessarily the utility itself. It’s the gap left around it.
Inspect around:
- Water pipes
- Gas lines
- Electrical lines
- Cable lines
- Air-conditioning lines
- Hose bibs
- Dryer vents
- Exhaust vents
Look at the entire perimeter around the penetration.
A small opening may be easy to overlook when you’re concentrating on the pipe instead of the space around it.
Check Where Different Building Materials Meet
Transitions are another place I pay attention to.
Any place where one construction material meets another can develop gaps.
Examples include:
- Siding meeting foundation
- Brick meeting siding
- Roof meeting wall
- Soffit meeting fascia
- Additions meeting the original house
- Porch roofs meeting walls
- Garage framing meeting the house
Age, movement, weather, rot, and previous repairs can all create opportunities.
You don’t need to understand every construction detail.
You’re simply looking for places where the exterior envelope is no longer closed.
Garage Doors Can Leave Bigger Gaps Than You Think
Garages deserve their own inspection.
Look along the bottom and both sides of the garage door.
Weather stripping can become:
- Torn
- Loose
- Chewed
- Missing
- Warped
- Poorly fitted
Check corners particularly closely.
Then inspect the wall separating an attached garage from the house.
An animal getting into the garage isn’t necessarily the same as an animal getting into your living space, but an attached garage can give rodents another protected area from which to search for routes farther inside.
Crawl-Space Vents Are Easy Access Points When Damaged
If your home has a crawl space, inspect every vent.
A vent can look fine from 20 feet away and still have:
- A broken screen
- A missing section
- A loose frame
- A chewed corner
- A gap around its perimeter
Also inspect crawl-space doors and access panels.
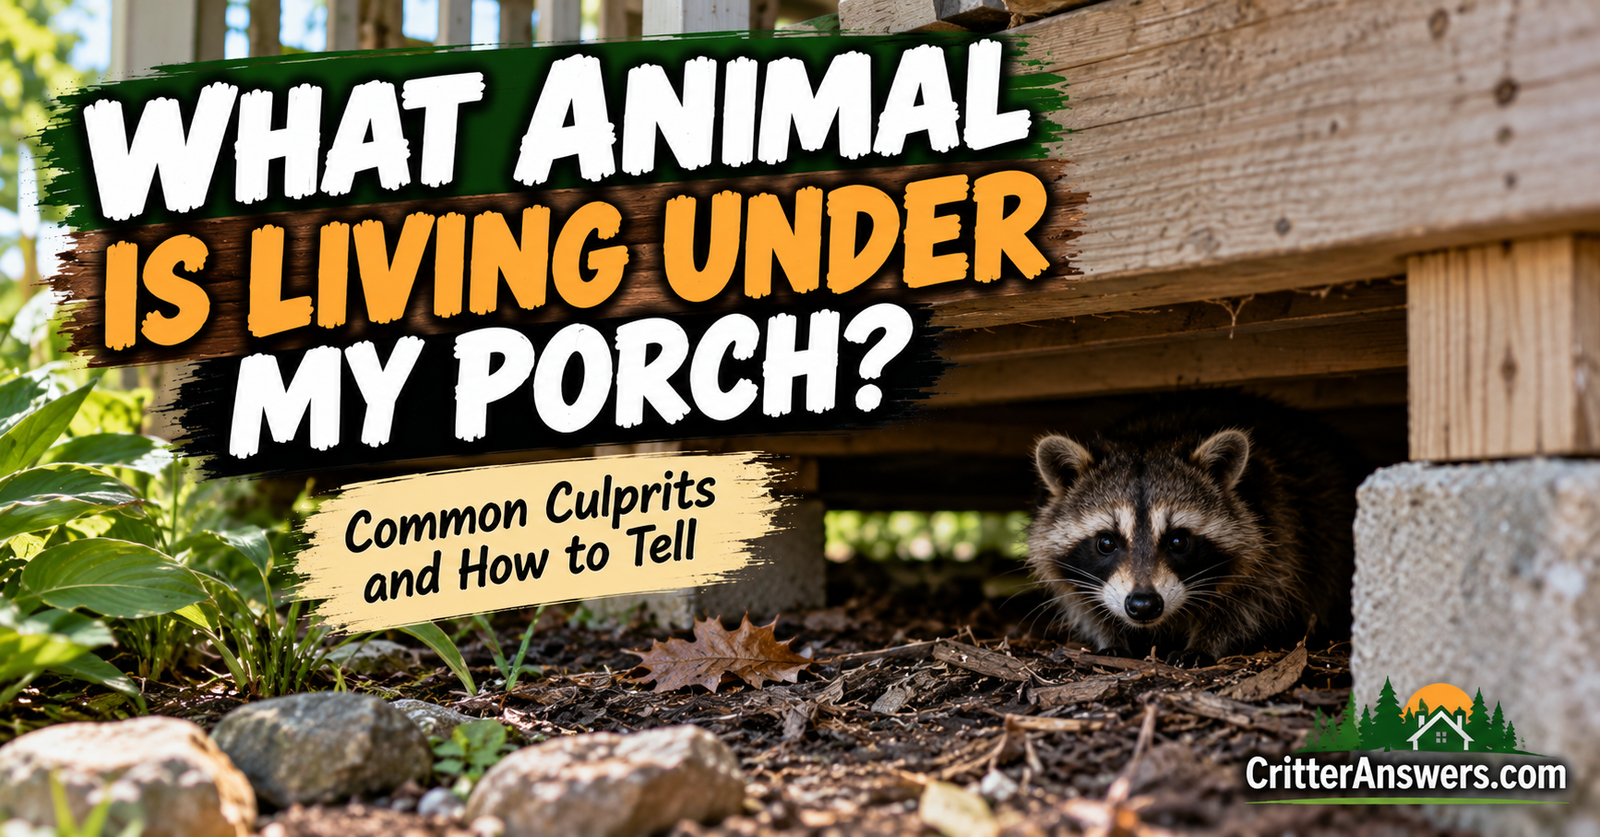
If something has been living underneath the house, you may find disturbed soil, tracks, hair, droppings, or an obvious path near the opening. Those clues can help you investigate animals living underneath a house without approaching the animal directly.
Don’t crawl into a confined space when you suspect a wild animal is still inside.
You can learn quite a bit from outside first.

Look Under Porches and Decks
Porches and decks create protected areas that can hide entrances.
You may not be able to see the foundation easily behind them.
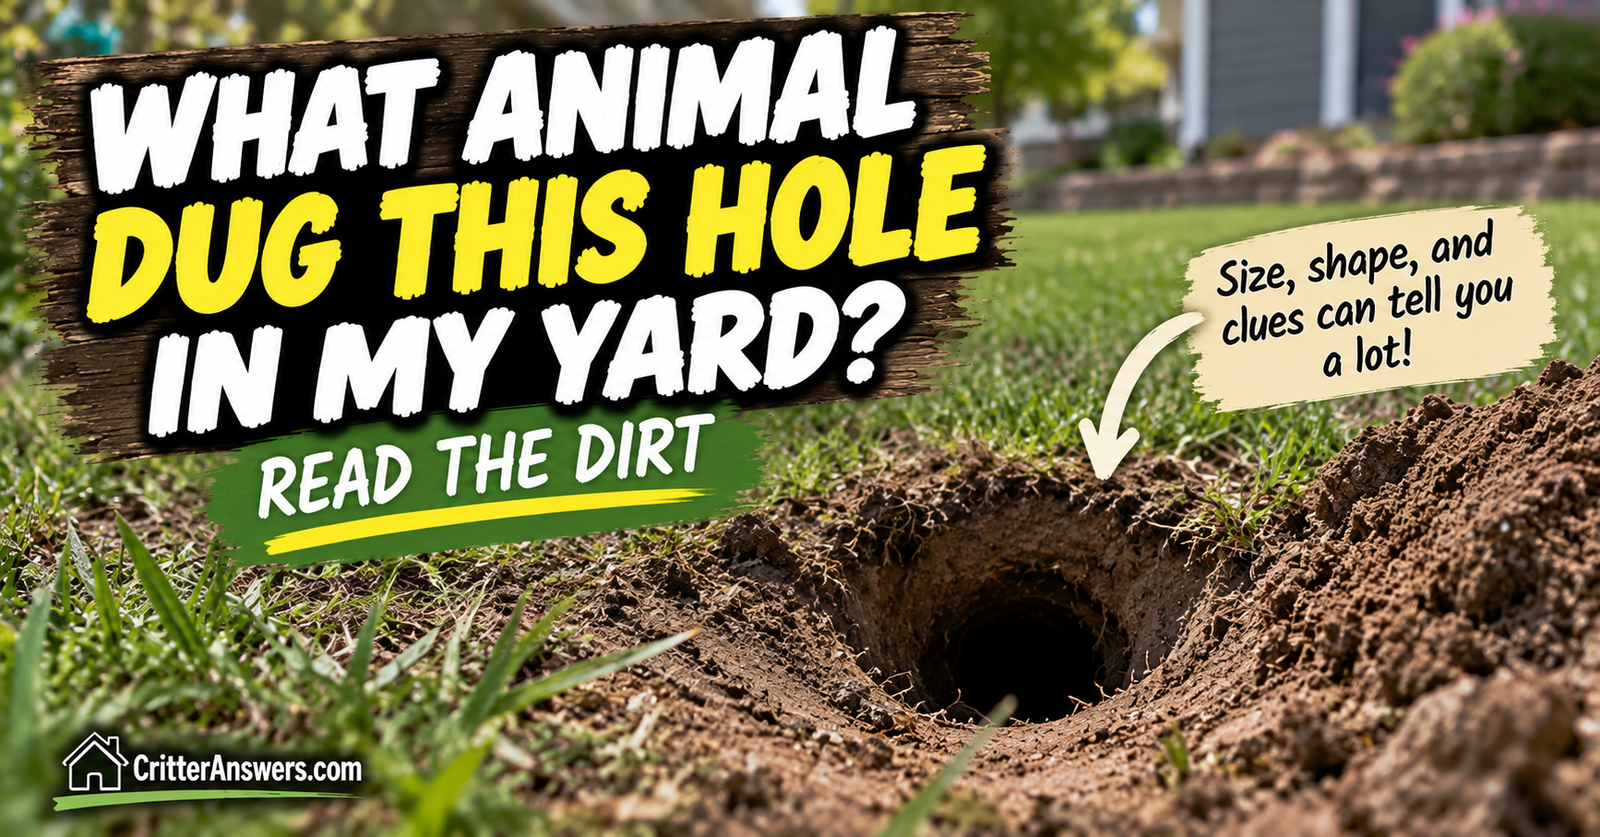
Look for disturbed soil, burrows, damaged lattice, loose skirting, tracks, and obvious travel paths.
A larger opening beneath a structure may point toward a completely different visitor than a pencil-sized gap around a utility pipe.
That’s where knowing the likely species becomes useful.
Now Look Up
Once I’ve completed the lower perimeter, I start inspecting higher areas.
This is where squirrels, raccoons, bats, birds, and some rodents become particularly relevant.
You don’t need to climb onto the roof.
In fact, I wouldn’t.
Use binoculars or your phone’s zoom from the ground when possible.
Inspect:
- Soffits
- Fascia
- Roof edges
- Gable vents
- Attic vents
- Roof vents
- Chimneys
- Roof-to-wall intersections
- Dormers
- Damaged siding near the roof
- Areas around gutters
You’re looking for openings, but you’re also looking for damage that suggests an opening is being used.
Soffits Are One of the First Places I’d Check for Attic Wildlife
Soffits can become vulnerable when material rots, separates, gets damaged, or wasn’t fitted tightly in the first place.
Squirrels can exploit vulnerable roofline areas, and larger animals may enlarge weak spots.
Look for:
- Bent sections
- Missing pieces
- Chewed edges
- Dark openings
- Loose panels
- Discoloration
- Material that appears pushed inward
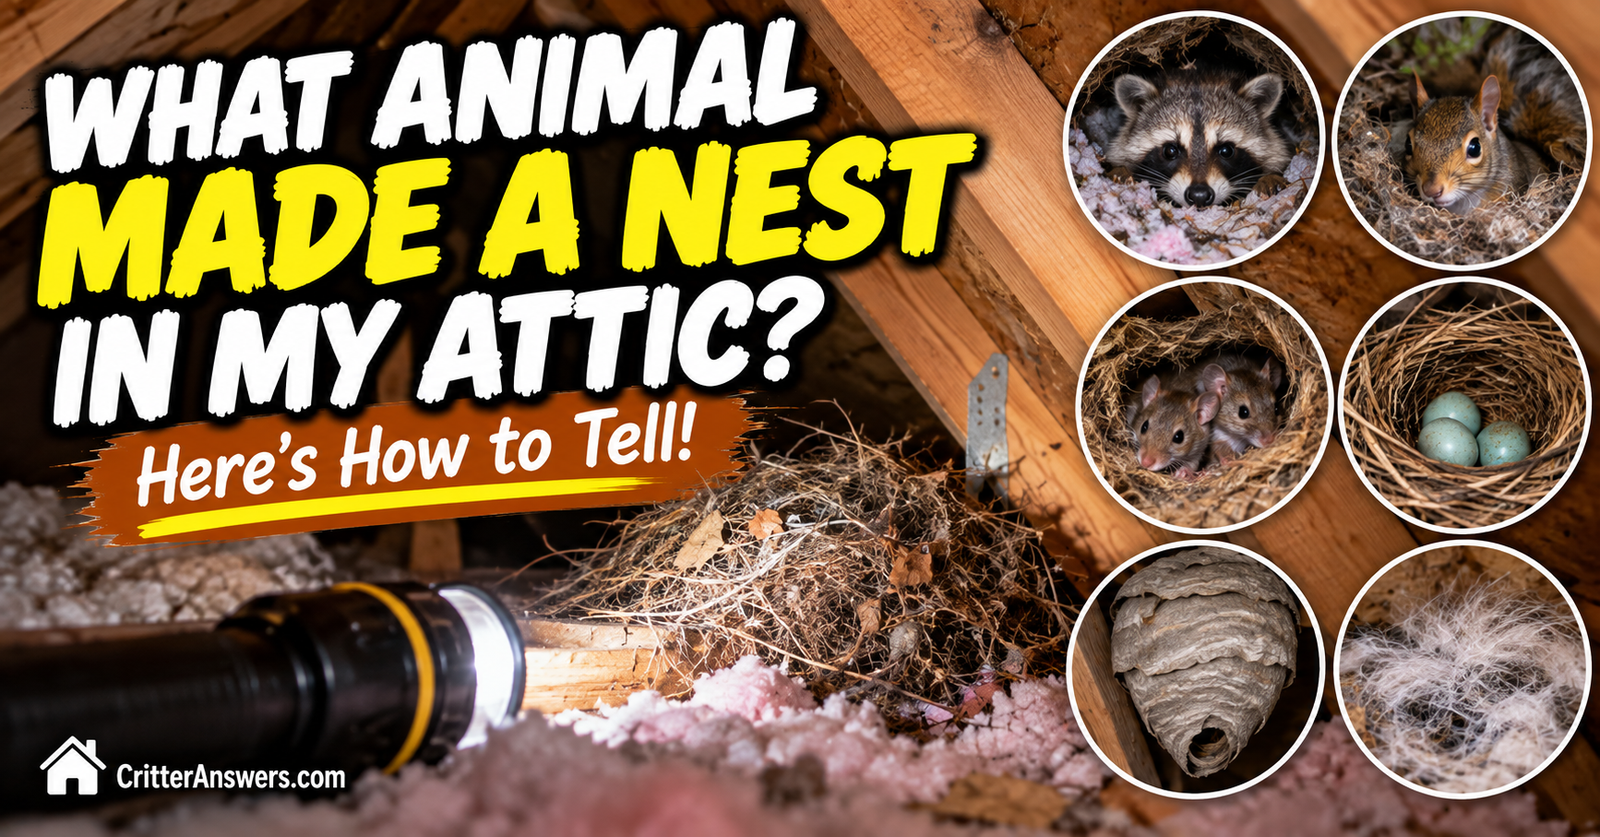
If you’ve found an animal nest inside your attic, I’d pay particularly close attention to the roofline nearest the nesting area.
The nest and entrance may not be directly beside each other, but that’s a sensible place to begin.
Inspect the Fascia and Roof Edge
Fascia boards can deteriorate over time.
A rotten or damaged section can create an opportunity for wildlife.
Squirrels are particularly worth considering around upper-level openings. Missouri Extension recommends inspecting and repairing rotten boards along soffits and eaves and covering attic vents appropriately when excluding squirrels.
Raccoons can cause more substantial damage and may exploit vulnerable roof areas too.
Look for sections that appear:
- Pulled away
- Rotten
- Broken
- Chewed
- Bent
- Recently disturbed
Compare suspicious areas with the rest of the roofline.
Sometimes the abnormal spot becomes obvious once you stop looking at the roof as one big object.
Don’t Forget Gable and Attic Vents
Vents are supposed to be openings.
That’s what makes them easy to overlook.
The question is whether the protective screening behind them is intact.
From a safe location, inspect for:
- Torn screening
- Missing screening
- Bent louvers
- Loose covers
- Chewed edges
- Gaps around the vent frame
An animal doesn’t need to create a completely new hole if the house already provides one with a damaged screen.
Chimneys Can Be Wildlife Entrances
An uncapped or damaged chimney can provide shelter or access for certain wildlife and birds.
Check whether the chimney cap appears intact.
Also pay attention to sounds associated specifically with the chimney.
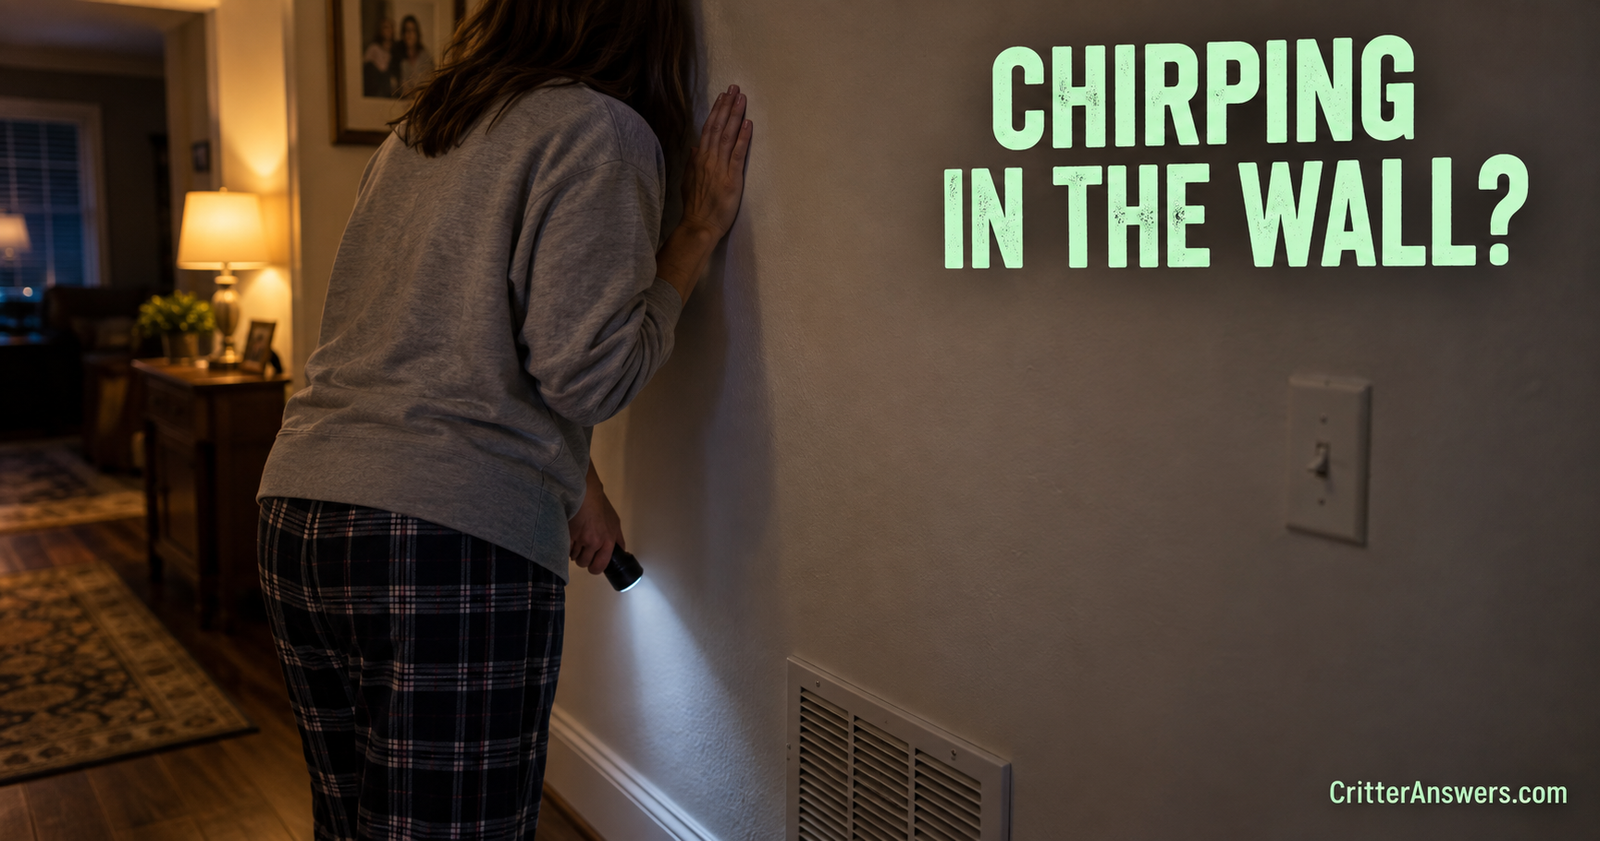
Fluttering, chirping, scratching, or other noises around that location may be more informative than general sounds somewhere above the ceiling.
Don’t climb onto the roof to inspect a chimney if you can’t do it safely.
High entry points are exactly where binoculars, a zoomed camera, or a professional inspection earn their keep.
Bats Can Use Openings That Don’t Look Impressive
A bat entrance may be much less obvious than a raccoon opening.
Missouri Extension notes that bats commonly enter around roof-wall joints, loose fascia, broken attic vents, and other small cracks in deteriorated building areas.
With bats, observation can be particularly useful.
If you suspect a high opening, watch the area from outside around dusk.
Seeing bats emerge from a particular gap is much stronger evidence than finding a random crack and assuming you’ve solved the mystery.
Don’t stand directly beneath the opening or try to handle a bat.
Look for Rub Marks and Staining
The hole itself isn’t always your best clue.
Repeated animal traffic can leave evidence around it.
Look for:
- Dark staining
- Greasy-looking marks
- Dirt around an otherwise clean opening
- Worn edges
- Discolored surfaces
- Repeated scuffing
The significance depends on the animal and surface, so don’t identify a species from a smudge.
But a suspicious opening with obvious signs of repeated use deserves much more attention than an identical opening that looks untouched.
Look for Hair Caught Around the Opening
Hair can snag on rough edges when mammals repeatedly squeeze through a tight opening.
Inspect suspicious gaps without putting your fingers inside them.
You may see hair caught on:
- Splintered wood
- Rough siding
- Torn screens
- Metal edges
- Nails
- Damaged vents
A few hairs won’t necessarily identify the species.
They can, however, tell you the opening may actually be used rather than merely existing.
Look for Droppings Near Suspected Entrances
Droppings can help connect an animal to an opening.
You may find waste along a travel route, near an attic access area, around a crawl space, or close to another protected location.
Don’t pick it up with bare hands.
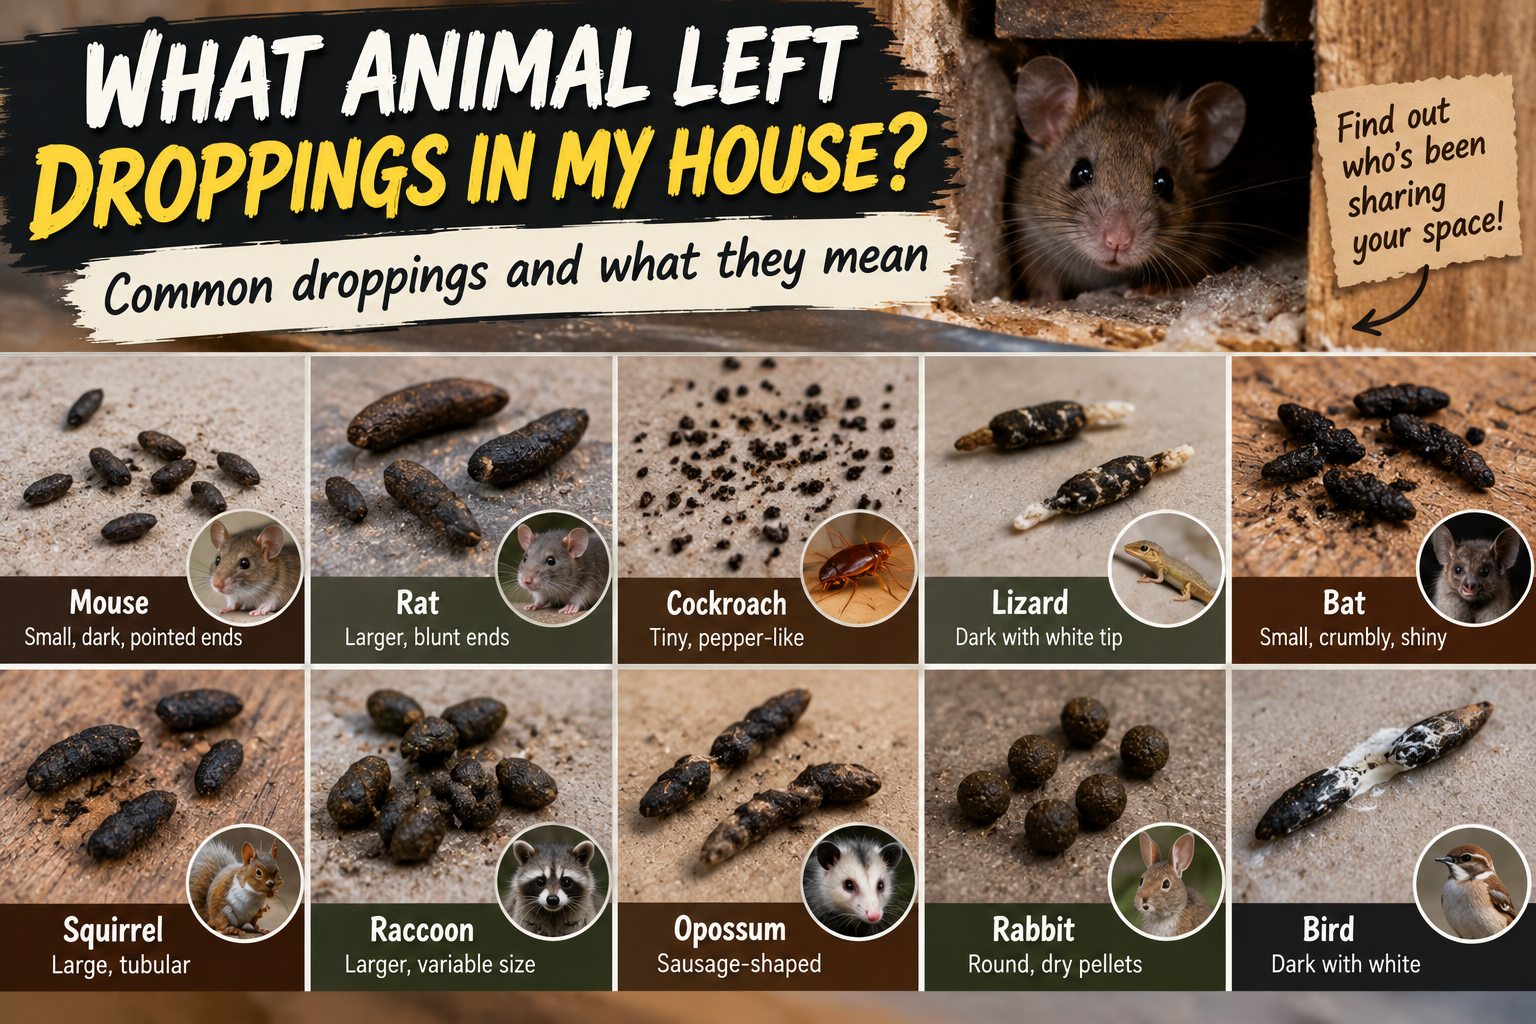
If you need help narrowing down the source, my guide to identifying mystery animal droppings in the house explains how I use size, shape, location, quantity, and surrounding evidence together.
The goal is to see whether the poop agrees with the hole.
Tiny rodent droppings near a tiny utility gap tell a much more coherent story than tiny droppings beside a giant torn soffit.
Fresh Gnaw Marks Can Point Right at an Entrance
Rodents gnaw.
That includes mice, rats, and squirrels.
A small opening with freshly exposed wood around its edges deserves attention.
Fresh gnawing may look lighter than the surrounding weathered material.
You may also see small chips or debris beneath it.
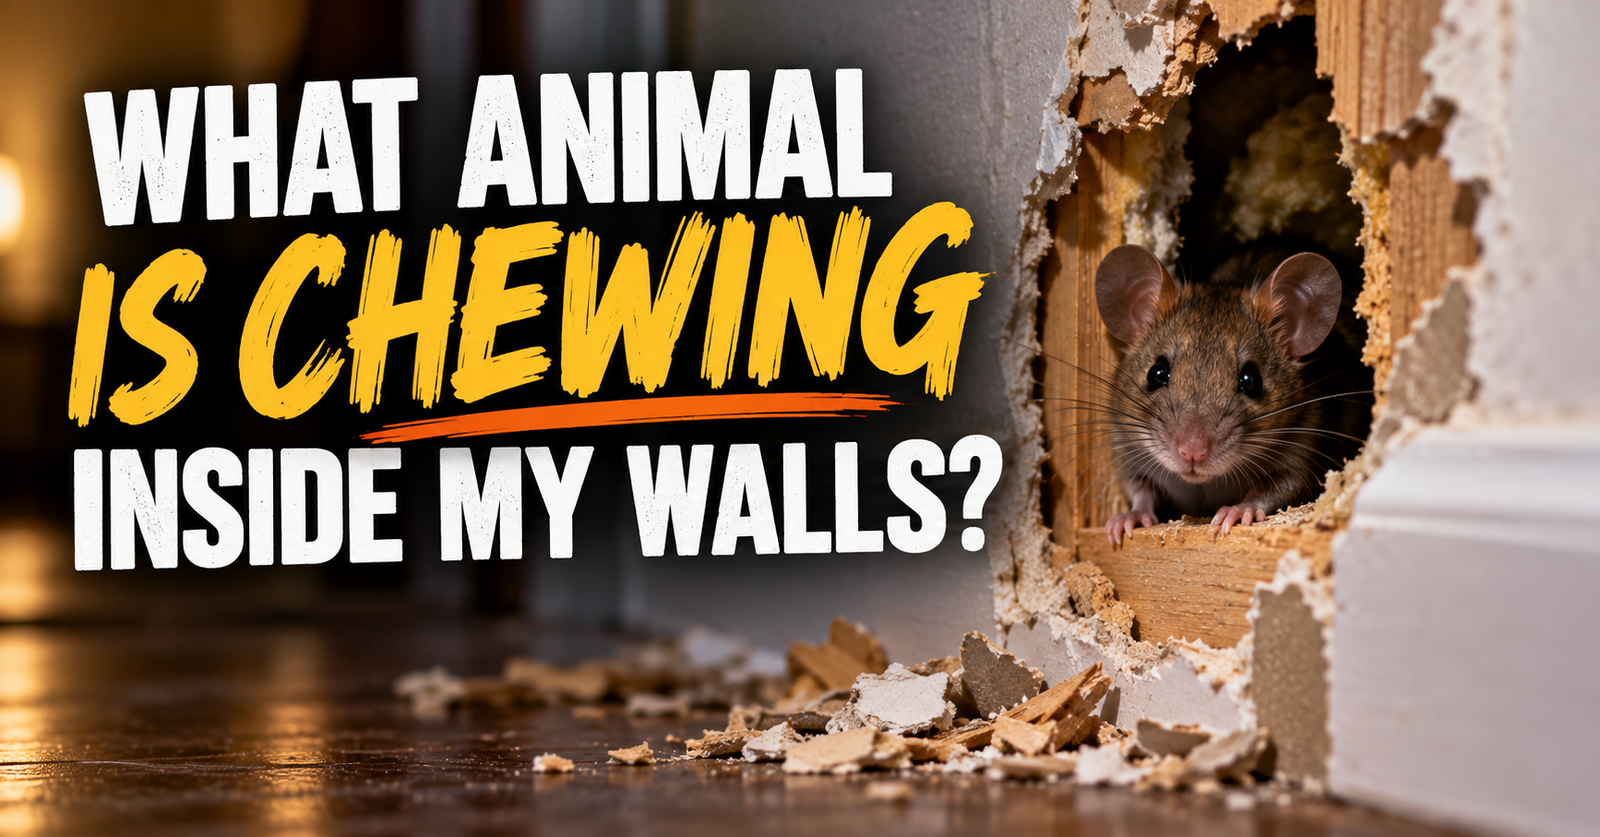
If you’re already hearing chewing or gnawing inside the structure, an exterior opening with matching damage becomes particularly interesting.
Photograph it before repairing anything.
Tracks Can Show You the Travel Route
Mud, dust, snow, or soft soil can preserve footprints.
If you find tracks naturally, look at where they lead.
Do they approach a crawl-space vent?
Disappear beneath a deck?
Lead toward a foundation gap?
Travel along a roof where you can see them from an upstairs window?
You don’t necessarily need to identify the track perfectly.
Direction alone can be useful.
An obvious trail leading repeatedly toward one suspicious opening deserves investigation.
Watch for Disturbed Insulation Inside
If you have a safe view into the attic, insulation can reveal travel routes.
You might see:
- Compressed paths
- Tunnels
- Droppings
- Nesting material
- Flattened areas
- Debris beneath an opening
Don’t crawl across exposed ceiling joists to follow the trail.
Instead, use the visible pattern to help determine which exterior portion of the house deserves closer inspection.
A travel path that consistently leads toward one soffit can be extremely useful.
Smell Can Help Narrow Down the Area
Odor isn’t just an identification clue.
It can help locate where activity is concentrated.
If one upstairs room consistently smells stronger near a particular exterior wall, that may give you another place to investigate.
Urine, feces, nesting material, and dead animals can all create odors that travel through structural spaces.
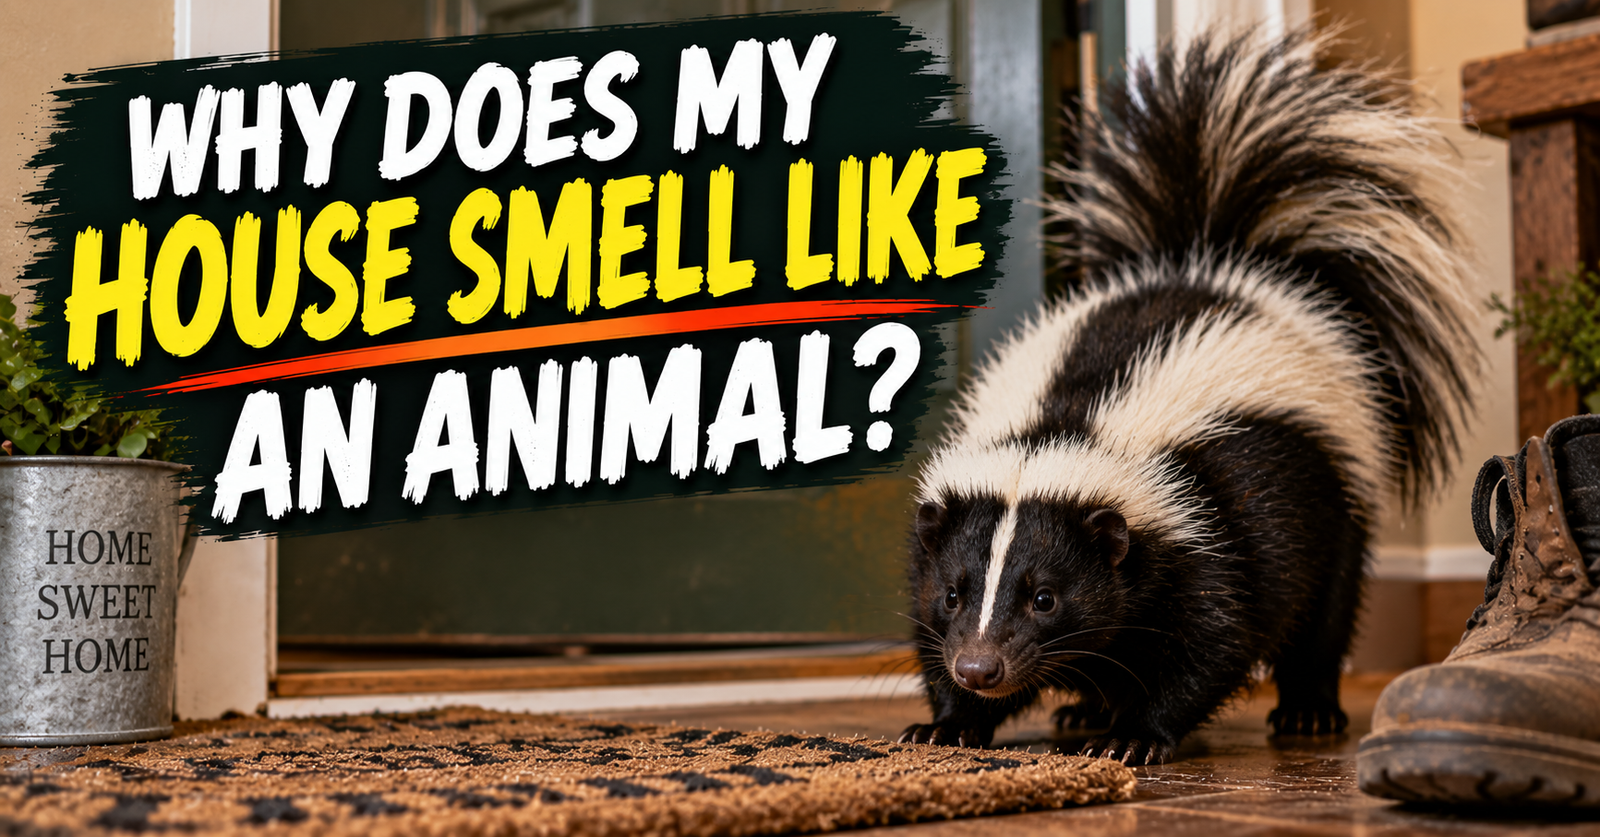
I’ve covered that process more thoroughly in why a house can suddenly smell like an animal.
Remember that airflow can move odor, so the strongest-smelling spot isn’t guaranteed to be the entrance.
It’s simply another clue.
Use the Clock to Help Find the Opening
If you know roughly when the animal becomes active, use that to your advantage.
Daytime activity
Common tree squirrels and birds become more interesting.
Watch suspected upper-level entrances from a distance.
Around dusk
This can be useful for observing bats leaving a structure and nocturnal wildlife beginning to move.
After dark
A camera is usually more useful than standing outside staring at your siding in the dark.
Raccoons, opossums, mice, rats, and other nocturnal animals may reveal their routes.
You don’t need to chase them.
You need to see where they’re going.
A Motion Camera Can Save a Lot of Guessing
This is one of the situations where a camera genuinely makes sense.
If you have narrowed the problem to two or three possible entrances, aim a motion-activated camera toward the area.
You may capture the animal:
- Approaching the house
- Climbing toward the roof
- Entering a crawl space
- Leaving beneath a porch
- Emerging from a gap
- Traveling the same route repeatedly
That’s much better evidence than looking at a hole and thinking, “Well, something could fit through there.”
You want to know whether something actually does.
Don’t Assume the Biggest Hole Is the One Being Used
This catches people.
You find an obvious gap and immediately decide that’s the entrance.
But the animal may be using a completely different opening.
Look for evidence of use.
A clean old construction gap with cobwebs stretched across it probably isn’t seeing much traffic.
A smaller opening with gnaw marks, staining, hair, tracks, or fresh disturbance deserves more attention.
The most obvious hole to you isn’t necessarily the most obvious route to the animal.
There May Be More Than One Entrance
Don’t stop after finding one.
Some animals may have multiple routes.
A building may also have several vulnerable openings even if only one is currently being used.
Finish your inspection.
This matters especially before exclusion because repairing one opening while overlooking another may leave the problem unresolved.
It can also make it harder to determine whether the animal actually left.
Be Careful Before Sealing an Active Hole
Finding the entrance feels like victory.
But don’t automatically seal it immediately.
You need to know:
- Is the animal inside right now?
- Are there young inside?
- Is this the only entrance?
- What species are you dealing with?
- Is this an animal that requires a particular exclusion approach?
Blocking wildlife inside can create a much worse situation.
An animal may damage the structure while trying to escape.
A mother may be separated from dependent young.
An animal can die in an inaccessible area and create a serious odor problem.
Identification and timing matter.
Bats Need Special Exclusion Consideration
Bats are a good example of why “find hole, fill hole” isn’t a universal strategy.
If bats are roosting in a structure, simply sealing entrances at the wrong time can trap animals inside, including flightless young.
Proper bat exclusion generally involves allowing bats to leave while preventing reentry and closing other openings appropriately.
Timing can matter because maternity colonies may contain young that cannot yet fly.
If bats are involved and you’re unsure of the correct timing or technique, this is a situation where I’d get species-appropriate professional guidance rather than experimenting.
Use the Right Material After the Animal Is Out
Once the animals have been appropriately removed or excluded and you’re confident the opening can be closed, make the repair durable.
The right material depends on the hole and the animal.
For rodent exclusion, CDC guidance recommends materials such as steel wool secured with caulk for small holes and metal, hardware cloth, cement, or metal sheeting for larger openings.
Missouri Extension similarly recommends durable exclusion and repair of soffits, vents, utility openings, and other vulnerable areas for squirrels.
The important part is repairing the actual structural weakness, not just making the hole look covered from ten feet away.
Don’t Forget to Check Inside After Exclusion
Finding and fixing the entrance solves only part of the problem.
You may still have:
- Droppings
- Urine contamination
- Nesting material
- Damaged insulation
- Chewed wiring
- Food caches
- Odor
- A dead animal
- Structural damage
If an animal occupied the house for any length of time, inspect the affected area appropriately after exclusion.
A sealed hole doesn’t magically clean the attic.
My House-Entry Inspection Order
If I wanted to find an unknown animal entrance without wandering around randomly, this is the order I’d use:
- Note where and when activity occurs.
- Identify the likely animal as closely as possible.
- Walk the entire foundation.
- Inspect every utility penetration.
- Check doors and garage-door edges.
- Inspect crawl-space vents and access doors.
- Look beneath porches and decks where possible.
- Inspect siding and material transitions.
- Move upward to soffits and fascia.
- Check attic and gable vents.
- Inspect roof-wall intersections and chimneys from the ground.
- Look for gnawing, hair, staining, droppings, tracks, and disturbed materials.
- Watch suspicious areas when the animal normally becomes active.
- Use a motion camera when visual confirmation is difficult.
- Finish inspecting the entire house even after finding one likely entrance.
That gives you a repeatable system instead of randomly plugging holes.
The Entry Point Usually Makes More Sense Once You Know the Animal
A quarter-inch gap doesn’t look important until you realize you’re dealing with mice.
A torn soffit makes more sense when you’ve been hearing daytime squirrel activity.
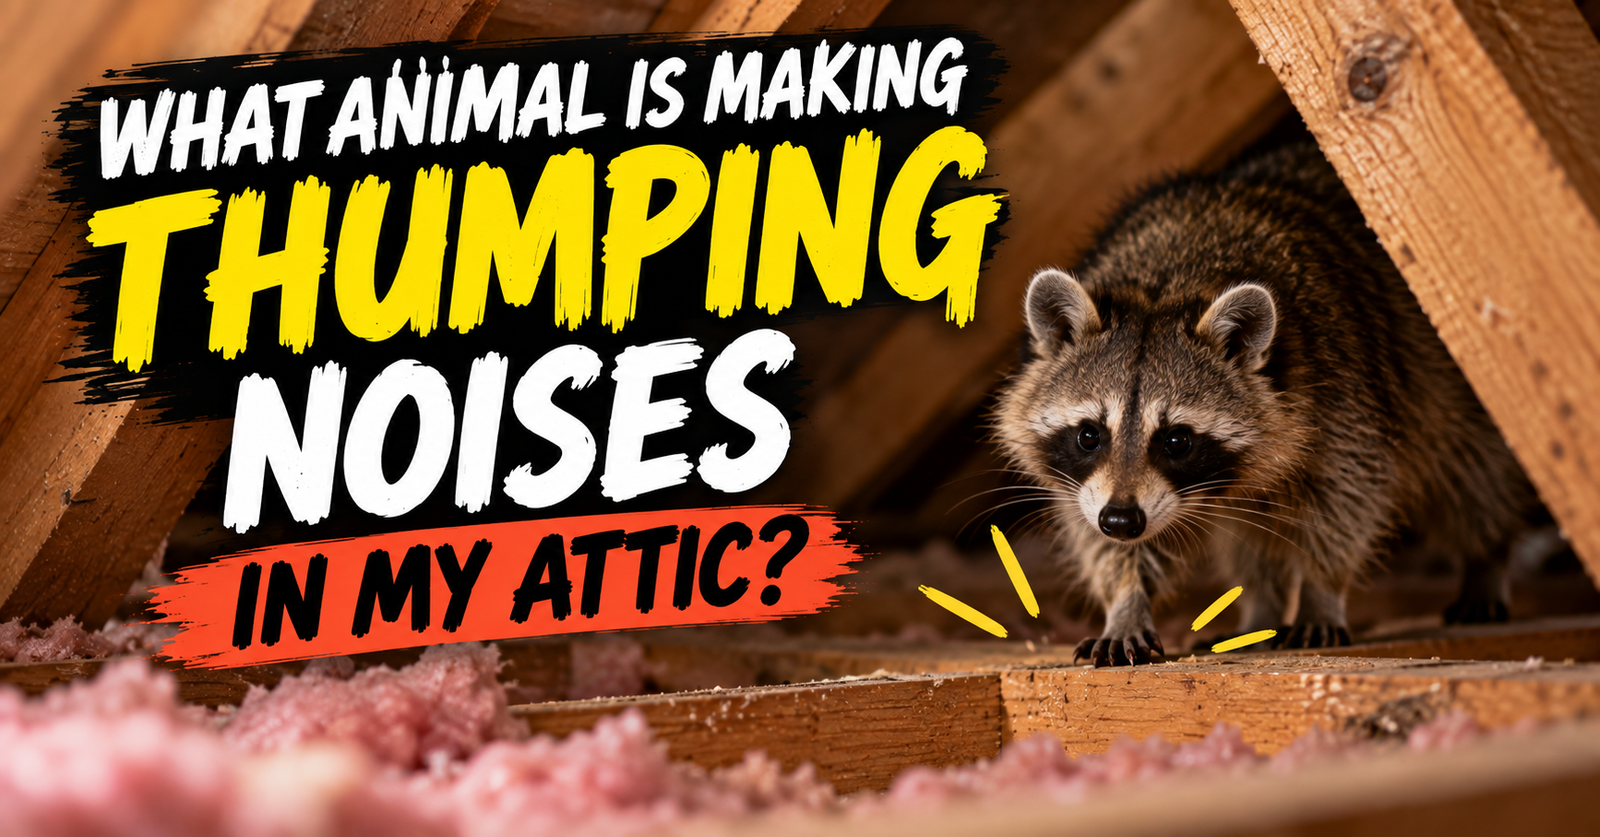
A large damaged roofline opening becomes much more interesting after nights of heavy attic thumping.
And a tiny upper gap may suddenly matter when bats emerge from it at dusk.
That’s why I don’t separate animal identification from entry-point identification.
Each helps solve the other.
Find out what you’re dealing with, inspect the house systematically, and look for evidence that a particular opening is actually being used.
Then deal with the animal before permanently repairing an active entrance.
Finding the hole is important. Finding the right hole, knowing what’s using it, and closing it at the right time is what actually solves the problem.
About the author: Nolan Mercer researches how nuisance wildlife gets into homes and the evidence animals leave behind along the way. His practical guides for Critter Answers help homeowners combine entry points, sounds, droppings, damage, and behavior instead of relying on guesswork.