
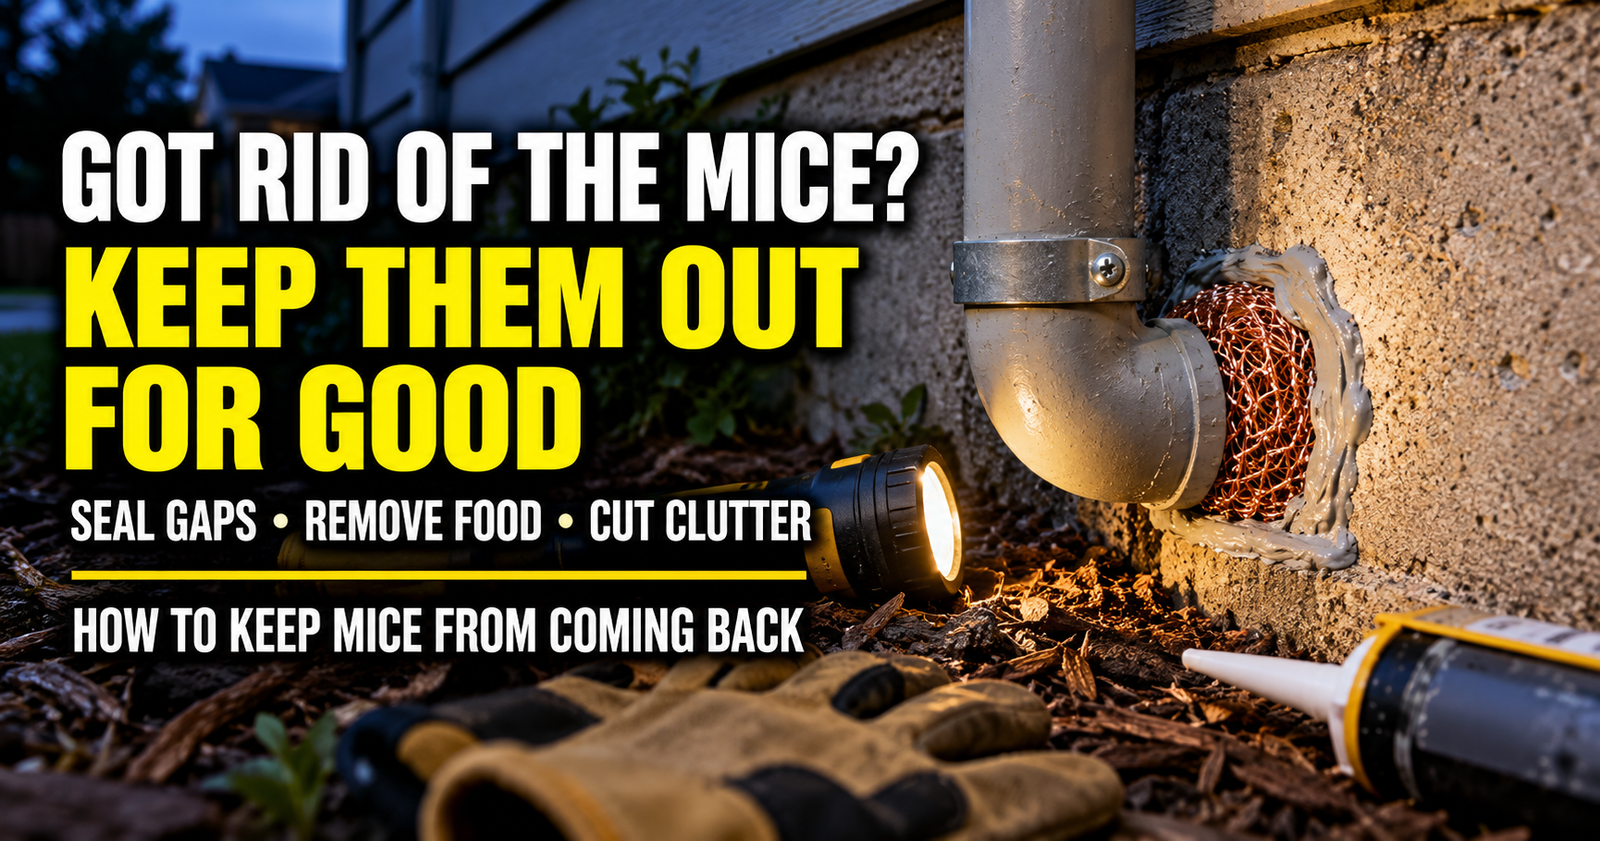
Catching the last mouse feels good.
No scratching in the wall.
No new droppings beneath the sink.
The traps stay empty.
You finally think:
They’re gone.
Now comes the part that determines whether you’re finished or whether you’ll be doing this all over again a few months from now.
If you want to keep mice from coming back, you need to close the openings they used, remove easy food and shelter, and periodically check the parts of the house where mouse activity happened before.
A mouse trap removes a mouse.
It doesn’t mouse-proof your house.
That’s why I don’t consider a mouse problem truly solved until I’ve dealt with the reason mice were able to live there in the first place.
Start With the Hole That Let the Mice Inside
This is the biggest thing I’d focus on.
Mice can squeeze through an opening about 1/4 inch wide, roughly the width of a pencil. CDC recommends inspecting the entire house for gaps at least that size.
That means the entry point may not look serious to you.
Check:
- Around plumbing
- Around electrical and cable lines
- Around gas and HVAC penetrations
- Beneath exterior doors
- Around garage doors
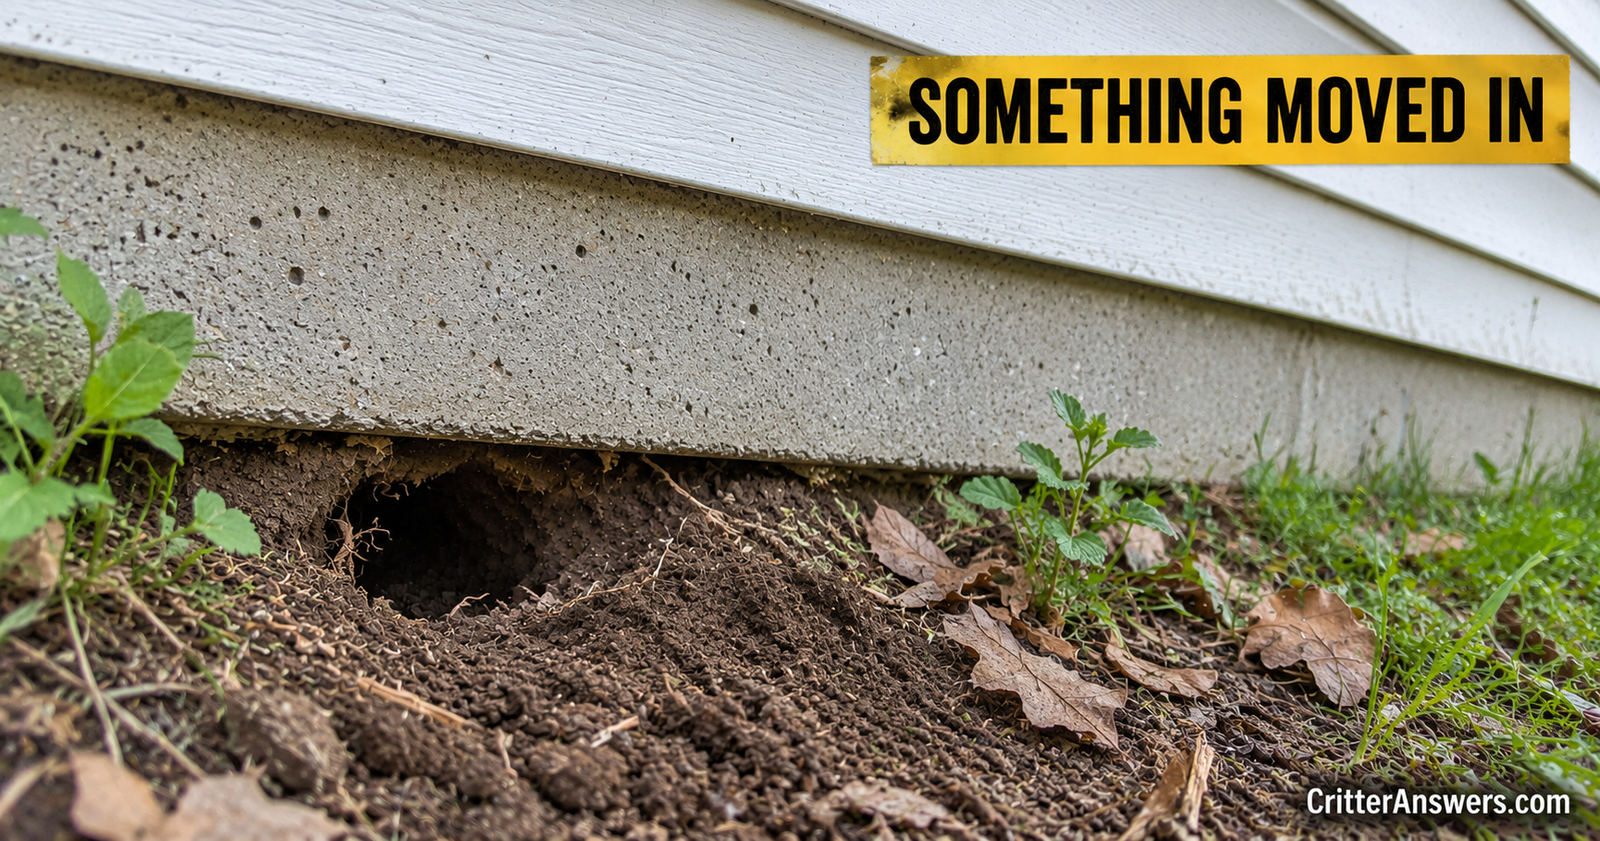
- Along the foundation
- Around crawl-space vents
- Around attic vents
- At eaves and soffits
- Behind appliances and cabinets
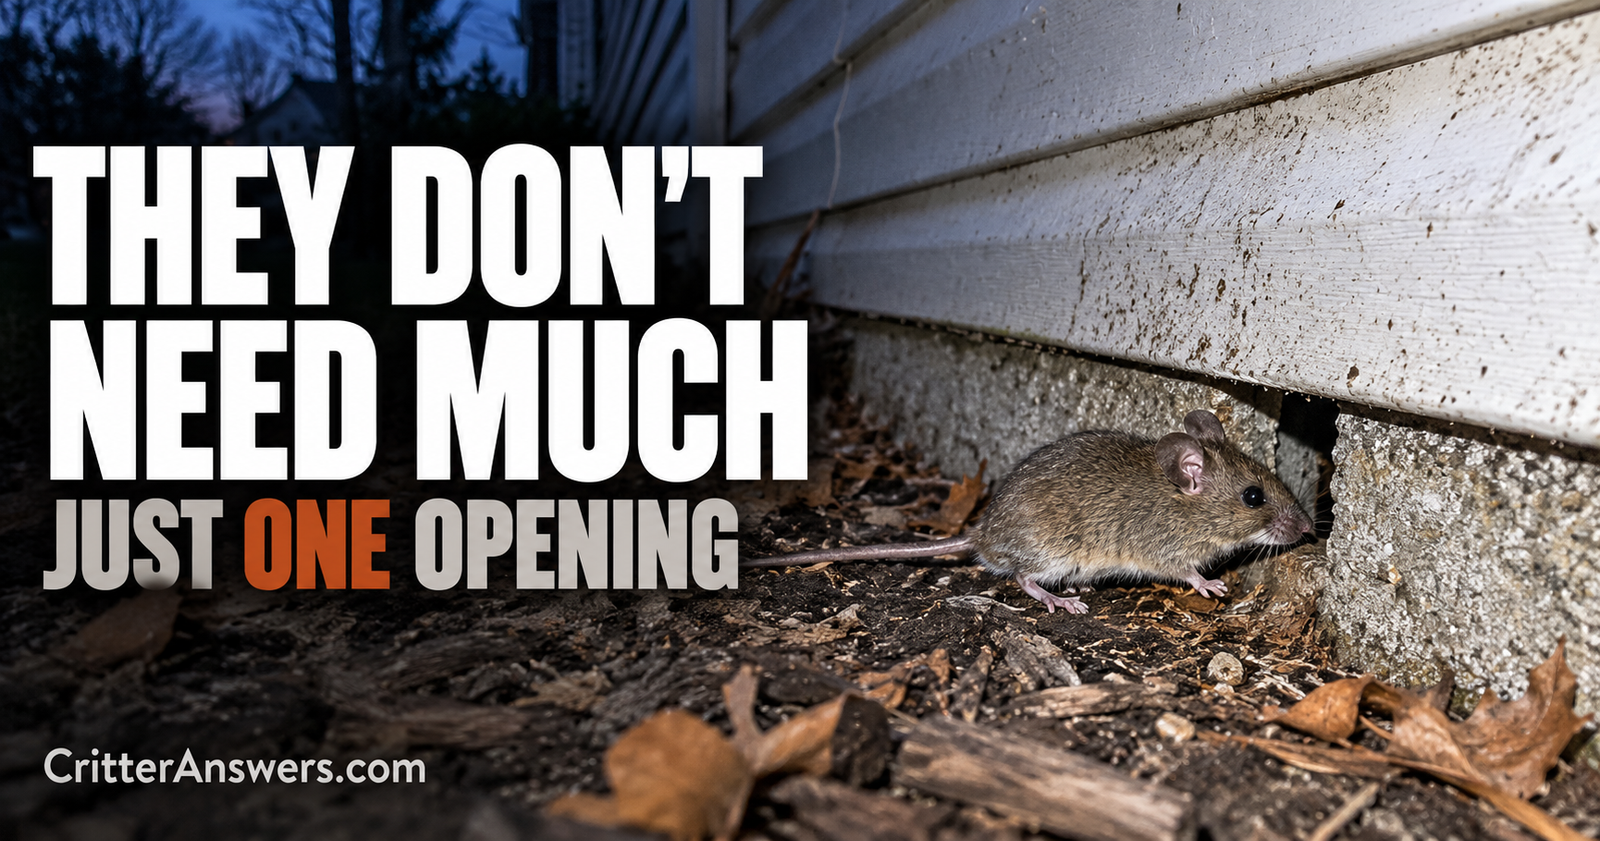
If you haven’t done a full inspection yet, our guide to the places mice use to get into a house is where I’d start.
Catching every mouse but leaving their entrance open is basically resetting the problem.
Don’t Assume You Found the Only Entry Point
You find a perfect little gap around a pipe.
Mouse droppings nearby.
Clearly used.
You seal it.
Great.
But keep looking.
A house can have several mouse-sized openings.
One may lead into the crawl space.
Another may be at the garage door.
Another may exist around an old utility line.
I prefer a whole-house exclusion inspection rather than stopping after finding the first obvious hole.



Use Materials Mice Can’t Easily Defeat
Mice gnaw.
Keep that in mind when choosing repair materials.
For small openings, CDC recommends steel wool held in place with caulk or spray foam. Larger openings may require metal, cement, hardware cloth, lath screen, or metal sheeting.
MU Extension similarly recommends durable mouse-proof materials such as metal or concrete and warns against relying on gnawable materials for mouse entry holes.
The right repair depends on the structure.
A gap around a pipe isn’t repaired exactly like a damaged crawl-space vent.
The important part is making the repair durable, not simply making the hole disappear visually.
I Wouldn’t Trust Foam Alone for Every Mouse Hole
Expanding foam can be useful as part of certain repairs.
But I wouldn’t treat a soft blob of foam as an unbeatable mouse barrier.
For a known rodent opening, I’d rather incorporate an appropriate gnaw-resistant material and use sealant where it makes sense to finish the repair.
Remember the goal:
Mouse-proof.
Not merely:
Can’t see daylight anymore.


Check Your Exterior Doors
Close each exterior door and inspect the perimeter.
Pay particular attention to the bottom corners.
Look at:
Door sweeps.
Weather stripping.
Thresholds.
Damaged frames.
Gaps where materials meet.
CDC specifically recommends inspecting windows and doors, particularly those without proper weather stripping.
A door can look perfectly closed from standing height while leaving a mouse-sized opening at one corner.
Check the Garage Door Again
If you’ve already had mice, I would make the garage part of your routine inspection.
Close the overhead door during daylight and look from inside.
Can you see light around either bottom corner?
Is the bottom seal damaged?
Does the door sit evenly against the floor?
Garages are especially attractive because they often contain cardboard, pet food, bird seed, feed, garbage, and lots of quiet hiding places.
And an attached garage puts mice one wall away from the house.
Don’t Forget the Door From the Garage Into the House
Mouse-proofing the overhead garage door is great.
But if mice are already inside the garage, inspect the second barrier too.
Look around:
The interior door.
Shared wall.
Utility lines.
Electrical penetrations.
Plumbing.
Cabinetry.
The mouse route may have been:
Outside → garage → wall cavity → kitchen.
Break the entire route.
Check Under Your Sinks Every So Often
Plumbing penetrations are easy to forget after you’ve fixed the initial infestation.
Open the cabinet and inspect where the pipes disappear into the wall or floor.
Look for:
New gaps.
Chewing.
Loose repair materials.
Fresh droppings.
If mice used this location before, it deserves extra attention later.
Your old problem areas are some of the best places to catch a new problem early.


Keep Pantry Food Hard to Reach
Once the mice are gone, it’s tempting to relax everything.
I’d keep the better food-storage habits.
CDC recommends storing food in thick plastic, metal, or glass containers with tight-fitting lids.
That doesn’t mean every cracker in the house needs its own steel vault.
Focus on vulnerable foods and areas where mice were active.
Grains.
Cereal.
Pet treats.
Baking ingredients.
Snacks.
Bulk food.
Making food harder to access removes one reason for a mouse to settle in.
Pet Food Is One of the Big Ones
Dog and cat food can support mice just fine.
CDC recommends putting pet food away after use and not leaving pet food or water bowls out overnight as part of rodent prevention.
I would also look at the bag itself.
A big paper or plastic bag sitting in the garage isn’t particularly mouse-resistant.
Use a sturdy container with a secure lid for bulk pet food.
Bird Seed and Livestock Feed Matter Too
This is especially important for rural properties.
Bird seed.
Chicken feed.
Livestock grain.
Wildlife feed.
All of it can become mouse food.
CDC recommends keeping grains and animal feed in thick plastic or metal containers with tight-fitting lids.
Clean spilled feed too.
A perfectly sealed feed container sitting over two pounds of spilled grain isn’t solving much.
Keep Garbage Secured
Trash can provide another easy food source.
Use containers with tight-fitting lids and clean spills around them.
CDC also recommends keeping outdoor garbage in sturdy containers without holes and with secure lids.
Again, you’re not trying to make your property biologically incapable of supporting a mouse.
You’re trying to stop providing effortless food right beside the house.
Clean Behind the Stove and Refrigerator Occasionally
Remember those areas we targeted during the infestation?
Don’t forget them once the mice are gone.
Food can accumulate behind appliances surprisingly quickly.
Crumbs.
Grease.
Pet kibble.
Dry pasta.
Bits of cereal.
Pull appliances out periodically when it can be done safely and clean behind them.
This also gives you a chance to check for new droppings.
Reduce the Best Mouse Hiding Places
MU Extension points out that sanitation alone usually won’t eliminate mice, but reducing places where mice can rest, hide, nest, and raise young helps keep populations from thriving.
Pay particular attention to:
Cardboard boxes.
Paper.
Fabric piles.
Long-undisturbed storage.
Clutter along walls.
Garages.
Basements.
Storage rooms.
You don’t need a minimalist house.
You just don’t want to unknowingly maintain perfect mouse apartments in every corner.
Move Long-Term Storage Into Better Containers
I prefer sturdy storage totes for things that sit untouched for long periods.
Cardboard provides both cover and material mice can damage.
It also makes evidence harder to see.
A more organized storage area lets you spot droppings or gnawing much earlier.
That matters because early mouse problems are generally easier to control than established ones.
Give Yourself Access Along Important Walls
You don’t need every wall completely empty.
But if possible, avoid packing an entire basement or garage perimeter so tightly that you couldn’t see a mouse runway if you tried.
Remember where mice tend to travel.
Along edges.
Behind objects.
In protected spaces.
Leaving some inspection access makes future monitoring much easier.
Clean Up Around the Outside of the House Too
The exterior matters.
CDC recommends reducing brush and weeds around the house, keeping grass and shrubbery trimmed, and moving woodpiles away from the home and off the ground.
Why?
You’re reducing shelter immediately around the structure.
A mouse living comfortably beneath clutter beside the foundation is already very close to finding whatever tiny opening you missed.
Move Firewood Away From the House
Stacking firewood against the house is convenient.
It’s also great cover for small animals.
CDC recommends keeping woodpiles 100 feet or more from the home when possible and raising wood at least one foot off the ground.
Not every property makes 100 feet practical.
The broader lesson is still useful:
Don’t intentionally build mouse shelter directly against your foundation if you can avoid it.
Trim Dense Vegetation Near the House
Dense weeds and shrubs can provide cover.
CDC recommends cleaning up brush and weeds and keeping vegetation around the home trimmed.
I’m not saying your foundation needs to look like a parking lot.
Landscaping and wildlife can coexist.
But dense, neglected cover pressed directly against the structure can make mouse activity harder to notice and provide rodents protected routes.
Move Bird Feeders Away From the House
Bird feeders can become rodent feeders.
Seed falls.
Mice find it.
CDC recommends placing bird feeders away from the house and using measures that reduce access by rodents and other wildlife.
If seed constantly accumulates beneath a feeder right beside your foundation, I’d rethink the location.
You can feed birds without creating a mouse buffet against the house.
Watch Compost Placement
CDC recommends keeping compost bins well away from the home, with its current guidance suggesting about 100 feet when practical.
Again, not every yard allows that exact distance.
The principle matters:
Food scraps and rodent shelter don’t belong immediately beside the house if you’re trying to prevent mice.
Keep a Few Traps Available
Once you’ve had mice, I wouldn’t throw every trap away.
Clean and store reusable traps appropriately.
Then if you see fresh evidence later, you can respond immediately.
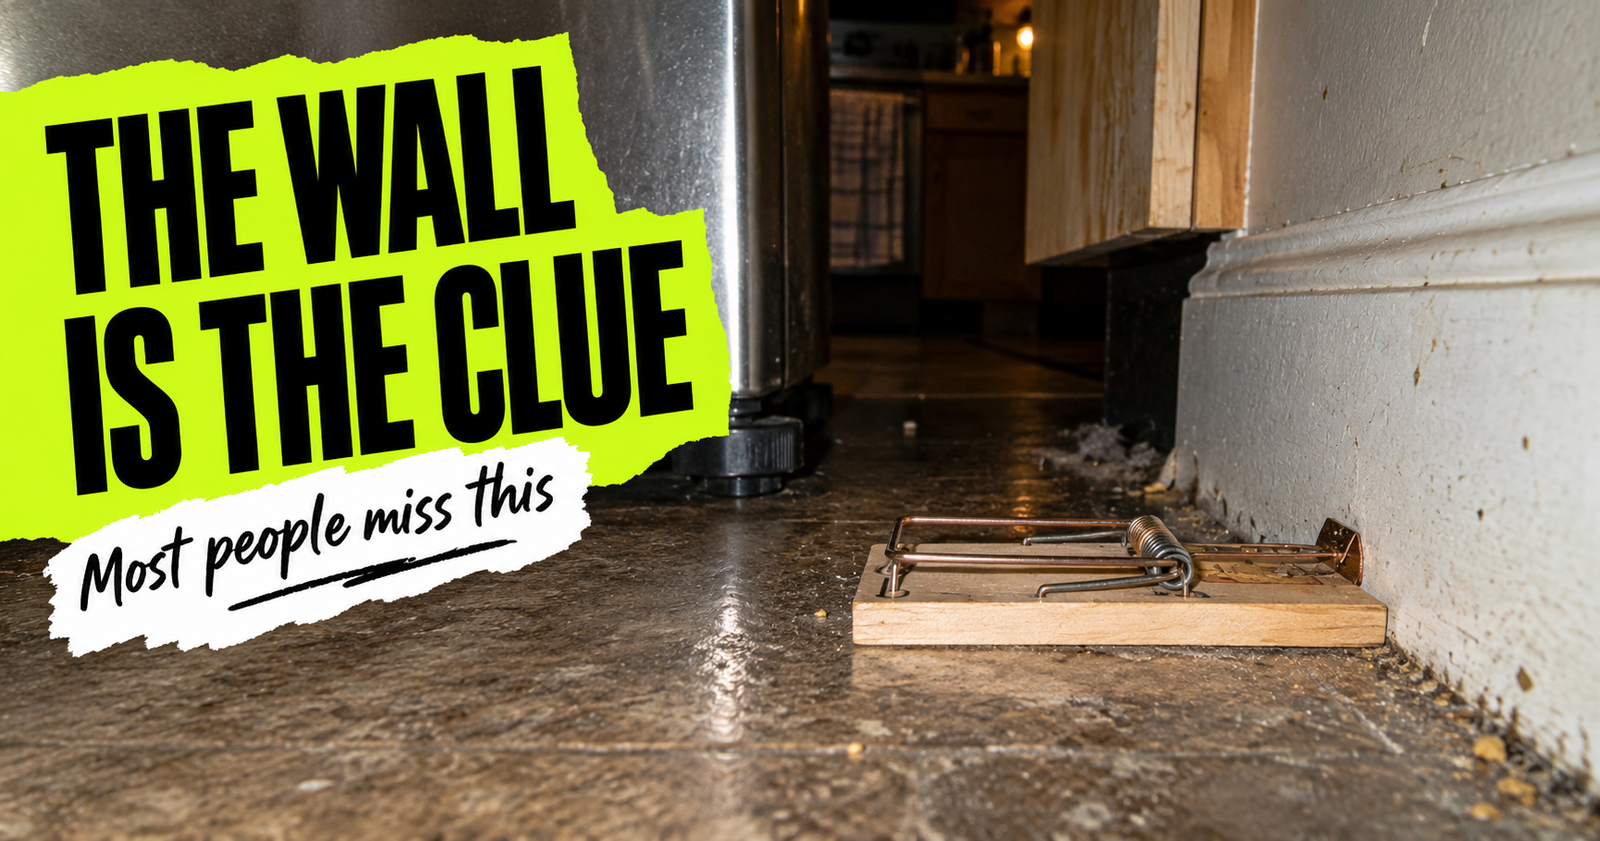
Our guide to the 10 mouse trap locations that actually make sense shows where I’d redeploy them based on evidence.
The earlier you catch renewed activity, the better.
Monitor the Places Mice Used Before
This is one of the simplest things you can do.
If mice previously loved:
Behind the refrigerator.
Under the sink.
One pantry corner.
A particular garage wall.
The basement utility room.
Check those places occasionally.
You’re already familiar with what the evidence looked like.
That gives you an advantage.
Know What Mouse Droppings Look Like
Fresh droppings may be the first clue that mice have returned.
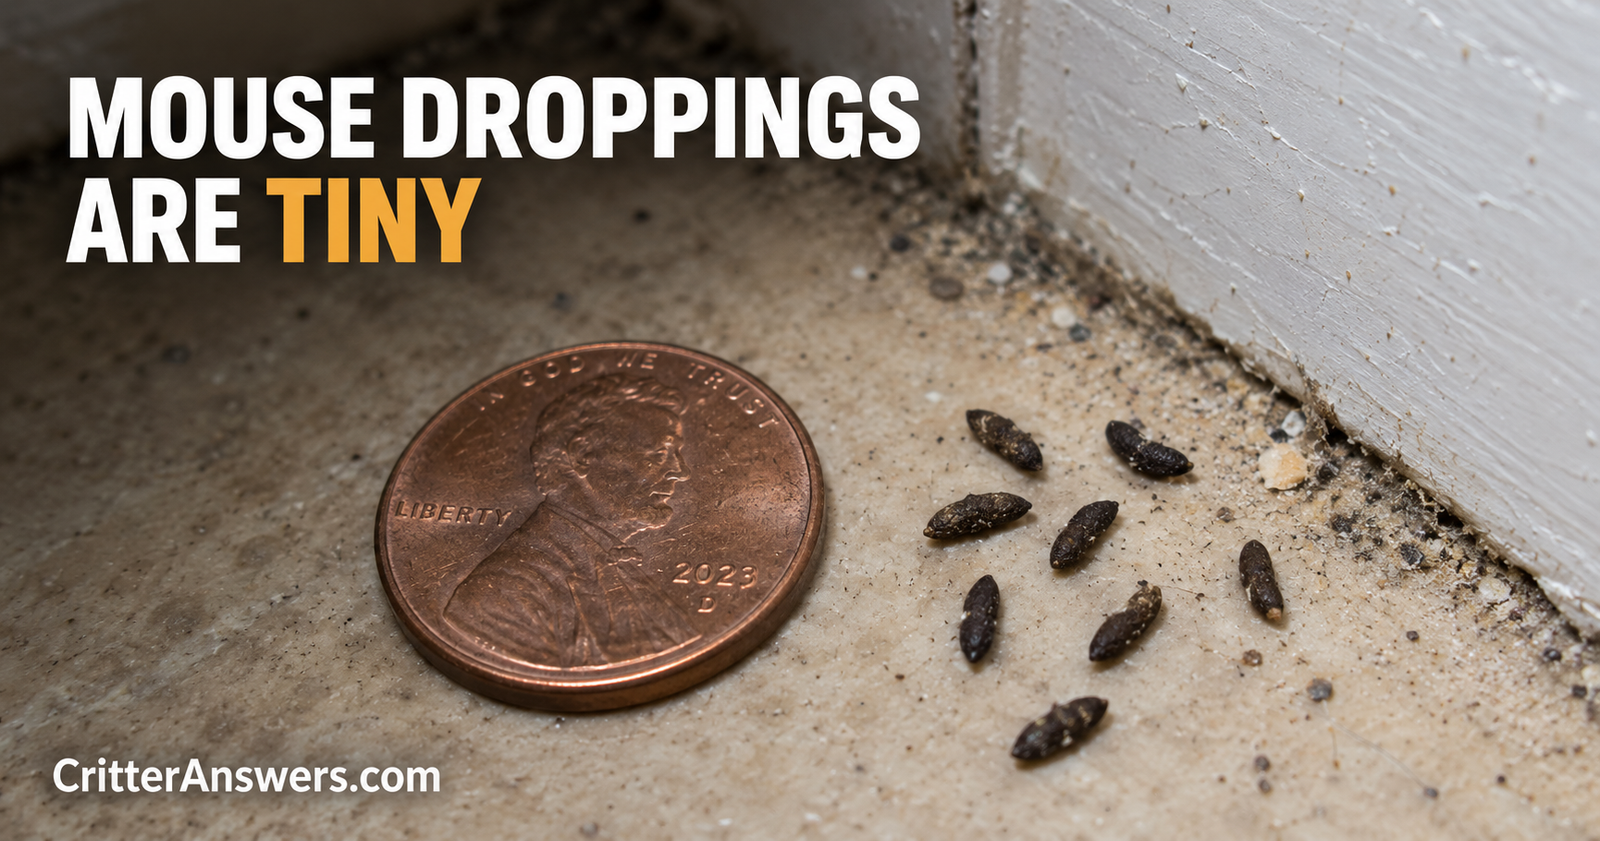
Our mouse-dropping identification guide shows what to look for and how to clean them safely.
Don’t sweep or vacuum dry rodent droppings.
And if new droppings appear after proper cleanup, take them seriously.
You may be catching a new infestation at the very beginning.
Listen for the Old Sounds Too
You probably remember the sound.
That faint scratching after everyone goes to bed.
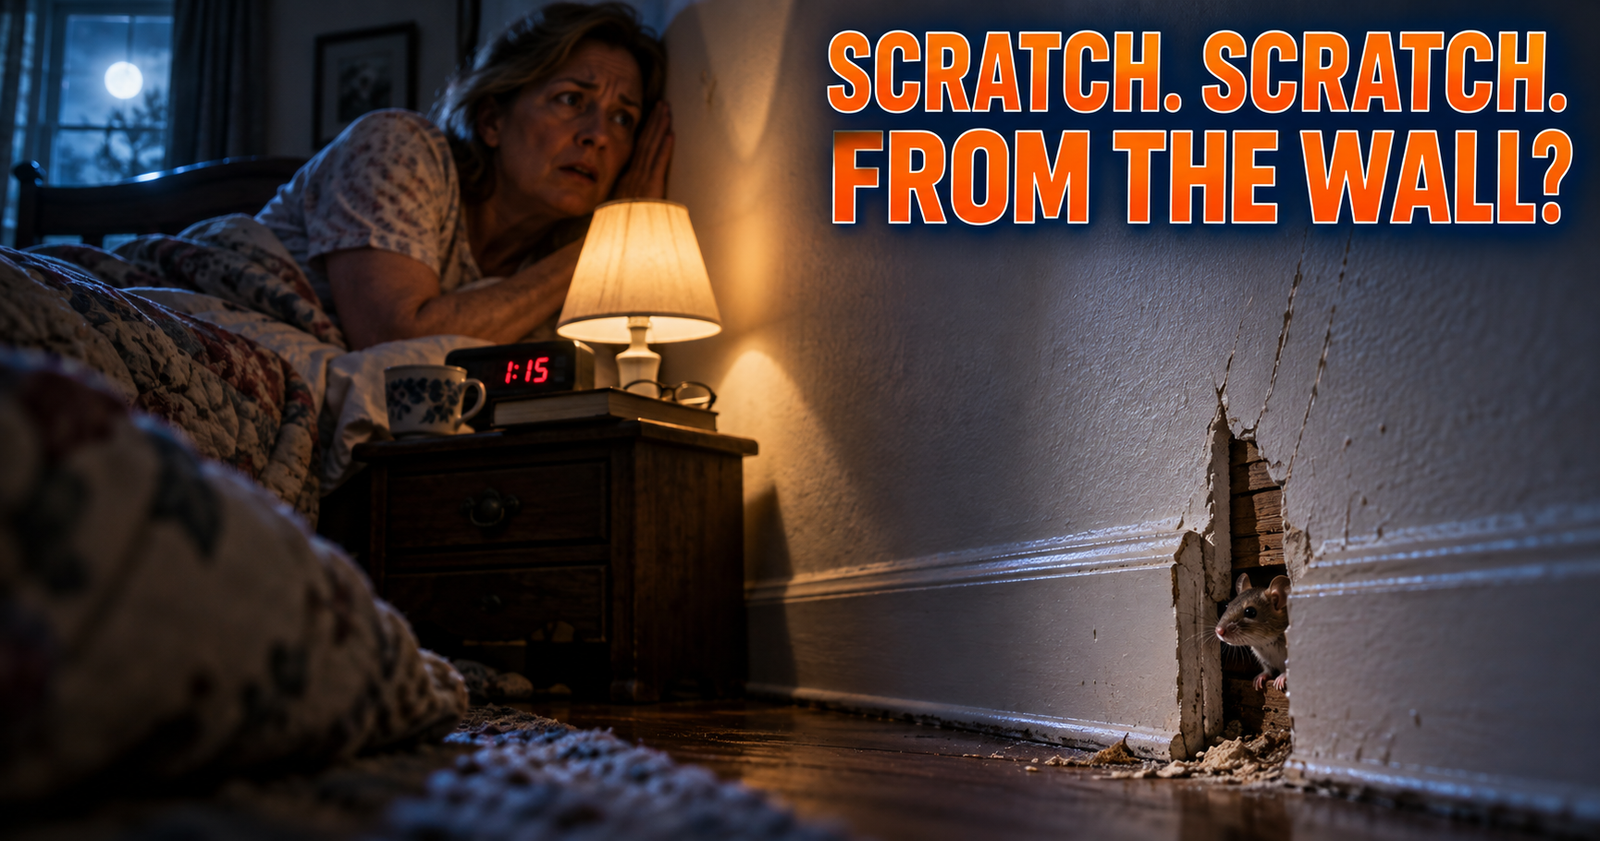
If scratching starts inside the walls at night again, don’t wait three weeks hoping it disappears.
Look for physical evidence.
Check old mouse routes.
Inspect traps.
Look at entry points.
The sooner you investigate, the easier it is to determine what’s happening.
Don’t Assume Every Mouse Means Your Previous Fix Failed
This is worth mentioning.
You can do an excellent exclusion job and still discover a new vulnerability later.
Doors wear.
Weather stripping deteriorates.
Utility work creates new penetrations.
Siding gets damaged.
Vents fail.
Buildings move.
A mouse problem two years from now doesn’t necessarily mean every repair you made today was worthless.
Houses change.
That’s why periodic inspection matters.
Fall Is a Good Time to Recheck the House
In places with cold winters, I especially like checking mouse-proofing before cold weather settles in.
MU Extension notes that mice and rats seek shelter as temperatures drop and recommends preparing structures before they become unwanted winter guests.
Walk around the house.
Check doors.
Inspect the garage.
Look at utilities.
Check feed storage.
Look for new gaps.
It’s easier to fix a hole before mice move through it.
Don’t Depend on Peppermint Oil to Keep Them Gone
I wouldn’t base long-term mouse prevention on scent repellents.
Peppermint may smell nice to you.
It doesn’t repair a 1/4-inch opening.
Same problem with ultrasonic gadgets.
I want a physical barrier.
If the mouse can’t get through the wall, I don’t have to hope it dislikes the smell on the other side.
Don’t Keep Poison Out Forever Just Because You Once Had Mice
I also wouldn’t automatically turn permanent rodenticide use into your prevention plan.
Poison has legitimate applications, but it comes with tradeoffs involving children, pets, wildlife, carcass retrieval, and proper label use.
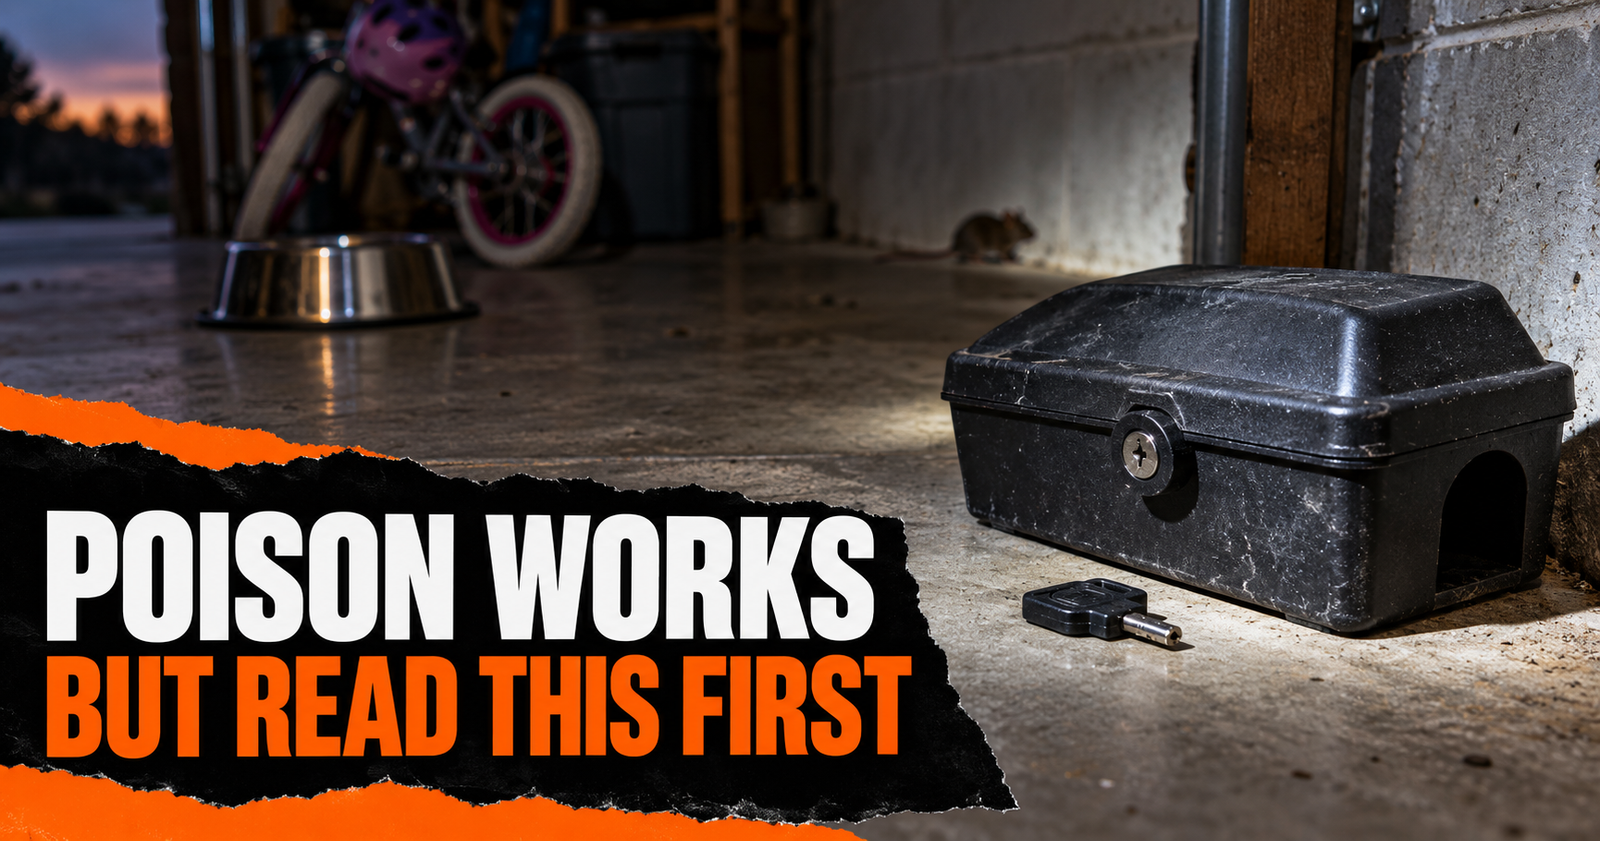
We went through those honestly in our mouse poison pros and cons guide.
For long-term prevention, I’d much rather make the building harder for mice to enter.
If Traps Suddenly Stop Working, Don’t Just Add More
Maybe mice return and your old trap setup isn’t catching them.
Before buying more equipment, troubleshoot what changed.
Wrong placement?
Competing food?
Inactive route?
Too few traps?
Bad bait placement?

Our guide to why mice won’t go near your traps walks through those problems.
The solution isn’t always another product.
Sometimes the trap is simply six feet away from where it needs to be.
How Do You Know the Original Mouse Problem Is Really Gone?
I want more than one empty trap.
CDC recommends continuing to trap until there are no more rodents. Its current guidance says that if a week passes with no captures and no new signs of rodent activity, the infestation has likely been eliminated.
I want to see:
No new droppings.
No new gnawing.
No mouse sightings.
No continued wall activity.
No trap captures.
Then prevention becomes the priority.
My Keep-Mice-Gone Checklist
Once you’ve eliminated the mice, I’d work through this:
- Seal every opening around 1/4 inch or larger.
- Inspect doors and garage-door seals.
- Check plumbing and utility penetrations.
- Store pantry food securely.
- Put pet food away after feeding.
- Store bird seed and animal feed in sturdy containers.
- Keep garbage secured.
- Reduce clutter and long-undisturbed nesting areas.
- Keep vegetation and outdoor shelter under control near the house.
- Monitor the exact locations where mice were active before.
- Keep traps available for quick response.
- Reinspect the house periodically, especially before cold weather.
That’s the boring stuff.
It’s also the stuff that keeps you from having to catch another dozen mice.
The Best Mouse Trap Is the One You Eventually Don’t Need
That sounds strange coming from an article where I’ve recommended mouse traps, but it’s the outcome I’m actually after.
I don’t want you becoming exceptionally good at catching a new mouse every month.
I want the traps to eventually sit unused because mice aren’t getting into the house anymore.
That’s the difference between mouse removal and mouse prevention.
A Victor snap trap can catch the mouse running behind your refrigerator tonight.
An OWLTRA electric trap can catch another mouse traveling along a basement wall.
Neither one can repair the quarter-inch opening those mice used to enter the building.
If you’re continually catching mice in the same house year after year, I’d stop celebrating the catches for a minute and ask a different question:
Where are the new mice coming from?
Go Back to the Places Where You Found Activity
Once the infestation appears to be gone, I like revisiting the exact locations where mice were active.
Check:
- Behind the refrigerator and stove
- Under kitchen and bathroom sinks
- Pantry corners
- Garage walls and door corners
- Basement walls
- Crawl-space access areas
- Attic areas where droppings appeared
- Utility penetrations
- Previous trapping locations
- Any opening you repaired
You’re looking for new evidence.
Fresh droppings.
New gnawing.
A damaged repair.
A gap that has reopened.
Food being disturbed.
New scratching sounds.
Those old trouble spots are essentially your early-warning system.
Don’t Leave Old Mouse Droppings as Your Monitoring System
If you leave the old evidence sitting there, it becomes much harder to tell whether mice have returned.
Safely clean existing rodent waste once the problem has been addressed.
CDC advises against sweeping or vacuuming dry rodent droppings because contaminated material can become airborne. Droppings should be thoroughly wetted with an appropriate disinfectant before cleanup.
Once the area is properly cleaned, it becomes much easier to notice new droppings.
Clean cabinet today.
Three new pellets appear next week?
That’s information.
An old pile sitting there for six months doesn’t tell you nearly as much.
Check Your Mouse-Proofing Again Before Fall
If you’ve had mice before, I’d make a quick exterior inspection part of normal home maintenance.
Late summer or early fall is an especially sensible time to do it.
Look at:
Garage-door seals.
Exterior door sweeps.
Utility penetrations.
Foundation openings.
Crawl-space vents.
Siding transitions.
Pipe penetrations.
Eaves and soffits.
Previous repairs.
You don’t need to dismantle the house every September.
Walk around slowly with a flashlight and remember what you’re looking for:
Mouse-sized openings can be tiny.
CDC says mice can fit through an opening about 1/4 inch wide, roughly pencil-width.
That’s the scale your inspection needs to consider.
Repairs Don’t Necessarily Last Forever
Weather stripping wears.
Caulk separates.
Doors shift.
Rodents gnaw.
Construction materials move.
Utility work creates new openings.
A repair that was mouse-proof three years ago may not be mouse-proof today.
That’s why prevention isn’t a one-time event.
If you find a failed repair, fix it before mice rediscover it.
Our guide to the places mice commonly use to get into a house is the checklist I’d use when doing that inspection.
Pay Special Attention to the Garage
If I had to choose one part of many homes that deserves regular mouse inspection, the garage would rank high.
Garages commonly have:
Large exterior doors.
Weather stripping.
Bottom-corner gaps.
Cardboard storage.
Pet food.
Bird seed.
Grass seed.
Garbage.
Animal feed.
And relatively little human activity overnight.
An attached garage also puts mice one wall away from the living space.
Close the overhead door during daylight and look around the edges from inside.
If you see light at the bottom corners, investigate.
Store Feed Like You Expect a Mouse to Find It
This is particularly important for rural homes.
Chicken feed.
Livestock grain.
Dog food.
Cat food.
Bird seed.
Wildlife feed.
Grass seed.
A mouse doesn’t care what animal is pictured on the bag.
If it can eat it, it’s food.
Move vulnerable feed into sturdy containers with secure lids and clean spilled grain around them.
You don’t need to make your property completely free of mouse food.
You need to stop providing an easy indoor or garage food source that rewards mice for hanging around the building.
Don’t Forget Water
Food gets most of the attention, but mice also need water.
Fix leaks.
Don’t leave unnecessary standing water.
Check beneath sinks.
Look around water heaters and utility areas.
If a mouse can find food, water, shelter, and warmth in the same part of the building, you’ve created a pretty comfortable setup.
Reduce the Places Mice Can Disappear
I’m not telling you to empty your basement.
But I do prefer storage that can actually be inspected.
A basement wall hidden behind 30 cardboard boxes gives mice a protected travel corridor.
A garage corner filled with old paper bags, fabric, and boxes offers nesting material and cover.
Where practical:
Use durable storage containers.
Keep some access around walls.
Remove unnecessary clutter.
Move long-term storage periodically.
Clean forgotten corners.
You’re making mouse activity easier to detect and less comfortable to establish.
Look Outside the House Too
Mouse prevention doesn’t stop at the siding.
Pay attention to conditions immediately around the building.
Dense vegetation touching the structure can provide cover.
Woodpiles stacked against the house create protected spaces.
Spilled bird seed feeds rodents.
Clutter beside the foundation creates hiding areas.
Trim vegetation where appropriate and keep stored materials organized.
You don’t need a sterile yard.
You simply don’t want to build a mouse neighborhood directly against the foundation.
Bird Feeders Can Quietly Support a Mouse Population
I like feeding birds too, but seed doesn’t always stay in the feeder.
It lands on the ground.
Mice find it.
If a feeder is directly beside the house and the ground underneath stays covered in seed, that’s worth addressing.
Clean up excessive spilled seed.
Store the supply securely.
Consider where feeders are positioned.
The goal isn’t to stop enjoying birds.
It’s to avoid creating a dependable mouse feeding station beside an easy entry point.
Keep Monitoring After the Last Mouse Is Caught
Catching the final mouse shouldn’t be the last time you look for evidence.
CDC guidance says that when you go about a week without captures and there are no new rodent signs, the infestation has likely been eliminated.
That’s a useful milestone.
I would still keep an eye on previously active locations afterward.
The first new dropping is much easier to deal with than discovering six months later that mice have reestablished themselves throughout the house.
Leave a Few Monitoring Traps in Strategic Places if It Makes Sense
In a house with a history of recurring mice, I don’t mind keeping a small number of traps available in protected, inaccessible locations where mice have repeatedly appeared.
Maybe that’s:
Behind a refrigerator.
In a locked utility area.
Along a basement wall.
Inside an inaccessible garage location.
The traps still need to be checked.
Don’t set something and forget about it for a year.
And any trap needs to remain inaccessible to children and pets.
If Mice Return, Don’t Immediately Assume Your Traps Failed
A mouse showing up again six months later doesn’t necessarily mean the original infestation survived.
It may be a new mouse entering through a new or reopened gap.
That’s why I’d inspect the structure again.
Ask:
What changed?
Did the garage seal tear?
Was cable installed?
Did plumbing work create a new opening?
Did an exterior repair deteriorate?
Did someone start storing dog food in the garage?
Mouse problems often make much more sense when you look for what changed.
If You’re Catching Mice Constantly, Something Is Still Wrong
This is where I become much less interested in buying another trap.
If you’re catching:
Mouse after mouse.
Week after week.
Month after month.
you may have an entry-point problem that trapping alone cannot solve.
The same applies if you’ve worked through the common reasons mice avoid traps and you’re still seeing new activity.
Go back to exclusion.
A successful mouse-control plan should eventually reduce the need for trapping.
Don’t Let Poison Become Permanent Compensation for a Leaky House
The same principle applies to rodenticide.
Poison can have legitimate uses.
We’ve already covered the real pros and cons of using mouse poison.
But I don’t want poison becoming a permanent substitute for mouse-proofing.
If mice continuously enter through the same structural opening and continuously consume bait, you’re controlling the symptom while preserving the cause.
Whenever practical:
Stop the entry.
That’s the durable fix.
What If You Live on a Farm or in the Country?
Then I’d be realistic.
You probably aren’t going to eliminate mice from the entire surrounding landscape.
Fields have mice.
Barns have rodents.
Grain attracts animals.
Livestock operations create food opportunities.
That doesn’t mean your house has to accept them.
For rural properties, I think exclusion becomes more important, not less.
You can’t control every mouse outside.
You can control whether the house gives them a pencil-width doorway into the pantry.
What If Mice Return Every Fall?
That pattern is telling you something.
Outdoor conditions change.
Temperatures fall.
Mice start looking for protected shelter.
If your house repeatedly becomes that shelter, inspect it before the seasonal activity peaks.
Don’t wait until you hear scratching.
Check the garage seals.
Check utility openings.
Inspect the foundation.
Secure feed.
Clean up food sources.
Refresh old repairs.
Preventing the first mouse is considerably easier than removing an established indoor population.
My Keep-Mice-Out Checklist
Once you’ve eliminated the current mice, this is the routine I’d follow:
- Seal openings about 1/4 inch and larger.
- Inspect garage doors and exterior doors.
- Check plumbing and utility penetrations.
- Secure pantry food, pet food, bird seed, and animal feed.
- Clean spills and crumbs, especially behind appliances.
- Reduce unnecessary cardboard and clutter.
- Keep vegetation and stored materials from creating excessive cover against the house.
- Safely clean old rodent evidence so new activity is obvious.
- Recheck previous mouse trouble spots periodically.
- Inspect old exclusion repairs before cold weather.
- Use traps as monitoring tools where appropriate and safe.
- Investigate immediately if fresh evidence appears.
None of those steps is particularly exciting.
That’s kind of the point.
Good mouse prevention is mostly boring home maintenance.
And boring is much better than hearing scratching behind your bedroom wall at 2 a.m.
The Goal Isn’t to Become Better at Catching Mice
I’ve recommended traps throughout this cluster because they work.
I’ve shown where to put them.
We’ve talked about bait.
We’ve covered what to do when mice avoid them.
We’ve discussed poison honestly.
But none of those things changes my actual goal.
I want you to eventually stop needing mouse-control products.
Catch the mice that are already inside.
Then shut down the reasons more keep appearing.
If you haven’t dealt with the entire infestation yet, start with our complete guide to getting rid of mice in your house for good.
Once they’re gone, make the house harder to enter than the house down the road.
Seal the little gaps.
Protect the food.
Watch the old trouble spots.
Reinspect before cold weather.
Because the best sign that your mouse-control plan worked isn’t a trap with another dead mouse in it.
It’s a trap that sits there month after month without anything to catch.
About the author: Caleb Rourke researches how mice and other rodents get into homes, where they hide, and the practical steps homeowners can use to identify and prevent them. He writes straightforward rodent-control guides for Critter Answers.